
Supported Authentication Types:
- Basic Auth: Username and password authentication
- Key Pair Auth: Private key authentication with optional passphrase (see Snowflake Key Pair Auth docs)
- SSO: Single-Sign-On via the
authenticatorconnection argument
- Requirements
- Metadata Ingestion
- Query Usage
- Data Profiler
- Data Quality
- Lineage
- dbt Integration
- Troubleshooting
Requirements
To ingest basic metadata snowflake user must have the following privileges:USAGEPrivilege on WarehouseUSAGEPrivilege on DatabaseUSAGEPrivilege on SchemaSELECTPrivilege on Tables
Additional Privileges
The following workflows require additional grants:-
Incremental Extraction: OpenMetadata fetches the information by querying
snowflake.account_usage.tables. -
Ingesting Tags: OpenMetadata fetches the information by querying
snowflake.account_usage.tag_references. -
Ingesting Stored Procedures: OpenMetadata fetches the information by querying
snowflake.account_usage.procedures&snowflake.account_usage.functions. -
Lineage & Usage Workflow: For lineage, OpenMetadata uses Snowflake’s
ACCOUNT_USAGE.ACCESS_HISTORYview by default, which provides Snowflake-computed table- and column-level lineage (including for queries OpenMetadata cannot parse). If the configured role cannot readACCESS_HISTORY, ingestion automatically falls back to parsing query logs. For the Usage workflow, and as the lineage fallback, OpenMetadata fetches query logs by queryingsnowflake.account_usage.query_history. BothACCESS_HISTORYandQUERY_HISTORYrequire the Snowflake user to have theACCOUNTADMINrole or a role withIMPORTED PRIVILEGESon theSNOWFLAKEdatabase. For more information about theaccount_usageschema, see Account Usage.
Metadata Ingestion
To ingest metadata from Snowflake, you need to create a service connection. The service connects Snowflake with OpenMetadata. Once you create a service, OpenMetadata automatically starts ingesting metadata.Step 1: Add New Service
-
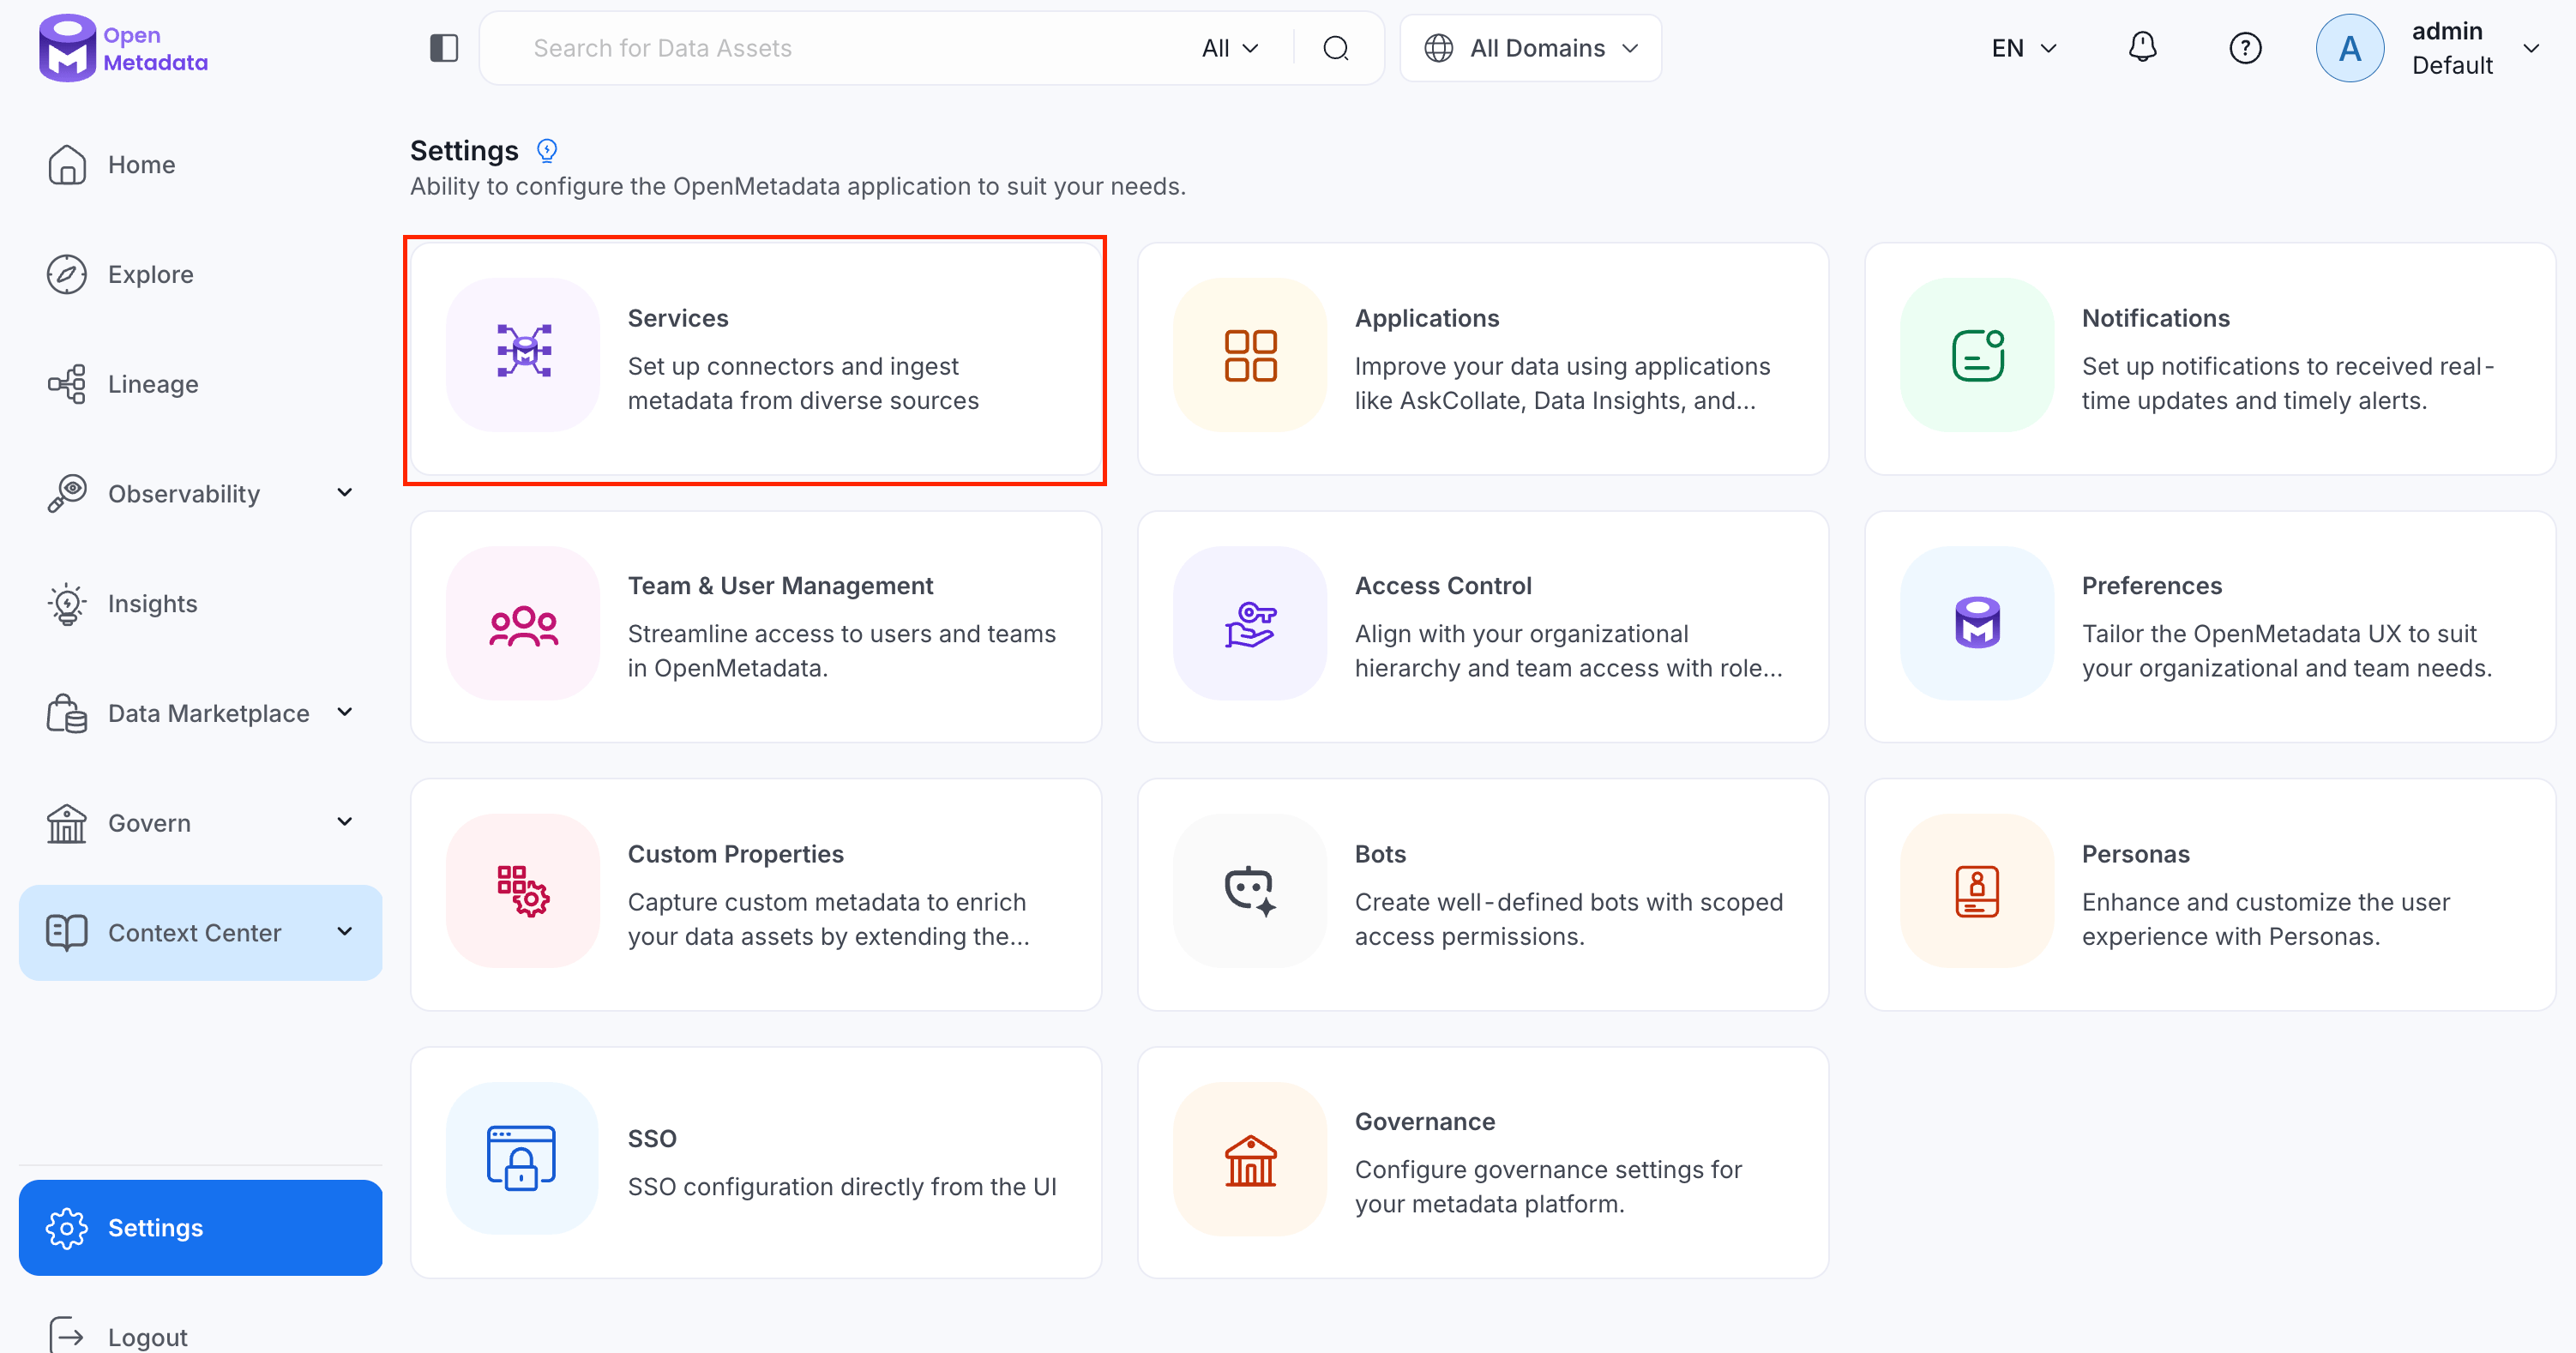
Navigate to Settings > Services.
-
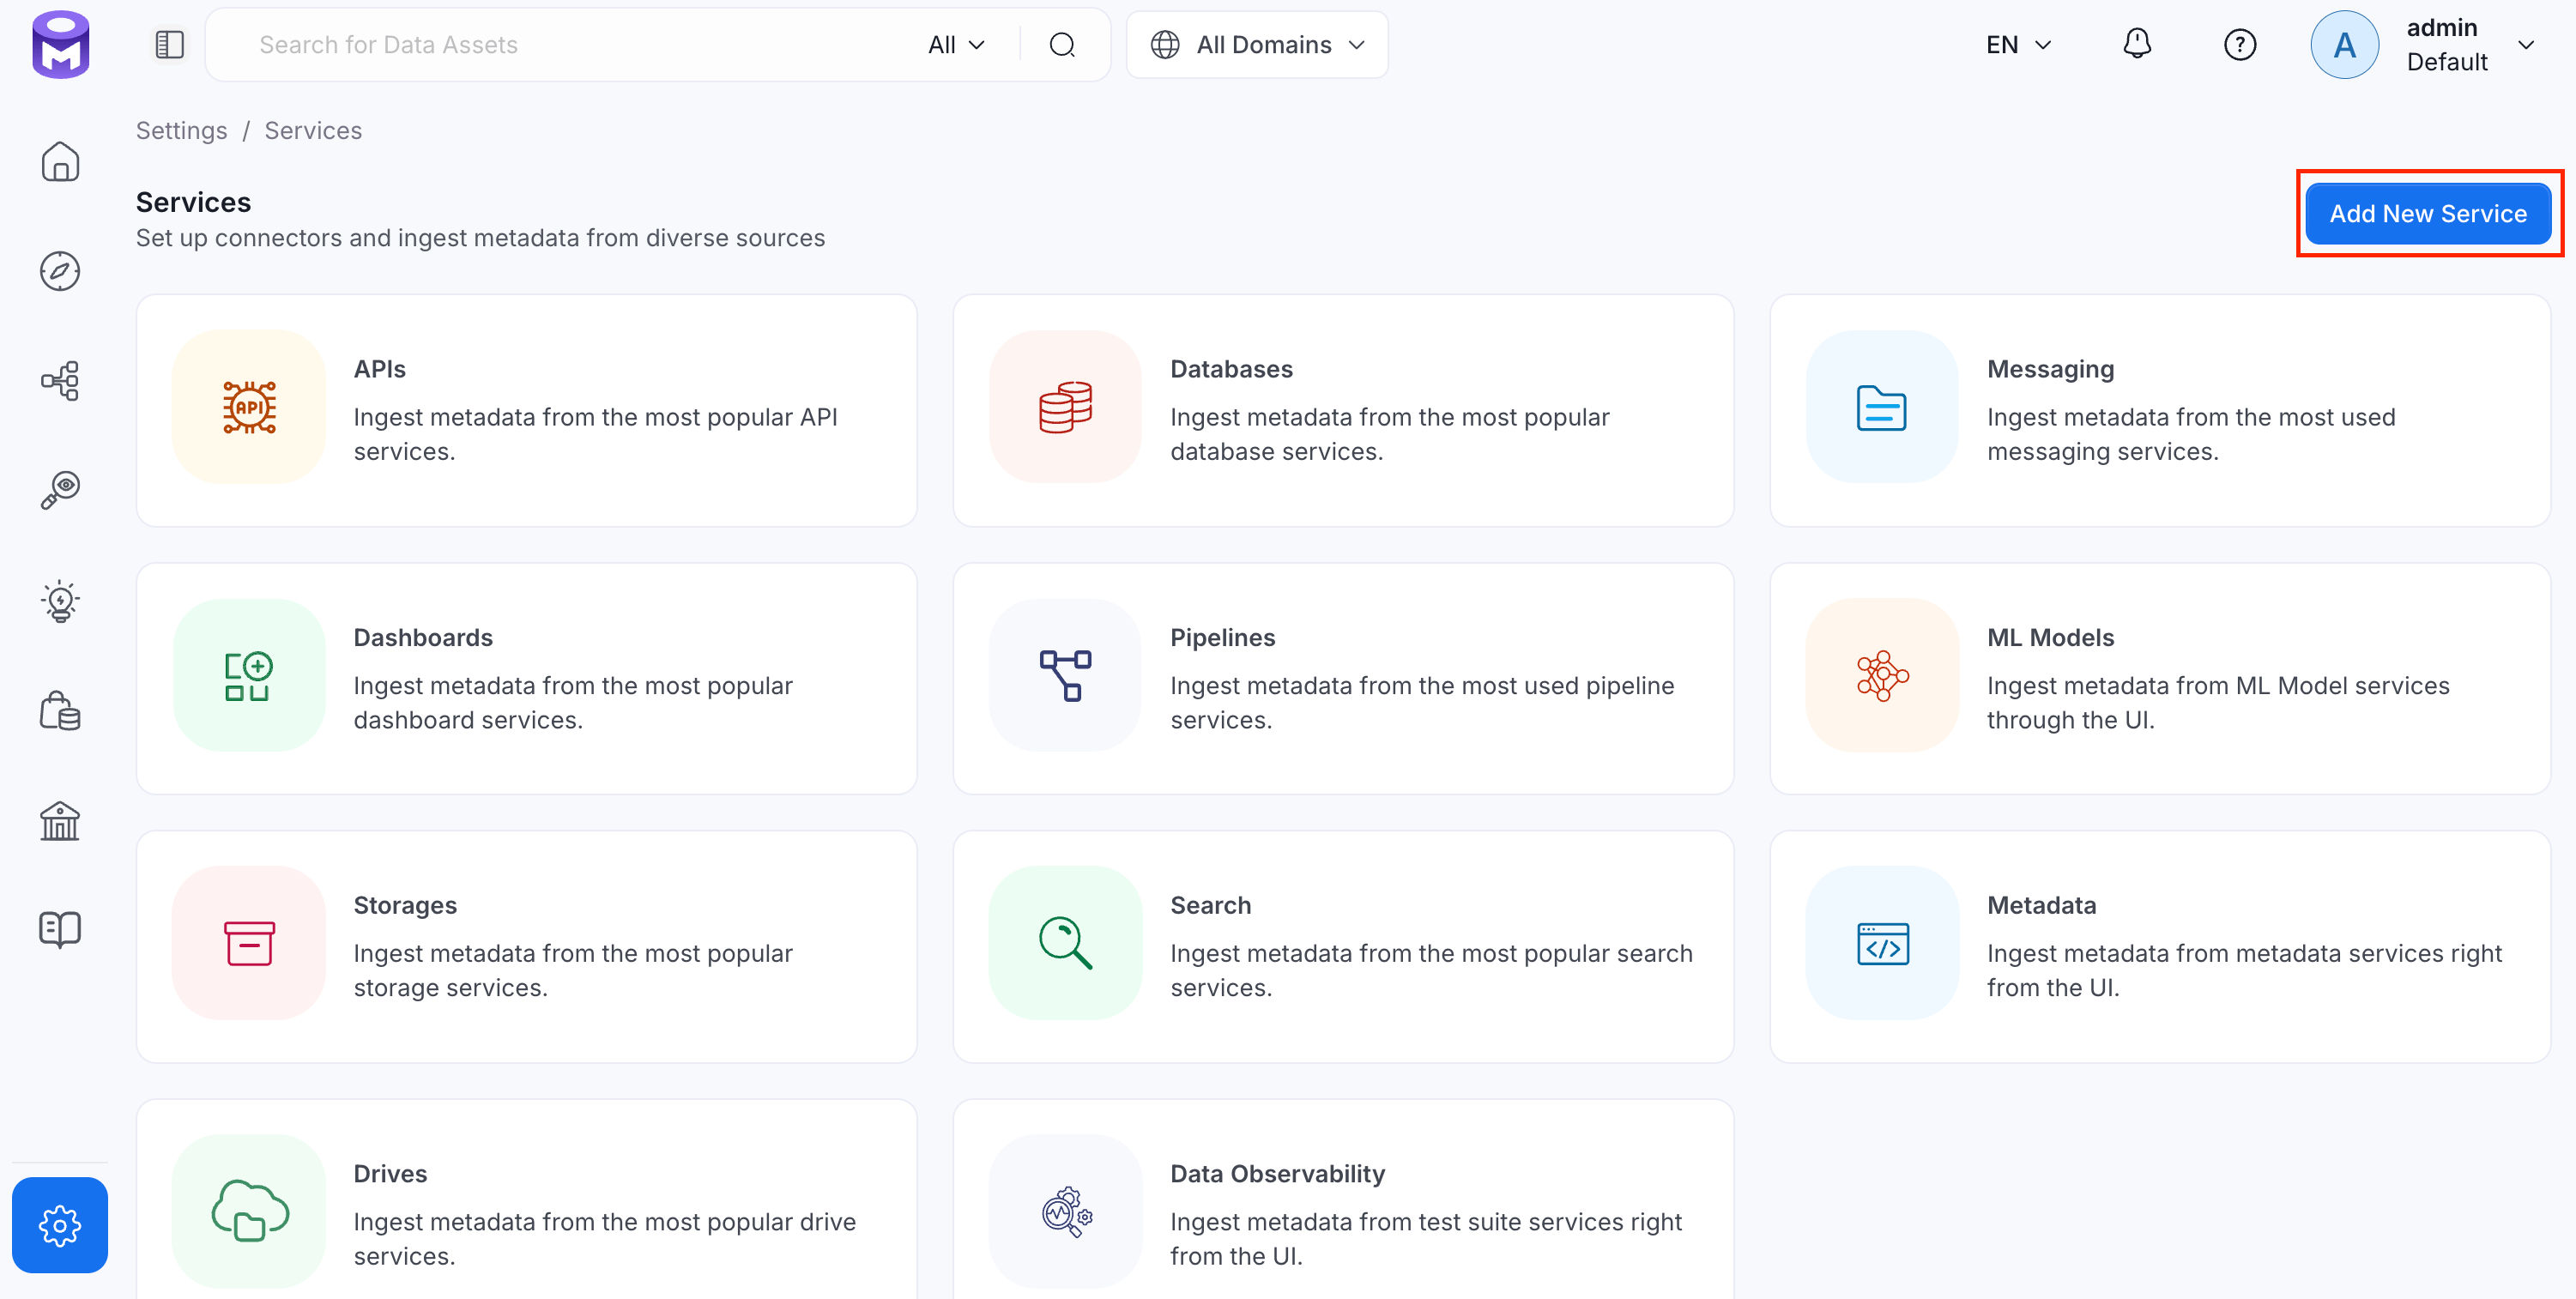
Click Add New Service.
Step 2: Select a Service and Connector
From the service type dropdown, select Database Services, then click the Snowflake connector tile.
Step 3: Add Service Name and Description
- Enter a unique, descriptive Service Name. OpenMetadata identifies services by their service name. Enter a name that distinguishes this deployment from other Snowflake services you are ingesting metadata from.
- Optional: Enter a Description for the service.

Note: The service name cannot be changed after it is set.
Step 4: Configure Connection Options
Specify your source credentials and verify the connection.Enter Connection Details
Enter the connection details for Snowflake. The right-hand panel in the UI displays inline help for each field.
- Username: Specify the User to connect to Snowflake. It should have enough privileges to read all the metadata.
- Password: Password to connect to Snowflake.
-
Account: Snowflake account identifier uniquely identifies a Snowflake account within your organization, as well as throughout the global network of Snowflake-supported cloud platforms and cloud regions. If the Snowflake URL is
https://xyz1234.us-east-1.gcp.snowflakecomputing.com, then the account isxyz1234.us-east-1.gcp. - Role (Optional): You can specify the role of user that you would like to ingest with, if no role is specified the default roles assigned to user will be selected.
- Database (Optional): The database of the data source is an optional parameter, if you would like to restrict the metadata reading to a single database. If left blank, OpenMetadata ingestion attempts to scan all the databases.
- Warehouse: Snowflake warehouse is required for executing queries to fetch the metadata. Enter the name of warehouse against which you would like to execute these queries.
- Query Tag (Optional): Session query tag used to monitor usage on Snowflake. To use a query tag, the Snowflake user should have enough privileges to alter the session.
-
Account Usage Schema Name: Full name of account usage schema, used in case your user does not have direct access to
SNOWFLAKE.ACCOUNT_USAGEschema. In such case you can replicate tablesQUERY_HISTORY,TAG_REFERENCES,PROCEDURES,FUNCTIONS,ACCESS_HISTORYto a custom schema, let’s sayCUSTOM_DB.CUSTOM_SCHEMA, and provide the same name in this field. When using this field, make sure you have all these tables available within your custom schemaQUERY_HISTORY,TAG_REFERENCES,PROCEDURES,FUNCTIONS,ACCESS_HISTORY. -
Private Key (Optional): If you have configured the key pair authentication for the given user you will have to pass the private key associated with the user in this field. For more information about key-pair authentication, see Key-pair authentication and key-pair rotation.
Ensure your private key is formatted correctly before passing it. The key must be a single line with all line breaks replaced by
\n. For example, if you have the following multi-line key (raw format):Replace it with the following single-line key (required format):Replace every newline character in your key with a literal\n, including after the final line. - Snowflake Passphrase Key (Optional): If you have configured the encrypted key pair authentication for the given user you will have to pass the passphrase associated with the private key in this field. You can check out this doc to get more details about key-pair authentication.
-
Include Transient Tables: Optional configuration for ingestion of
TRANSIENTandTEMPORARYtables. Enabled by default, so these tables are ingested alongside permanent ones. Disable it to skip them. - Include Streams: Optional configuration for ingestion of streams. By default, it will skip the streams.
- Include Stages: Optional configuration for ingestion of Snowflake stages (internal and external). By default, stages are not ingested.
- Client Session Keep Alive: Optional Configuration to keep the session active in case the ingestion job runs for longer duration.
-
Cost of Credit (Optional): Cost of a Snowflake credit for your account, used to estimate warehouse and query costs. Defaults to
3.3. -
Snowflake Source Host (Optional): Snowflake account host used to build direct links back to Snowflake, for example from lineage or query details. Defaults to
app.snowflake.com.
- Use Access History for Lineage: Uses Snowflake’s
ACCOUNT_USAGE.ACCESS_HISTORYview as the source of query lineage.ACCESS_HISTORYprovides Snowflake-computed table- and column-level lineage, including for queries OpenMetadata cannot parse. Enabled by default. If the configured role cannot readACCESS_HISTORY, ingestion automatically falls back to the legacy query-log parser. - Access History Chunk Size (Days): Number of days of
ACCESS_HISTORYscanned per query when “Use Access History for Lineage” is enabled. The lineage time window is split into chunks of this size to keep each query bounded and avoid timeouts on busy accounts. Defaults to2.
Test Connection
Once the credentials have been added, click on Test Connection and Save the changes.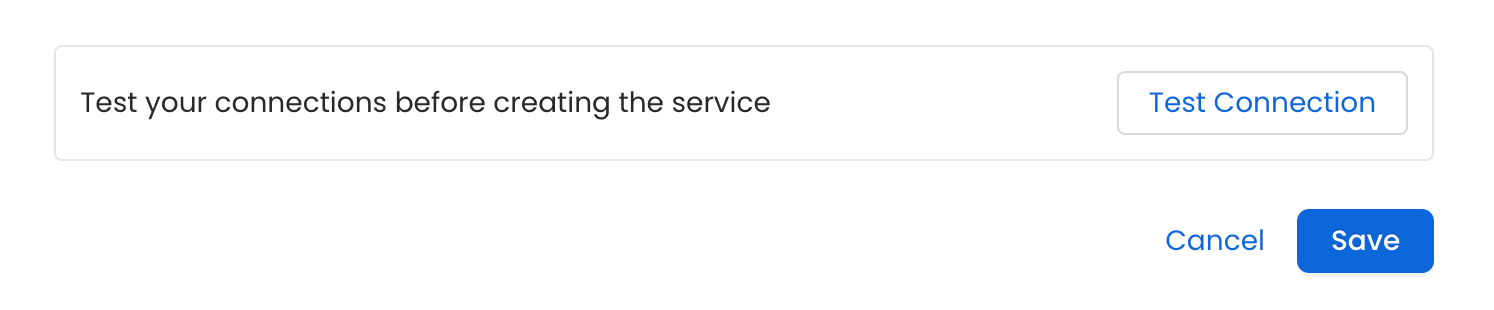
Step 5: Configure Ingestion Options
In the What to Ingest step, use filter patterns to control which assets OpenMetadata ingests from your database service. Filter patterns use regular expressions applied to asset names.How Filter Patterns Work
- Include: Add one or more comma-separated regular expressions. OpenMetadata ingests only assets whose names match at least one expression. Leave blank to include all assets.
- Exclude: Add one or more comma-separated regular expressions. OpenMetadata skips any asset whose name matches an expression. Leave blank to exclude nothing.
- contains: matches any name containing the value. For example,
salesmatchesmy_sales_dataandsales_2024. - starts with: matches names beginning with the value. For example,
prod_matchesprod_dbandprod_schema. - ends with: matches names ending with the value. For example,
_rawmatchesevents_rawandlogs_raw. - is exactly: matches the exact name only. For example,
analyticsmatches onlyanalytics. - matches regex: matches names using a regular expression. For example,
^prod_.*_v\d+$matchesprod_events_v1.
- Database: Controls which databases OpenMetadata ingests from the source.
- Schema: Controls which schemas within the ingested databases are included.
- Table: Controls which tables and views within the ingested schemas are included.
- Scan Mode: You can choose between the following scan modes:
- Scan all: Ingests every asset of that type the connector can access. This is the default.
- Only specific: Enables include rules so only assets matching at least one rule are ingested.
- Exclude system toggle: Use this toggle to automatically filter out system-reserved names defined by the connector, for example, Exclude system databases for the Databases section.
- Always exclude: Add permanent exclusion rules (shown in red). Assets matching these rules are never ingested, regardless of include rules.
- Preview: Shows a real-time summary of what will be in scope based on your current rules.
- Include rules (available only in Only specific mode): Click + Add to define a rule. Added rules appear as chips; an asset is included if it matches any rule.
Step 6: Create & Deploy
Click Create & Deploy to deploy the agent and start the first metadata ingestion run. OpenMetadata saves the service configuration and immediately begins pulling metadata from the source. To monitor ingestion progress or view the service you just added, go to Settings > Services and select your service.Configure Metadata Agent and Schedule Ingestion
The Metadata Agent extracts schemas, tables, columns, and other structural metadata from your source and keeps your OpenMetadata catalog in sync. It powers discovery, lineage, and governance across your data assets. When you click Create & Deploy, OpenMetadata automatically deploys a Metadata Agent for this service and triggers the first ingestion run. View its status and run history from the Agents tab on the service detail page. To configure the additional Metadata Agent and schedule ingestion, follow these steps:-
Navigate to Settings > Services and select the service type.
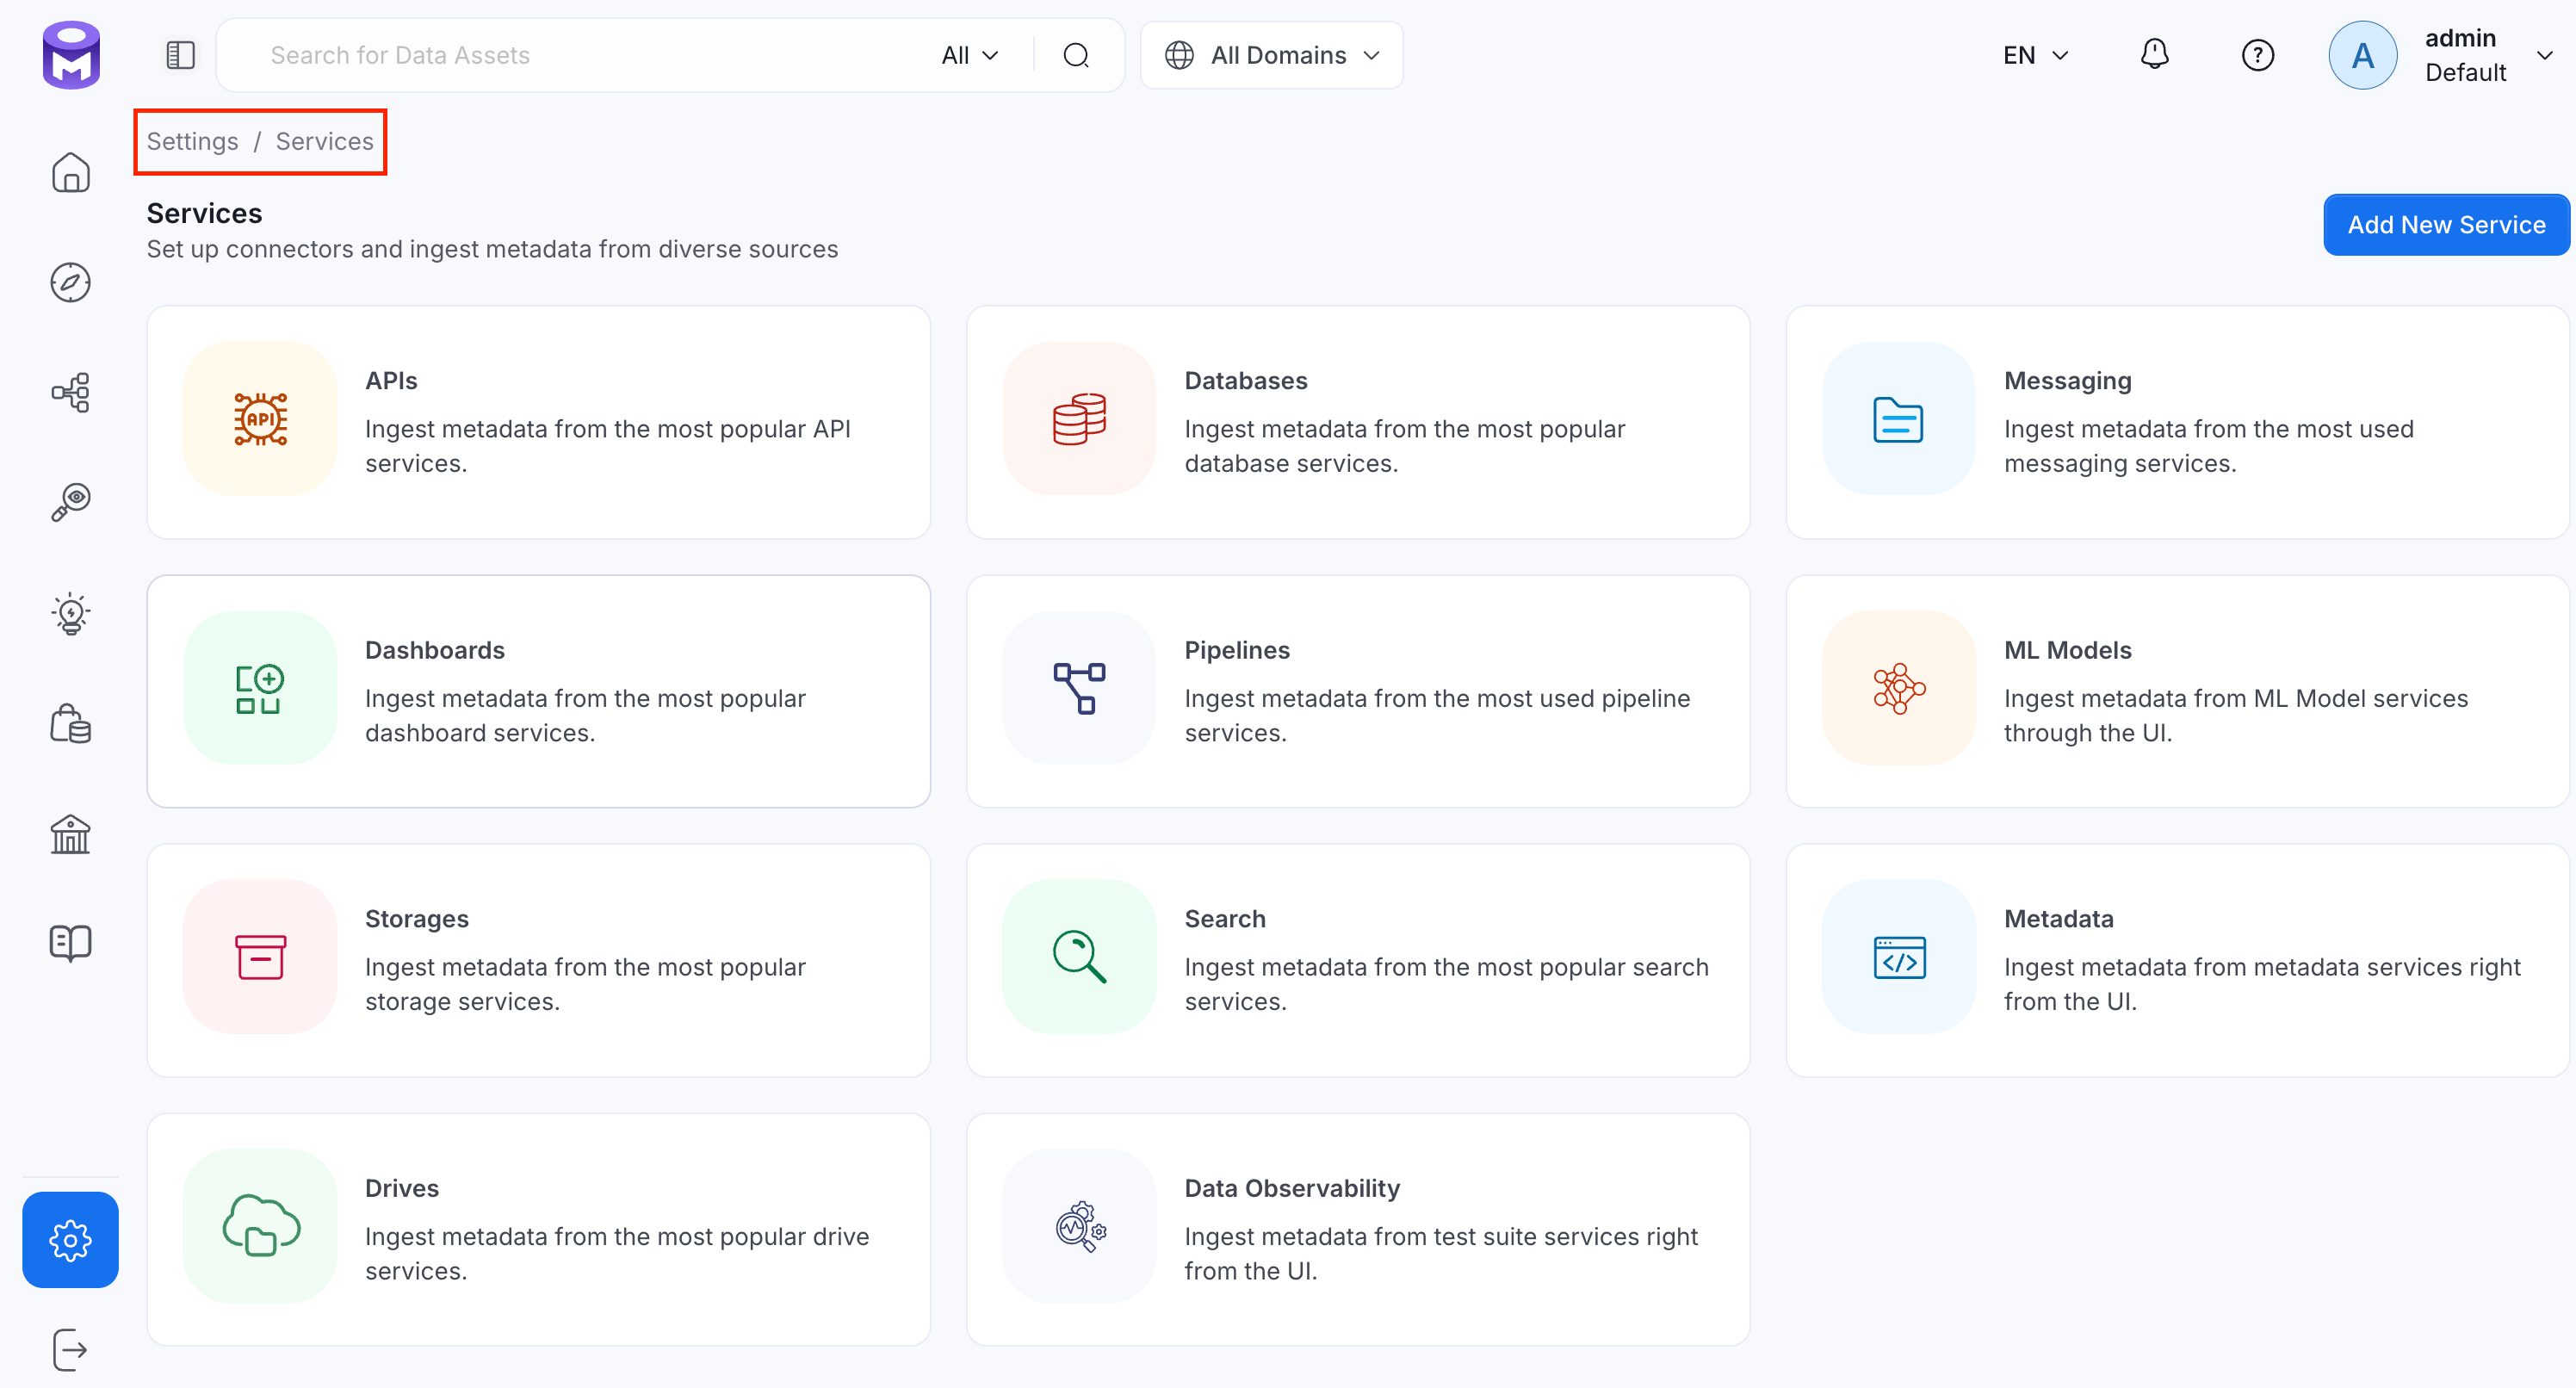
- Click the service you have added.
-
Select the Agents tab and click Add Agent > Metadata.

-
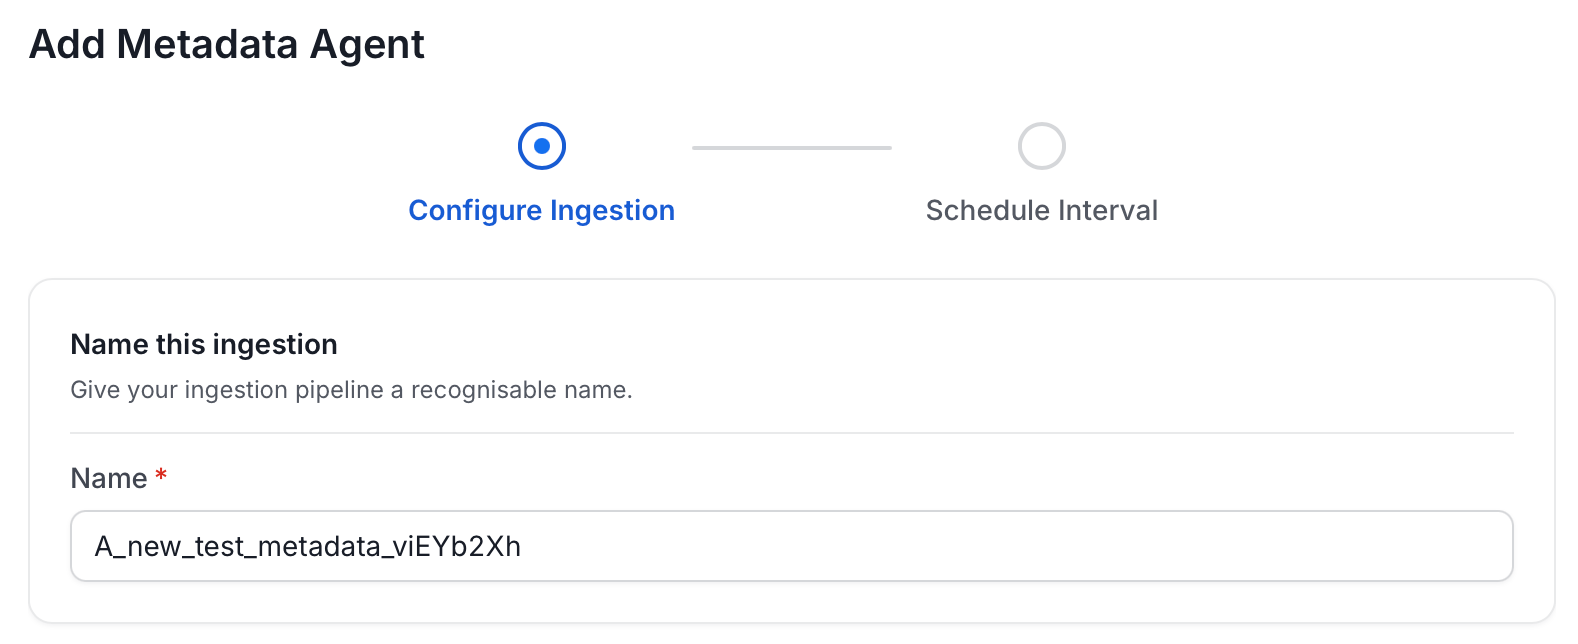
On the Configure Ingestion page, do the following and click Next.
-
Name this Ingestion: Enter a unique recognizable name for this ingestion pipeline.
-
Agent Setup: Configure core parameters for metadata extraction. The following fields are available:

-
Filter Patterns: Apply include or exclude rules to scope which databases, schemas, tables, and stored procedures this agent ingests. For more information about various filter options, see Step 6: Configure Ingestion Options.

-
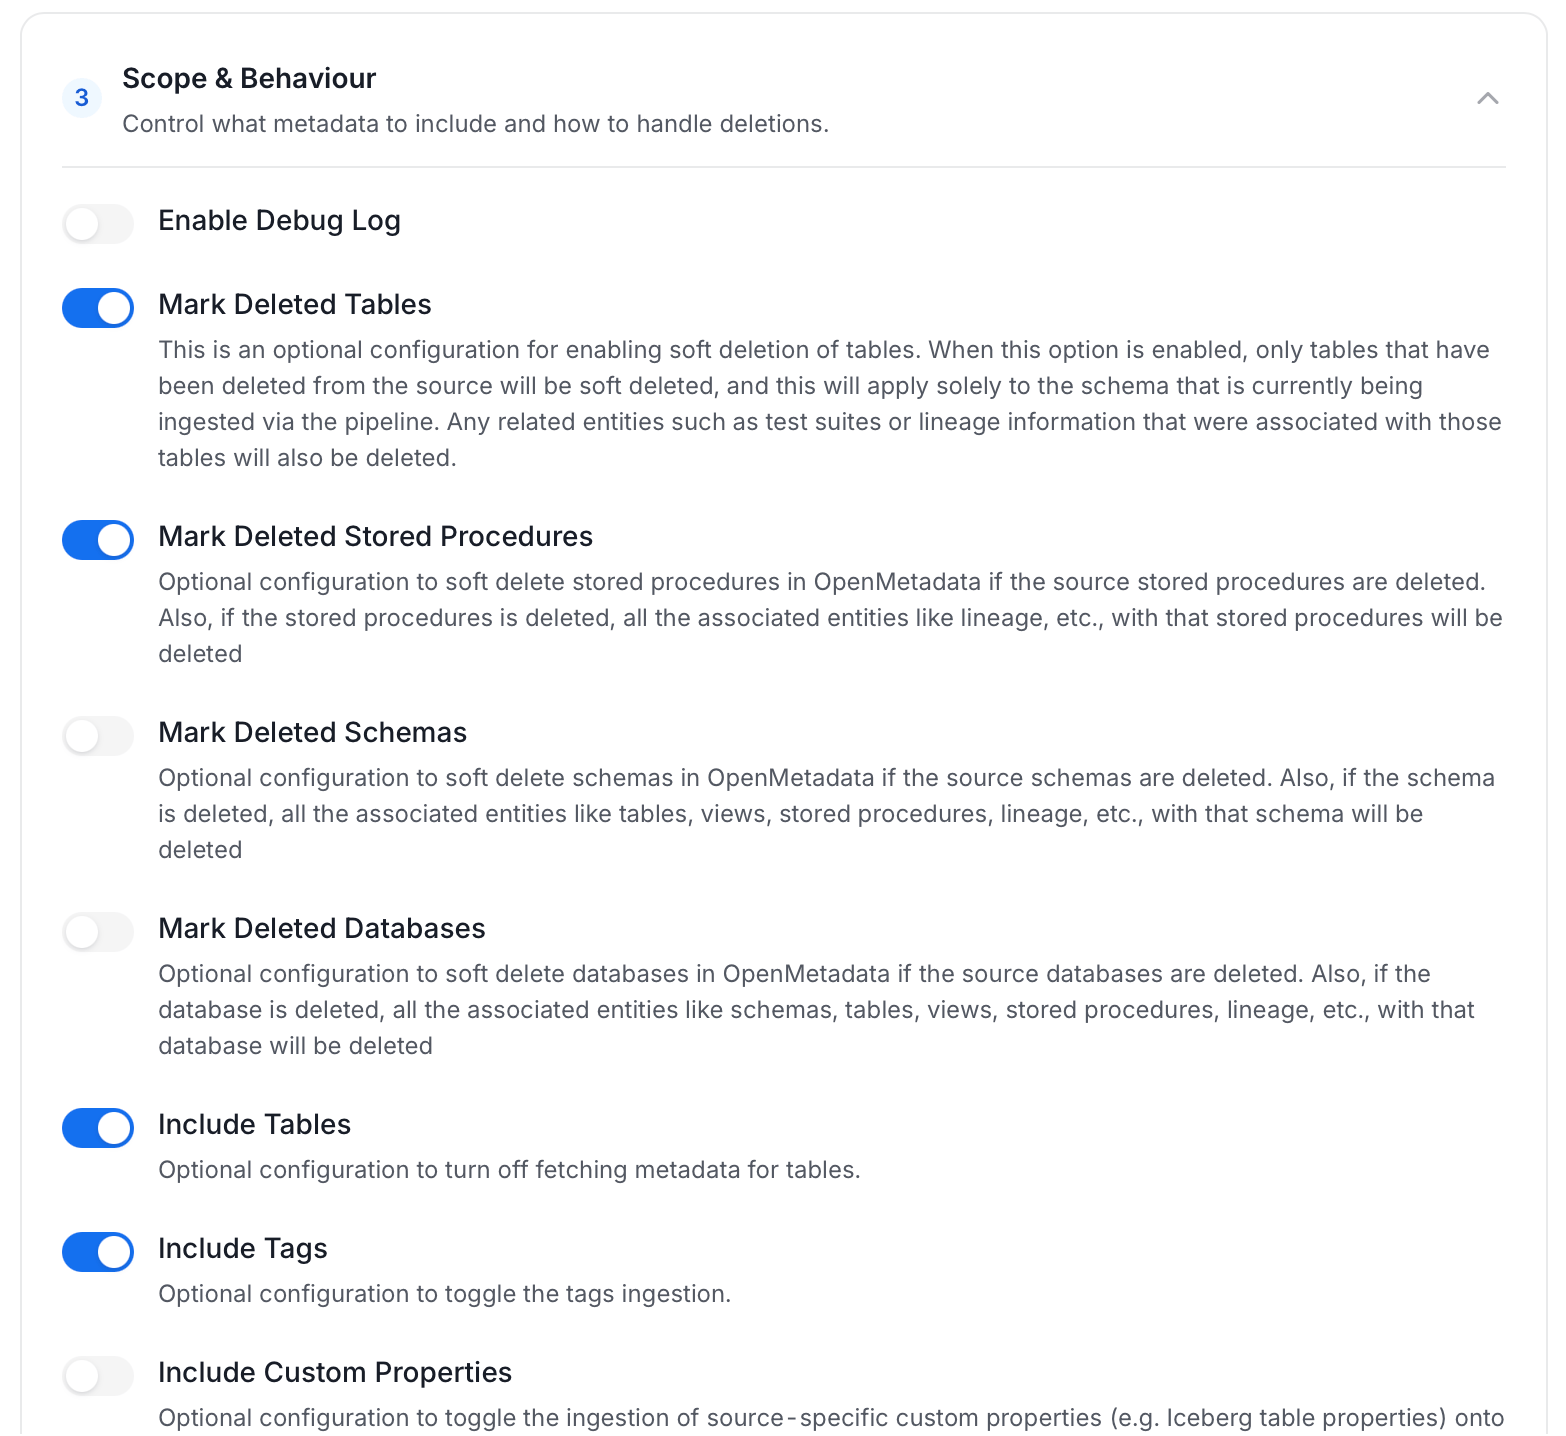
Scope & Behaviour: Control how the agent handles metadata during ingestion. Toggle each option on or off based on your needs:
Available toggles vary by connector. Stored procedure options only appear for connectors that support stored procedures.
-
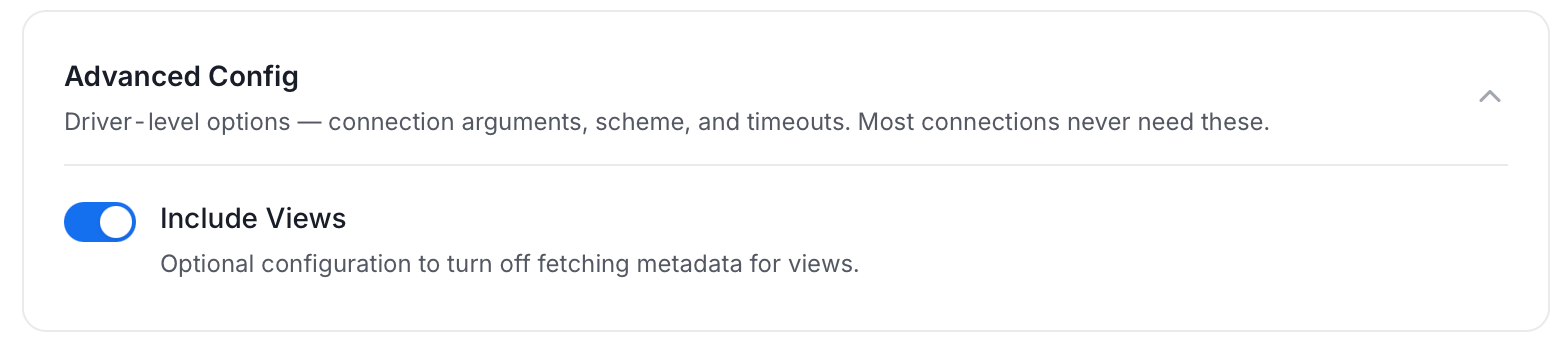
Advanced Config: Optional connector-specific settings such as Include Views and Extract JSON Schema.
-
Name this Ingestion: Enter a unique recognizable name for this ingestion pipeline.
-
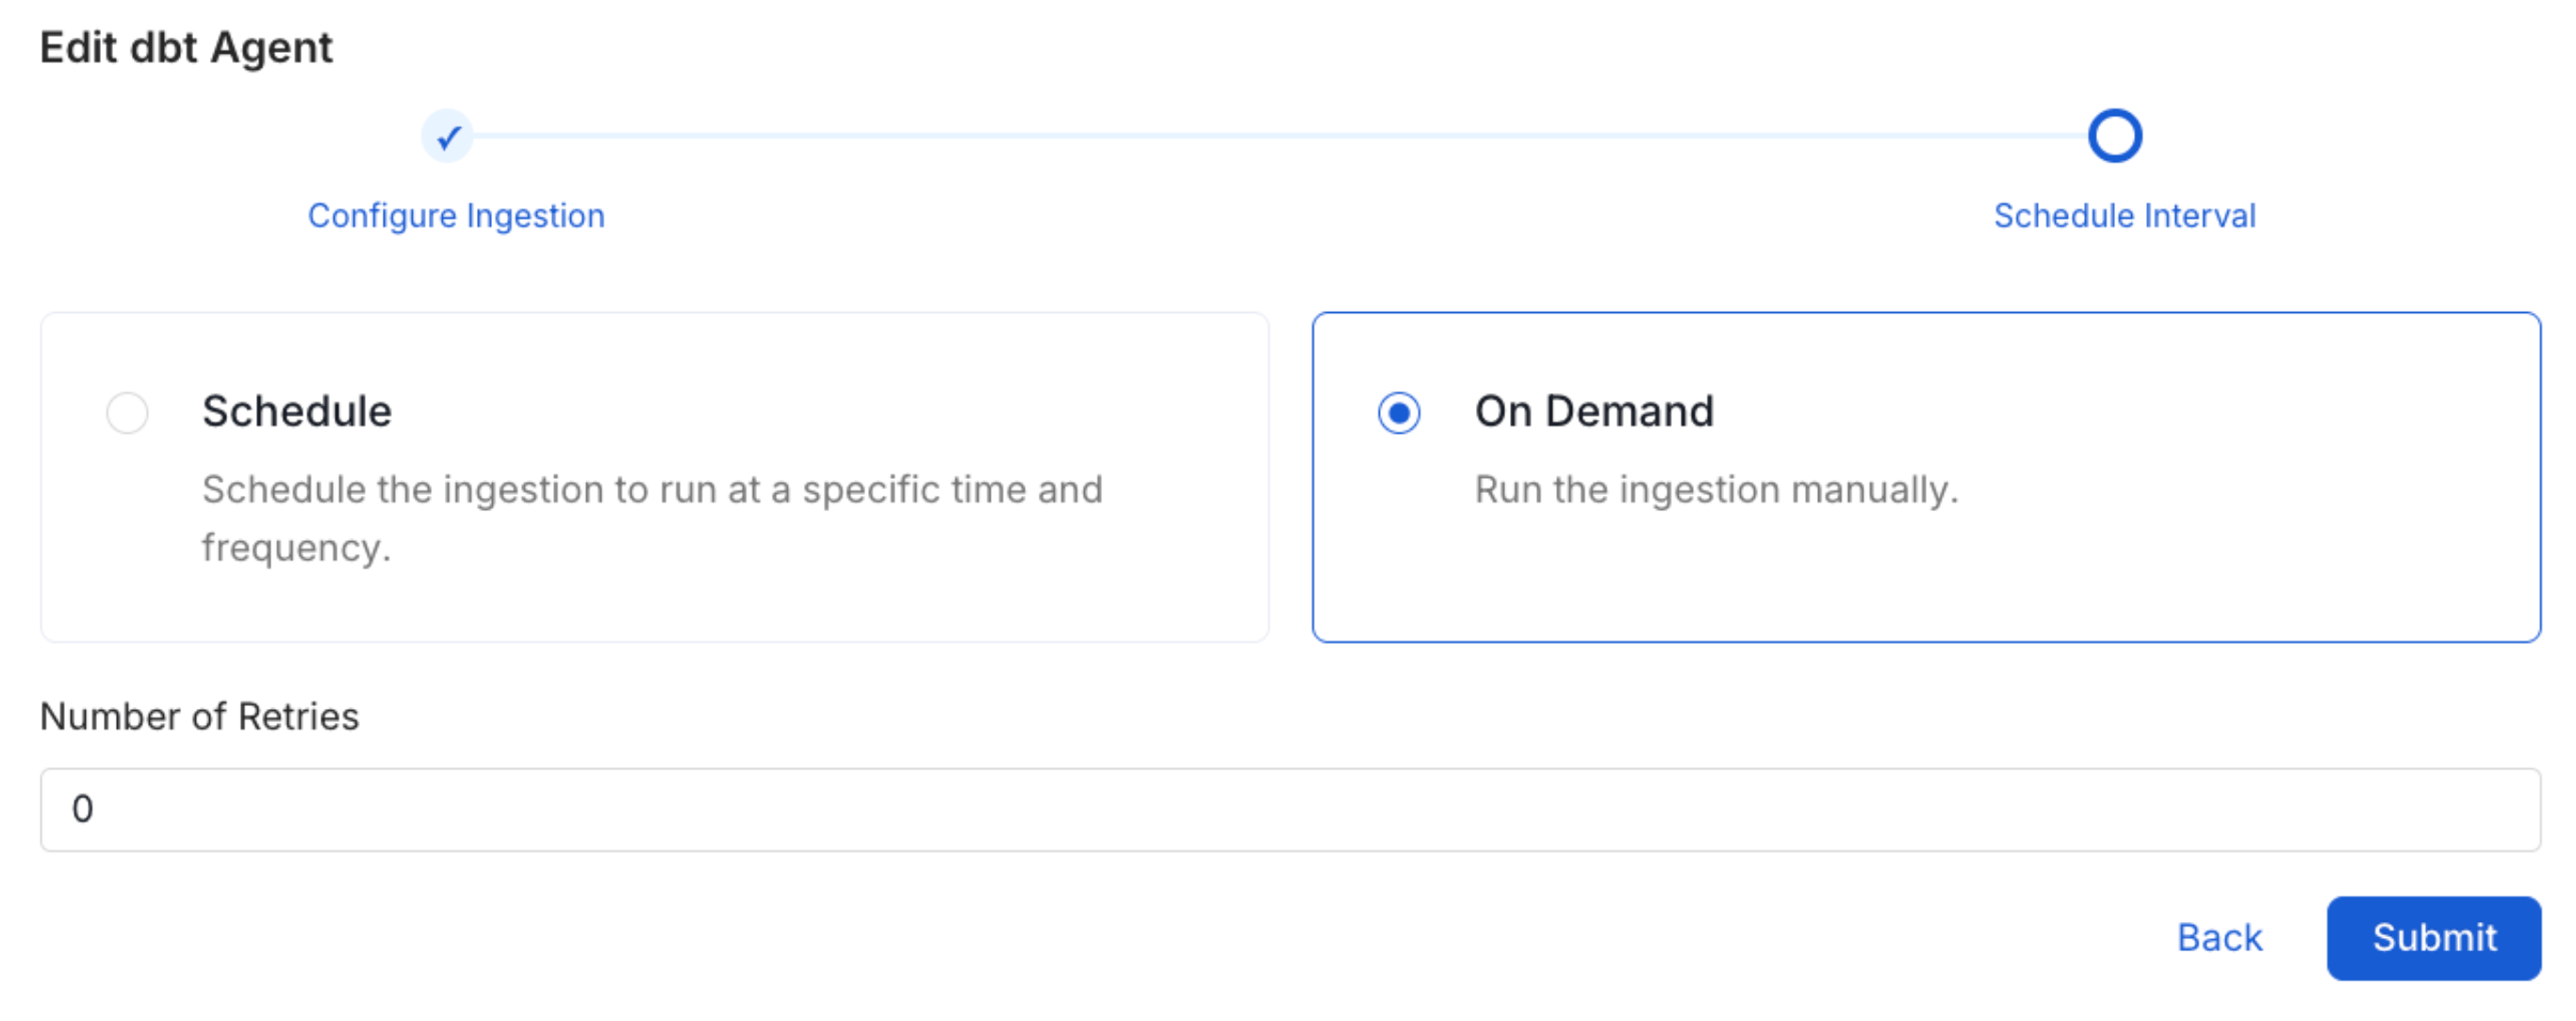
On the Schedule Interval page, set when the agent runs:
- Schedule: Choose a preset interval (Hourly, Daily, Weekly, Monthly) or enter a custom cron expression.
- On-Demand: No automatic schedule; trigger the agent manually when needed.
- Click Add to deploy the agent.
Incomplete Column Level for Views
For views with a tag or policy, you may see incorrect lineage, this can be because user may not have enough access to fetch those policies or tags. You need to grant the following privileges in order to fix it. Check out the Snowflake docs for further details.Related
Usage Workflow
Learn more about how to configure the Usage Workflow to ingest Query information from the UI.
Lineage Workflow
Learn more about how to configure the Lineage from the UI.
Profiler Workflow
Learn more about how to configure the Data Profiler from the UI.
Data Quality Workflow
Learn more about how to configure the Data Quality tests from the UI.
dbt Integration
Learn more about how to ingest dbt models’ definitions and their lineage.