> ## Documentation Index
> Fetch the complete documentation index at: https://openmetadata-format-2-0-connector-overview-pages.mintlify.site/llms.txt
> Use this file to discover all available pages before exploring further.

# S3 Storage | OpenMetadata Cloud Storage Integration

> Connect your S3 storage to OpenMetadata with our comprehensive connector guide. Step-by-step setup, configuration, and metadata extraction for AWS S3.

export const ConnectorDetailsHeader = ({name, icon, stage, availableFeatures, unavailableFeatures = [], availableFeaturesCollate = []}) => {
  const showSubHeading = availableFeatures?.length > 0 || unavailableFeatures?.length > 0 || availableFeaturesCollate?.length > 0;
  const totalAvailableFeatures = [...availableFeatures || [], ...availableFeaturesCollate || []];
  return <div className="container">
      <div className="Heading">
        <div className="flex items-center gap-3">
          {icon && <div className="IconContainer">
              <img src={icon} alt={name} noZoom className="ConnectorIcon" />
            </div>}
          <h1 className="ConnectorName">{name}</h1>
          <span className={`StageBadge ${stage === 'PROD' ? 'prod' : 'beta'}`}>
            {stage}
          </span>
        </div>
      </div>
      {showSubHeading && <div className="SubHeading">
          <div className="FeaturesHeading">Feature List</div>
          <div className="FeaturesList">
            {totalAvailableFeatures.map(feature => <div className="FeatureTag AvailableFeature" key={feature}>
                ✓ {feature}
              </div>)}
            {unavailableFeatures.map(feature => <div className="FeatureTag UnavailableFeature" key={feature}>
                ✕ {feature}
              </div>)}
          </div>
        </div>}
    </div>;
};

<ConnectorDetailsHeader icon="/public/images/connectors/amazon-s3.webp" name="S3 Storage" stage="PROD" availableFeatures={["Metadata", "Structured Containers", "Unstructured Containers"]} unavailableFeatures={[]} />

In this section, we provide guides and references to use the S3 connector.
Configure and schedule S3 metadata workflows from the OpenMetadata UI:

* [Requirements](#requirements)
* [Metadata Ingestion](#metadata-ingestion)
* [Troubleshooting](/v2.0.x-SNAPSHOT/connectors/storage/s3/troubleshooting)

## Requirements

We need the following permissions in AWS:

### S3 Permissions

For all the buckets that we want to ingest, we need to provide the following:

* `s3:ListBucket`
* `s3:GetObject`
* `s3:GetBucketLocation`
* `s3:ListAllMyBuckets`

Note that the `Resources` should be all the buckets that you'd like to scan. A possible policy could be:

```json theme={null}
{
    "Version": "2012-10-17",
    "Statement": [
        {
            "Effect": "Allow",
            "Action": [
                "s3:GetObject",
                "s3:ListBucket",
                "s3:GetBucketLocation",
                "s3:ListAllMyBuckets"
            ],
            "Resource": [
                "arn:aws:s3:::*"
            ]
        }
    ]
}
```

### CloudWatch Permissions

Which is used to fetch the total size in bytes for a bucket and the total number of files. It requires:

* `cloudwatch:GetMetricData`
* `cloudwatch:ListMetrics`

The policy would look like:

```json theme={null}
{
    "Version": "2012-10-17",
    "Statement": [
        {
            "Sid": "VisualEditor0",
            "Effect": "Allow",
            "Action": [
                "cloudwatch:GetMetricData",
                "cloudwatch:ListMetrics"
            ],
            "Resource": "*"
        }
    ]
}
```

### OpenMetadata Manifest

In any other connector, extracting metadata happens automatically. In this case, we will be able to extract high-level
metadata from buckets, but in order to understand their internal structure we need users to provide an `openmetadata.json`
file at the bucket root.

`Supported File Formats: [ "csv",  "tsv", "avro", "parquet", "json", "json.gz", "json.zip" ]`

You can learn more about this [here](/v2.0.x-SNAPSHOT/connectors/storage). Keep reading for an example on the shape of the manifest file.

## OpenMetadata Manifest

Our manifest file is defined as a [JSON Schema](https://github.com/open-metadata/OpenMetadata/blob/main/openmetadata-spec/src/main/resources/json/schema/metadataIngestion/storage/containerMetadataConfig.json),
and can look like this:

<CodePreview>
  <ContentPanel>
    <ContentSection id={1} title="Entries" lines="1-3">
      **Entries**: We need to add a list of `entries`. Each inner JSON structure will be ingested as a child container of the top-level one. In this case, we will be ingesting 7 children.
    </ContentSection>

    <ContentSection id={2} title="Simple Container" lines="4-9">
      **Simple Container**: The simplest container we can have would be structured, but without partitions. Note that we still need to bring information about:

      * **dataPath**: Where we can find the data. This should be a path relative to the top-level container.
      * **structureFormat**: What is the format of the data we are going to find. This information will be used to read the data.
      * **separator**: Optionally, for delimiter-separated formats such as CSV, you can specify the separator to use when reading the file. If you don't, we will use `,` for CSV and `/t` for TSV files.

      After ingesting this container, we will bring in the schema of the data in the `dataPath`.
    </ContentSection>

    <ContentSection id={3} title="Partitioned Container" lines="10-14">
      **Partitioned Container**: We can ingest partitioned data without bringing in any further details.

      By informing the `isPartitioned` field as `true`, we'll flag the container as `Partitioned`. We will be reading the source files schemas', but won't add any other information.
    </ContentSection>

    <ContentSection id={4} title="Single-Partition Container" lines="15-23">
      **Single-Partition Container**: We can bring partition information by specifying the `partitionColumns`. Their definition is based on the [JSON Schema](https://github.com/open-metadata/OpenMetadata/blob/main/openmetadata-spec/src/main/resources/json/schema/entity/data/table.json#L232) definition for table columns. The minimum required information is the `name` and `dataType`.

      When passing `partitionColumns`, these values will be added to the schema, on top of the inferred information from the files.
    </ContentSection>

    <ContentSection id={5} title="Multiple-Partition Container" lines="24-33">
      **Multiple-Partition Container**: We can add multiple columns as partitions.

      Note how in the example we even bring our custom `displayName` for the column `dataTypeDisplay` for its type.

      Again, this information will be added on top of the inferred schema from the data files.
    </ContentSection>

    <ContentSection id={6} title="Automated Container Ingestion" lines="34-37">
      **Automated Container Ingestion**: Registering all the data paths one by one can be a time consuming job, to make the automated structure container ingestion you can provide the depth at which all the data is available.

      For example, suppose following is the file hierarchy within your bucket:

      ```
      # prefix/depth1/depth2/depth3
      athena_service/my_database_a/my_schema_a/table_a/date=01-01-2025/data.parquet
      athena_service/my_database_a/my_schema_a/table_a/date=02-01-2025/data.parquet
      athena_service/my_database_a/my_schema_a/table_b/date=01-01-2025/data.parquet
      athena_service/my_database_a/my_schema_a/table_b/date=02-01-2025/data.parquet

      athena_service/my_database_b/my_schema_a/table_a/date=01-01-2025/data.parquet
      athena_service/my_database_b/my_schema_a/table_a/date=02-01-2025/data.parquet
      athena_service/my_database_b/my_schema_a/table_b/date=01-01-2025/data.parquet
      athena_service/my_database_b/my_schema_a/table_b/date=02-01-2025/data.parquet
      ```

      All table folders containing actual data are at depth 3. When you specify `depth: 3` in the manifest entry, all following paths will get registered as containers in OpenMetadata with this single entry:

      ```
      athena_service/my_database_a/my_schema_a/table_a
      athena_service/my_database_a/my_schema_a/table_b
      athena_service/my_database_b/my_schema_a/table_a
      athena_service/my_database_b/my_schema_a/table_b
      ```

      This saves effort - 1 entry instead of 4 individual entries.
    </ContentSection>

    <ContentSection id={7} title="Unstructured Container" lines="38-45">
      **Unstructured Container**: OpenMetadata supports ingesting unstructured files like images, PDFs, etc. We support fetching the file names, size, and tags associated with such files.

      * To ingest a **single unstructured file**: specify the full path of the file in `dataPath`
      * To ingest **specific file types** (e.g., `pdf` & `png`): provide the folder name in `dataPath` and list of extensions in `unstructuredFormats`
      * To ingest **all unstructured files** regardless of type: provide the folder name in `dataPath` and `["*"]` in `unstructuredFormats`
    </ContentSection>
  </ContentPanel>

  <CodePanel fileName="openmetadata.json">
    ```json theme={null}
    {
      "entries": [
        {
          "dataPath": "transactions/",
          "structureFormat": "csv",
          "separator": ","
        },
        {
          "dataPath": "orders/",
          "structureFormat": "parquet",
          "isPartitioned": true
        },
        {
          "dataPath": "users/",
          "structureFormat": "parquet",
          "isPartitioned": true,
          "partitionColumns": [
            {
              "name": "signup_date",
              "dataType": "DATE"
            }
          ]
        },
        {
          "dataPath": "events/",
          "structureFormat": "parquet",
          "isPartitioned": true,
          "partitionColumns": [
            {
              "name": "event_date",
              "dataType": "DATE"
            },
            {
              "name": "region",
              "dataType": "STRING"
            }
          ]
        },
        {
          "depth": 3,
          "structureFormat": "parquet"
        },
        {
          "dataPath": "reports/report.pdf"
        },
        {
          "dataPath": "documents/",
          "unstructuredFormats": ["pdf", "png", "jpg"]
        }
      ]
    }
    ```
  </CodePanel>
</CodePreview>

### Global Manifest

You can also manage a **single** manifest file to centralize the ingestion process for any container, named `openmetadata_storage_manifest.json`.

<CodePreview>
  <ContentPanel>
    <ContentSection id={1} title="Existing Fields" lines="1-15">
      The fields shown above (`dataPath`, `structureFormat`, `isPartitioned`, etc.) are still valid and work the same way in the global manifest.
    </ContentSection>

    <ContentSection id={2} title="Container Name" lines="1-15">
      **Container Name**: Since we are using a single manifest for all your containers, the field `containerName` will help us identify which container (or Bucket in S3, etc.) contains the presented information.

      Each entry in the global manifest must include a `containerName` to specify which bucket or container it belongs to.
    </ContentSection>
  </ContentPanel>

  <CodePanel fileName="openmetadata_storage_manifest.json">
    ```json theme={null}
    {
      "entries": [
        {
          "containerName": "my-s3-bucket-1",
          "dataPath": "transactions/",
          "structureFormat": "csv",
          "separator": ","
        },
        {
          "containerName": "my-s3-bucket-1",
          "dataPath": "orders/",
          "structureFormat": "parquet",
          "isPartitioned": true
        },
        {
          "containerName": "my-s3-bucket-2",
          "dataPath": "users/",
          "structureFormat": "parquet",
          "isPartitioned": true,
          "partitionColumns": [
            {
              "name": "signup_date",
              "dataType": "DATE"
            }
          ]
        },
        {
          "containerName": "my-s3-bucket-2",
          "dataPath": "events/",
          "structureFormat": "json"
        }
      ]
    }
    ```
  </CodePanel>
</CodePreview>

You can also keep local manifests `openmetadata.json` in each container, but if possible, we will always try to pick up the global manifest during the ingestion.

## Metadata Ingestion

To ingest metadata from S3, you need to create a service connection. The service connects S3 with OpenMetadata. Once you create a service, OpenMetadata automatically starts ingesting metadata.

### Step 1: Add New Service

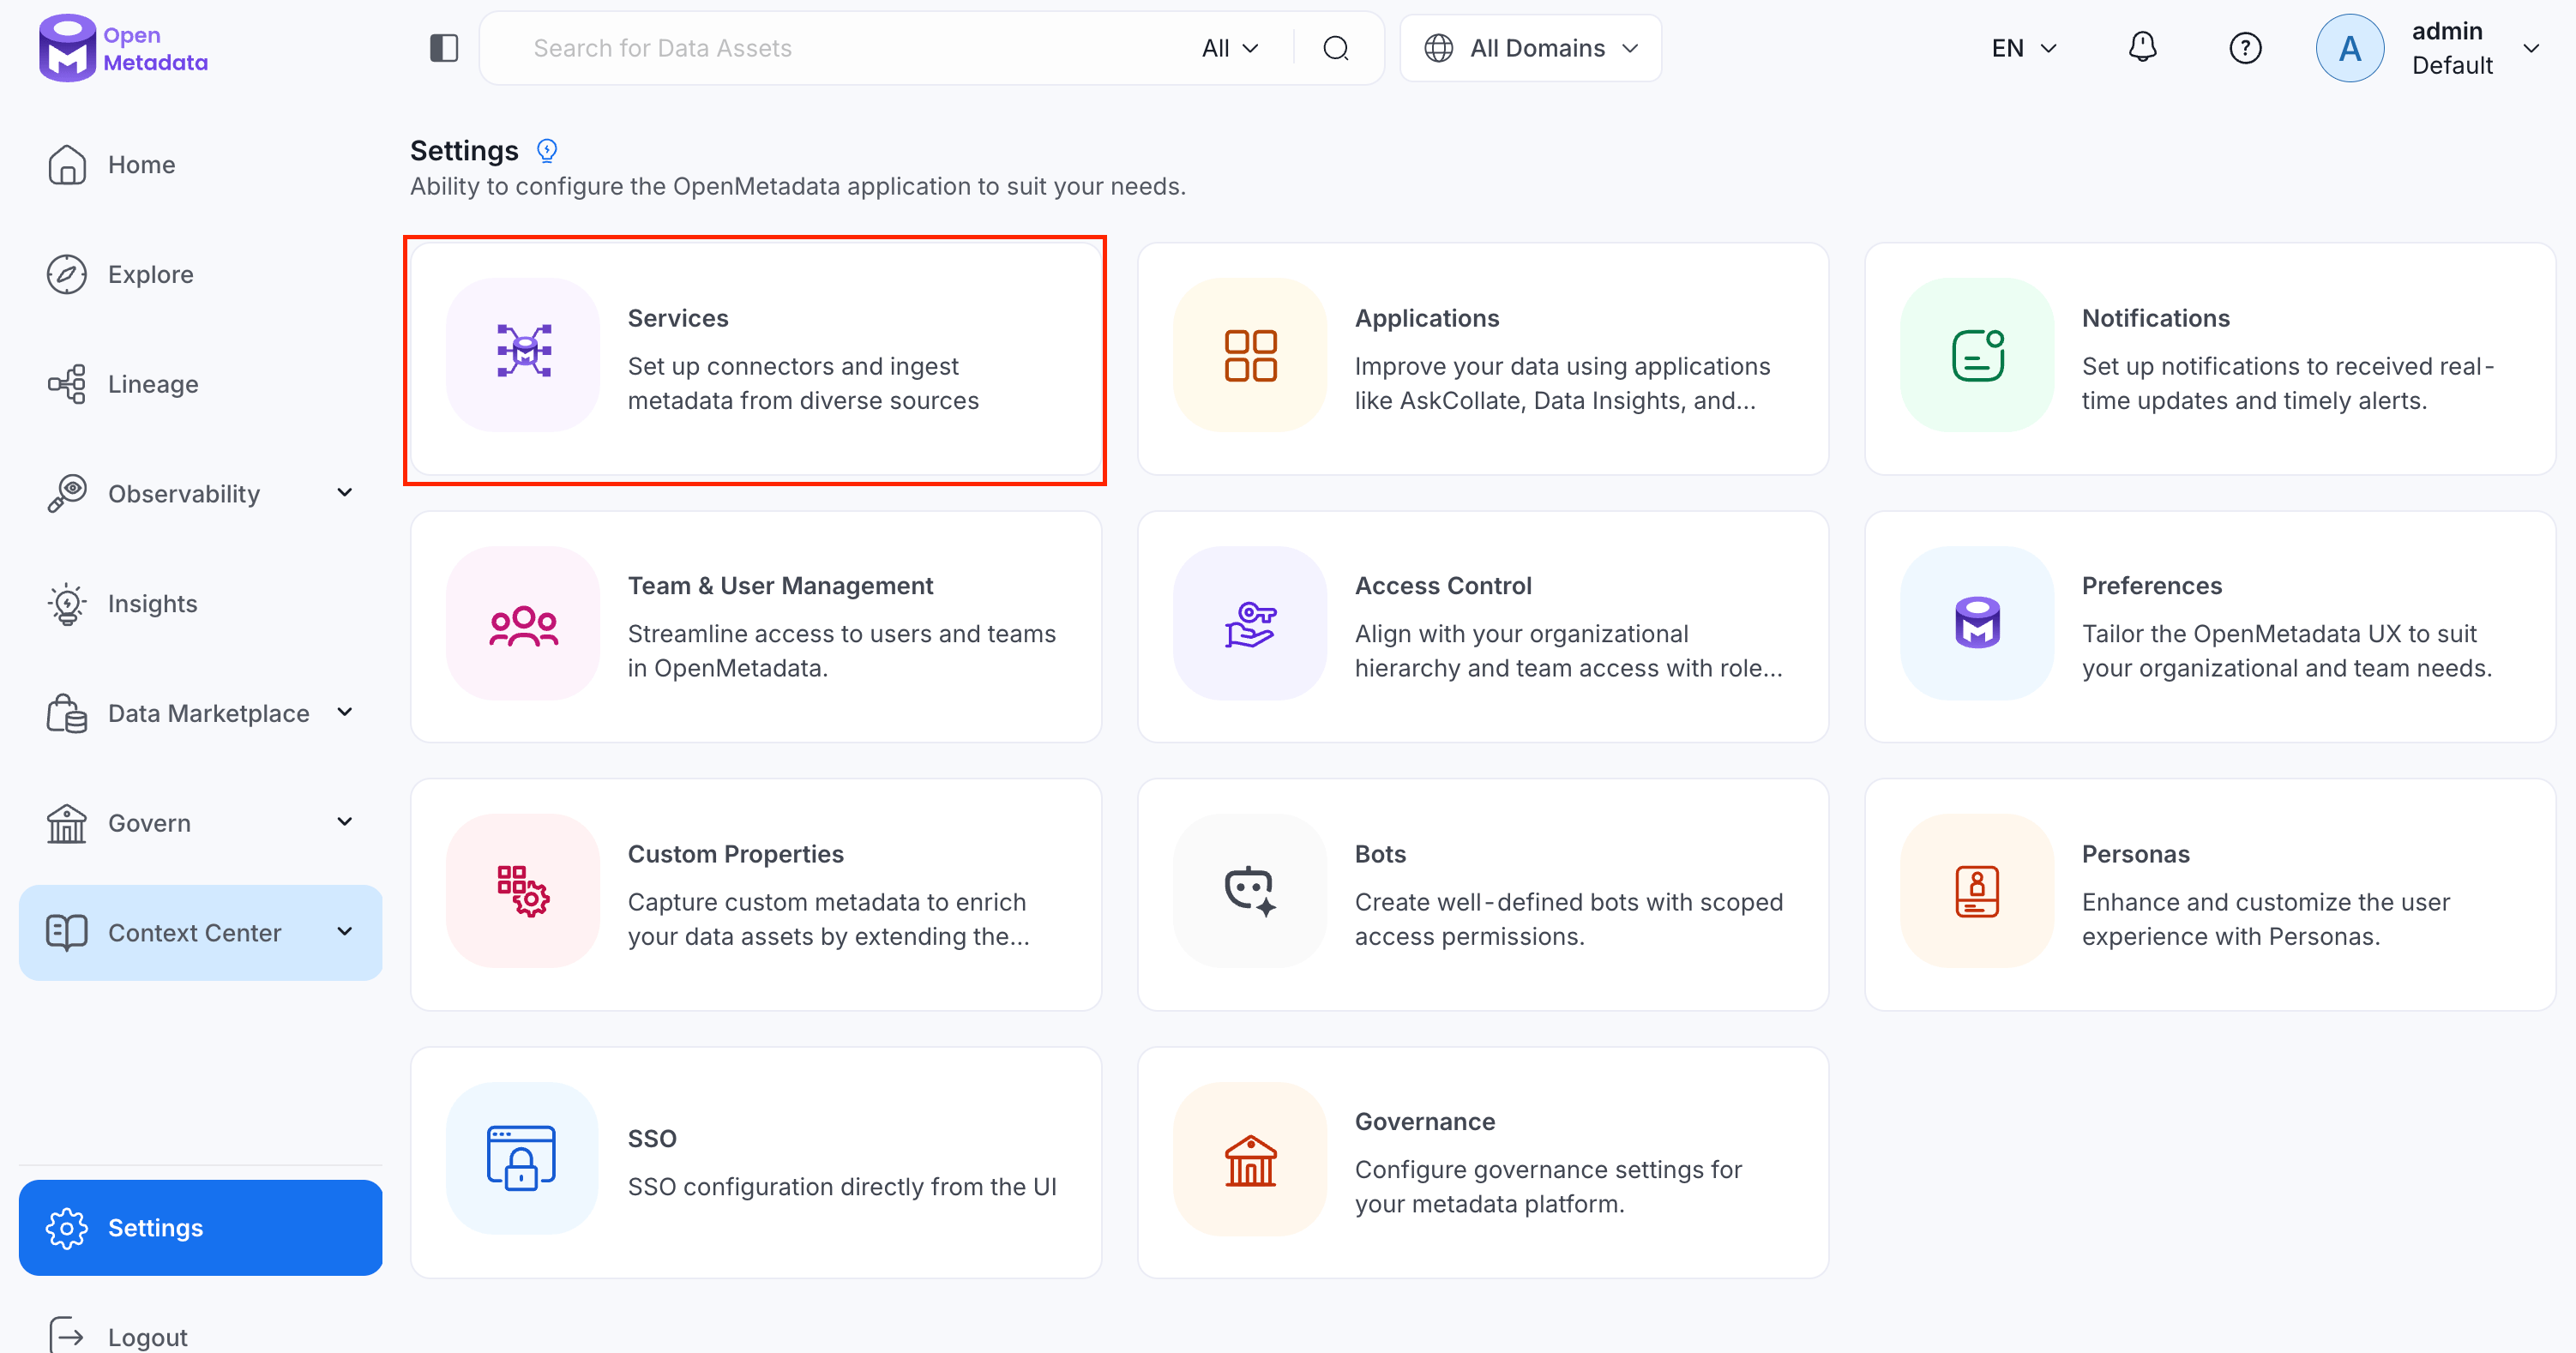
1. Navigate to **Settings** > **Services**.

   <img src="https://mintcdn.com/openmetadata-format-2-0-connector-overview-pages/aexFmzYHE_P6Lrks/public/images/connector2.0/metadata-ingestion/access-services.png?fit=max&auto=format&n=aexFmzYHE_P6Lrks&q=85&s=1d8b1bddab7b8b43c20d4384be39e12a" alt="Navigate to Settings and Services" width="3004" height="1578" data-path="public/images/connector2.0/metadata-ingestion/access-services.png" />

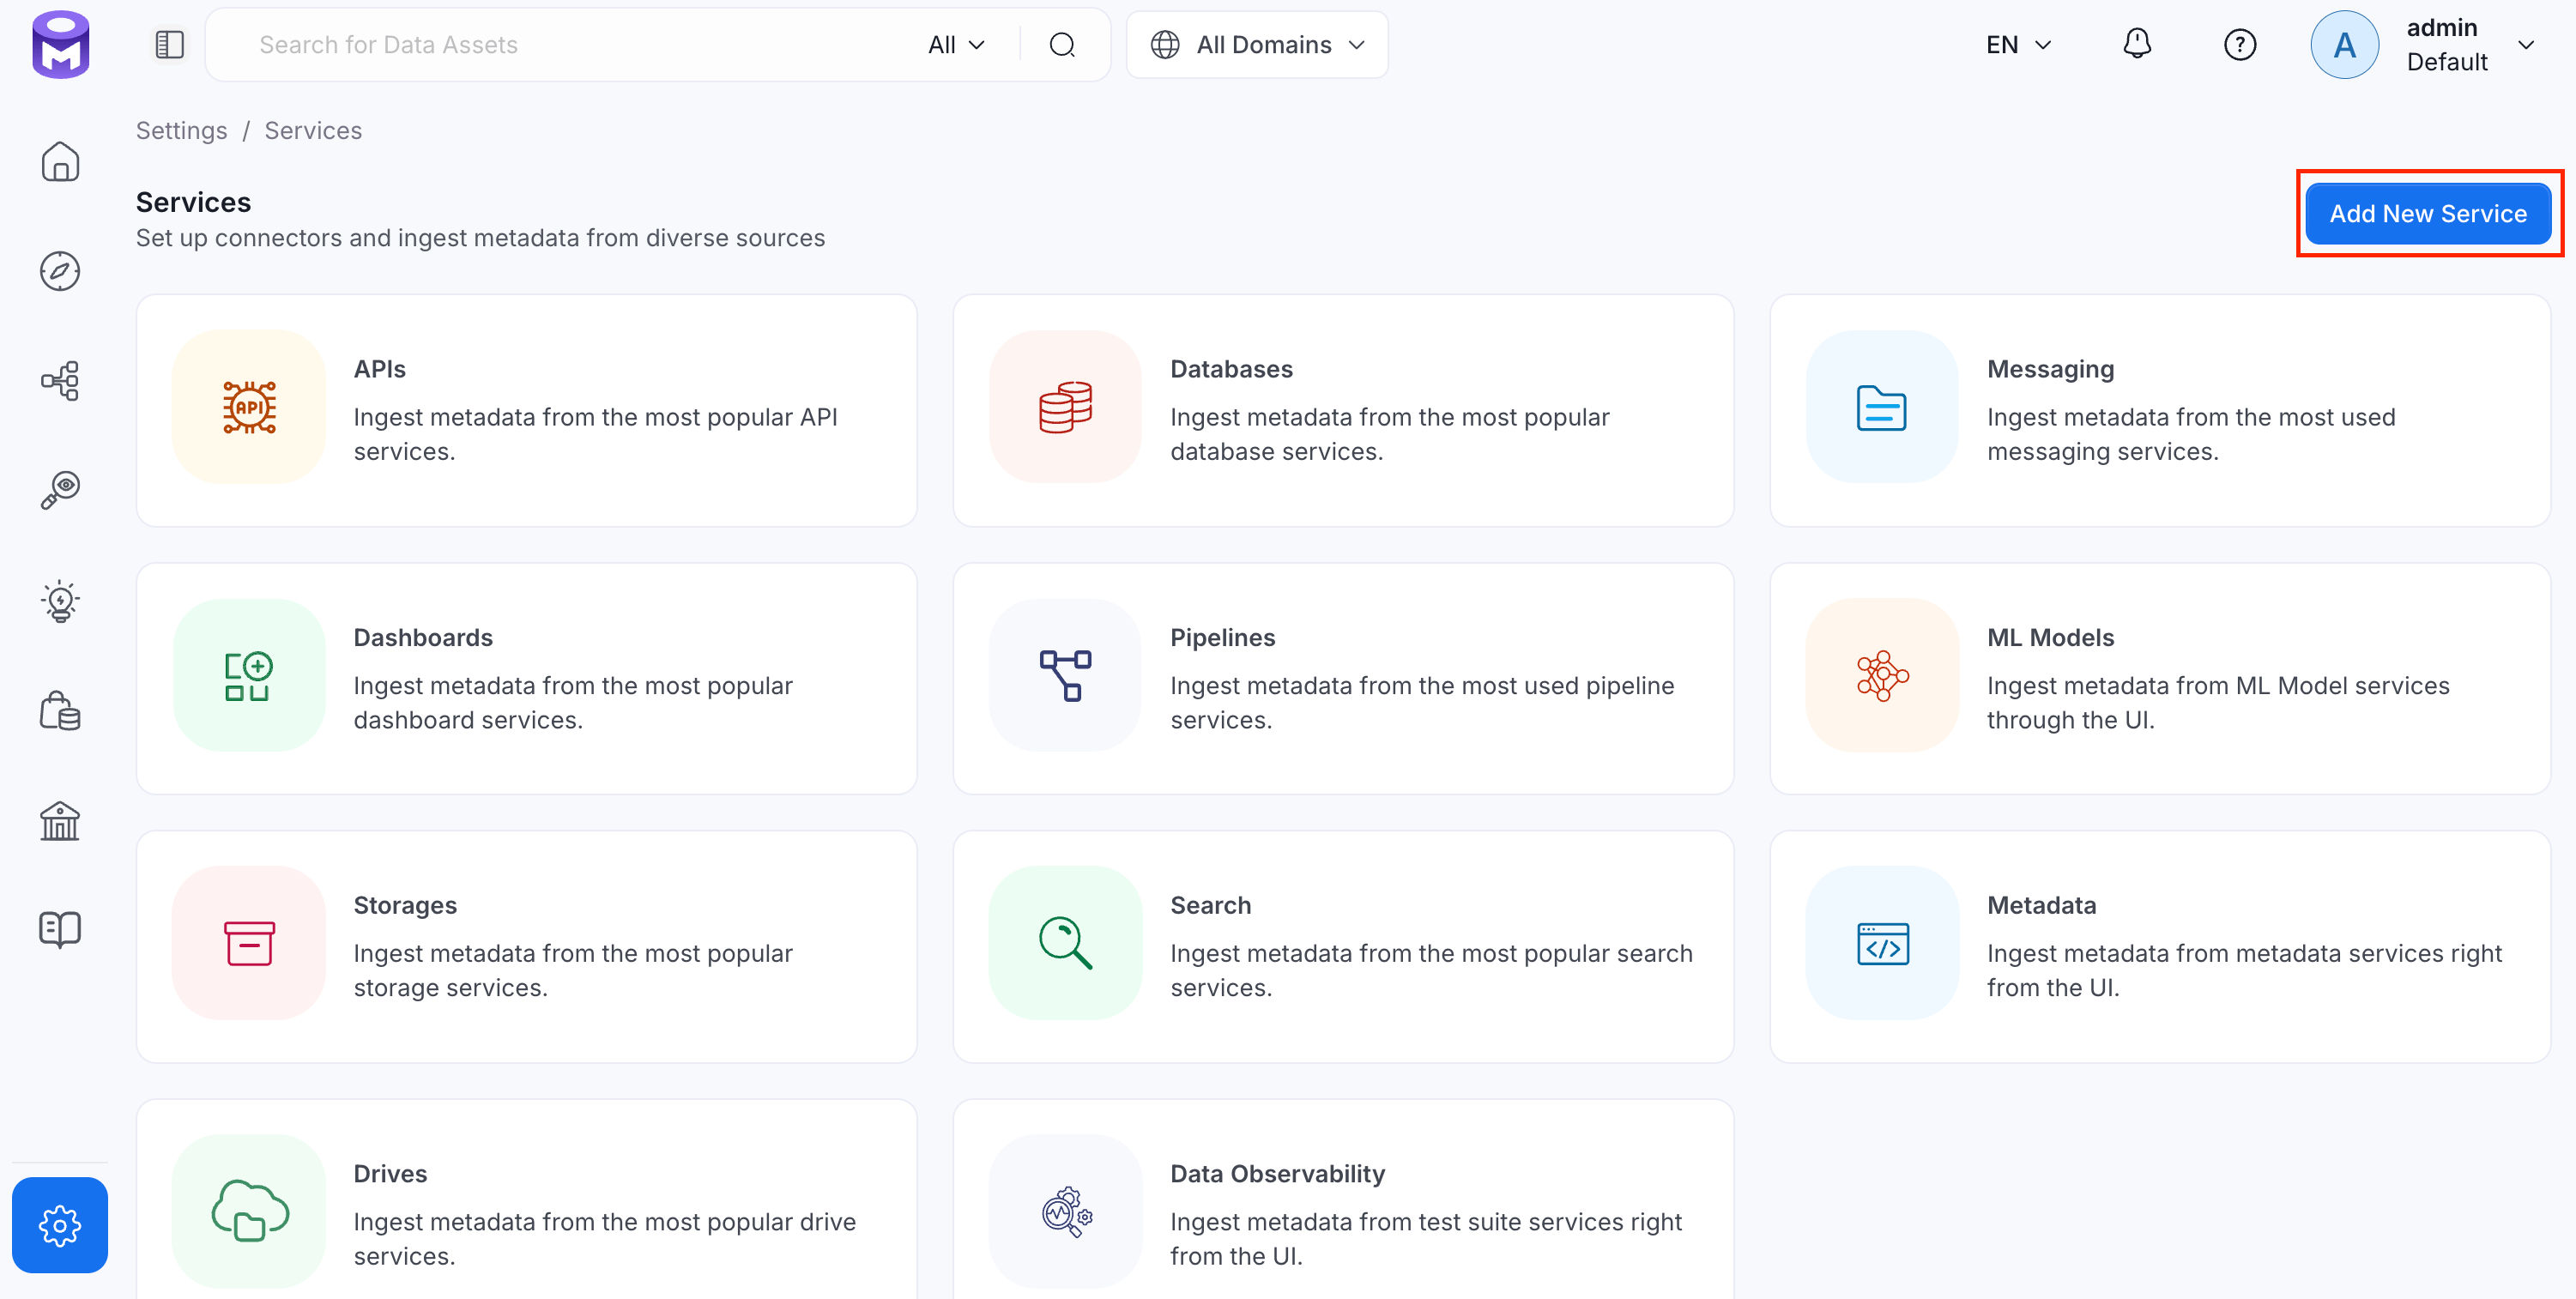
2. Click **Add New Service**.

   <img src="https://mintcdn.com/openmetadata-format-2-0-connector-overview-pages/aexFmzYHE_P6Lrks/public/images/connector2.0/metadata-ingestion/add-new-service.png?fit=max&auto=format&n=aexFmzYHE_P6Lrks&q=85&s=792f4403f83940c398633345505482a0" alt="Add New Service" width="3002" height="1514" data-path="public/images/connector2.0/metadata-ingestion/add-new-service.png" />

### Step 2: Select a Service and Connector

From the service type dropdown, select **Storage Services**, then click the **S3** connector tile.

<img src="https://mintcdn.com/openmetadata-format-2-0-connector-overview-pages/aexFmzYHE_P6Lrks/public/images/connector2.0/metadata-ingestion/Storage/select-service/s3.png?fit=max&auto=format&n=aexFmzYHE_P6Lrks&q=85&s=180fcfdf92477005935337473d221829" alt="Select Service" width="2366" height="880" data-path="public/images/connector2.0/metadata-ingestion/Storage/select-service/s3.png" />

### Step 3: Add Service Name and Description

* Enter a unique, descriptive **Service Name**. OpenMetadata identifies services by their service name. Enter a name that distinguishes this deployment from other S3 services you are ingesting metadata from.
* Optional: Enter a **Description** for the service.

<img src="https://mintcdn.com/openmetadata-format-2-0-connector-overview-pages/aexFmzYHE_P6Lrks/public/images/connector2.0/metadata-ingestion/Storage/service-name/s3.png?fit=max&auto=format&n=aexFmzYHE_P6Lrks&q=85&s=2d6756c7ffeaf8b0b1133f30d04756c1" alt="Configure Service" width="1460" height="816" data-path="public/images/connector2.0/metadata-ingestion/Storage/service-name/s3.png" />

<Note>
  **Note**: The service name cannot be changed after it is set.
</Note>

### Step 4: Configure Connection Options

Specify your source credentials and verify the connection.

#### Enter Connection Details

Enter the connection details for S3. The right-hand panel in the UI displays inline help for each field.

<img src="https://mintcdn.com/openmetadata-format-2-0-connector-overview-pages/gRbSGI6PilrVY_cm/public/images/connector2.0/metadata-ingestion/Storage/connection-details/s3.png?fit=max&auto=format&n=gRbSGI6PilrVY_cm&q=85&s=31976c839b5c136d0e00f3eda6110412" alt="Configure Service Connection" width="1460" height="982" data-path="public/images/connector2.0/metadata-ingestion/Storage/connection-details/s3.png" />

* **AWS Access Key ID and AWS Secret Access Key**: When you interact with AWS, you specify your AWS security credentials to verify who you are and whether you have
  permission to access the resources that you are requesting. AWS uses the security credentials to authenticate and
  authorize your requests ([docs](https://docs.aws.amazon.com/IAM/latest/UserGuide/security-creds.html)).
  Access keys consist of two parts: An **access key ID** (for example, `AKIAIOSFODNN7EXAMPLE`), and a **secret access key** (for example, `wJalrXUtnFEMI/K7MDENG/bPxRfiCYEXAMPLEKEY`).
  You must use both the access key ID and secret access key together to authenticate your requests.
  You can find further information on [how to manage your access keys](https://docs.aws.amazon.com/IAM/latest/UserGuide/id_credentials_access-keys.html).
* **AWS Region**: Each AWS Region is a separate geographic area in which AWS clusters data centers ([docs](https://docs.aws.amazon.com/AmazonRDS/latest/UserGuide/Concepts.RegionsAndAvailabilityZones.html)).
  As AWS can have instances in multiple regions, we need to know the region the service you want to reach belongs to.
  Note that the AWS Region is the only required parameter when configuring a connection. When connecting to the
  services programmatically, there are different ways in which we can extract and use the rest of AWS configurations.
  You can find further information about [configuring your credentials](https://boto3.amazonaws.com/v1/documentation/api/latest/guide/credentials.html#configuring-credentials).
* **AWS Session Token (optional)**: If you are using temporary credentials to access your services, you will need to inform the AWS Access Key ID
  and AWS Secrets Access Key. Also, these will include an AWS Session Token.
  You can find more information on [Using temporary credentials with AWS resources](https://docs.aws.amazon.com/IAM/latest/UserGuide/id_credentials_temp_use-resources.html).
* **Endpoint URL (optional)**: To connect programmatically to an AWS service, you use an endpoint. An *endpoint* is the URL of the
  entry point for an AWS web service. The AWS SDKs and the AWS Command Line Interface (AWS CLI) automatically uses the
  default endpoint for each service in an AWS Region. But you can specify an alternate endpoint for your API requests.
  Find more information on [AWS service endpoints](https://docs.aws.amazon.com/general/latest/gr/rande.html).
* **Profile Name**: A named profile is a collection of settings and credentials that you can apply to an AWS CLI command.
  When you specify a profile to run a command, the settings and credentials are used to run that command.
  Multiple named profiles can be stored in the config and credentials files.
  You can inform this field if you'd like to use a profile other than `default`.
  Find more information about [Named profiles for the AWS CLI](https://docs.aws.amazon.com/cli/latest/userguide/cli-configure-profiles.html).
* **Assume Role Arn**: Typically, you use `AssumeRole` within your account or for cross-account access. In this field you'll set the
  `ARN` (Amazon Resource Name) of the policy of the other account.
  A user who wants to access a role in a different account must also have permissions that are delegated from the account
  administrator. The administrator must attach a policy that allows the user to call `AssumeRole` for the `ARN` of the role in the other account.
  This is a required field if you'd like to `AssumeRole`.
  Find more information on [AssumeRole](https://docs.aws.amazon.com/STS/latest/APIReference/API_AssumeRole.html).
<Tip>
  When using Assume Role authentication, ensure you provide the following details:

  * **AWS Region**: Specify the AWS region for your deployment.
  * **Assume Role ARN**: Provide the ARN of the role in your AWS account that OpenMetadata will assume.
</Tip>

* **Assume Role Session Name**: An identifier for the assumed role session. Use the role session name to uniquely identify a session when the same role
  is assumed by different principals or for different reasons.
  By default, we'll use the name `OpenMetadataSession`.
  Find more information about the [Role Session Name](https://docs.aws.amazon.com/STS/latest/APIReference/API_AssumeRole.html#:~:text=An%20identifier%20for%20the%20assumed%20role%20session.).
* **Assume Role Source Identity**: The source identity specified by the principal that is calling the `AssumeRole` operation. You can use source identity
  information in AWS CloudTrail logs to determine who took actions with a role.
  Find more information about [Source Identity](https://docs.aws.amazon.com/STS/latest/APIReference/API_AssumeRole.html#:~:text=Required%3A%20No-,SourceIdentity,-The%20source%20identity).
* **Bucket Names (Optional)**: Provide the names of buckets that you would want to ingest, if you want to ingest metadata from all buckets or apply a filter to ingest buckets then leave this field empty.

#### Test Connection

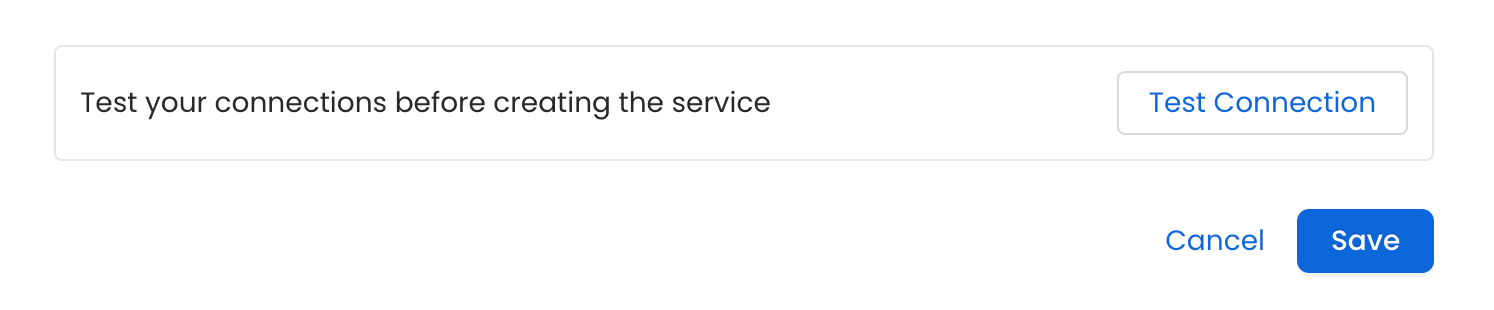
Once the credentials have been added, click on **Test Connection** and **Save** the changes.

<img src="https://mintcdn.com/openmetadata-format-2-0-connector-overview-pages/2XRXwl2QkxBakIS8/public/images/connectors/test-connection.png?fit=max&auto=format&n=2XRXwl2QkxBakIS8&q=85&s=abe3b568c662295afc530c6c6819f9a5" alt="Test Connection" width="1494" height="310" data-path="public/images/connectors/test-connection.png" />

### Step 5: Configure Ingestion Options

In the **What to Ingest** step, use filter patterns to control which assets OpenMetadata ingests from your storage service. Filter patterns use regular expressions applied to container names.

#### How Filter Patterns Work

* **Include**: Add one or more comma-separated regular expressions. OpenMetadata ingests only containers whose names match at least one expression. Leave blank to include all containers.
* **Exclude**: Add one or more comma-separated regular expressions. OpenMetadata skips any container whose name matches an expression. Leave blank to exclude nothing.

Rules match asset names using one of five expressions:

* **contains**: matches any name containing the value. For example, `sales` matches `my_sales_data` and `sales_2024`.
* **starts with**: matches names beginning with the value. For example, `prod_` matches `prod_db` and `prod_schema`.
* **ends with**: matches names ending with the value. For example, `_raw` matches `events_raw` and `logs_raw`.
* **is exactly**: matches the exact name only. For example, `analytics` matches only `analytics`.
* **matches regex**: matches names using a regular expression. For example, `^prod_.*_v\d+$` matches `prod_events_v1`.

When both Include and Exclude are set, Exclude takes priority.
<Tip>
  Leave the filter pattern empty to ingest all containers (S3 buckets, ADLS containers, GCS buckets) available in the source.
</Tip>

**Filter Options**

The Container section includes the following filter options:

* **Container**: Controls which top-level storage containers (S3 buckets, ADLS containers, or GCS buckets) OpenMetadata ingests from the source.

Each section provides the following controls:

* **Scan Mode**: You can choose between the following scan modes:
  * **Scan all**: Ingests every asset of that type the connector can access. This is the default.
  * **Only specific**: Enables include rules so only assets matching at least one rule are ingested.
* **Exclude system toggle**: Use this toggle to automatically filter out system-reserved names defined by the connector, for example, **Exclude system databases** for the Databases section.
* **Always exclude**: Add permanent exclusion rules (shown in red). Assets matching these rules are never ingested, regardless of include rules.
* **Preview**: Shows a real-time summary of what will be in scope based on your current rules.
* **Include rules** *(available only in **Only specific** mode)*: Click **+ Add** to define a rule. Added rules appear as chips; an asset is included if it matches any rule.

### Step 6: Create & Deploy

Click **Create & Deploy** to deploy the agent and start the first metadata ingestion run. OpenMetadata saves the service configuration and immediately begins pulling metadata from the source.

To monitor ingestion progress or view the service you just added, go to **Settings** > **Services** and select your service.

## Configure Metadata Agent and Schedule Ingestion

The **Metadata Agent** extracts containers, objects, and other structural metadata from your source and keeps your OpenMetadata catalog in sync. It powers discovery, lineage, and governance across your data assets.

When you click **Create & Deploy**, OpenMetadata automatically deploys a Metadata Agent for this service and triggers the first ingestion run. View its status and run history from the **Agents** tab on the service detail page.

To configure the additional Metadata Agent and schedule ingestion, follow these steps:

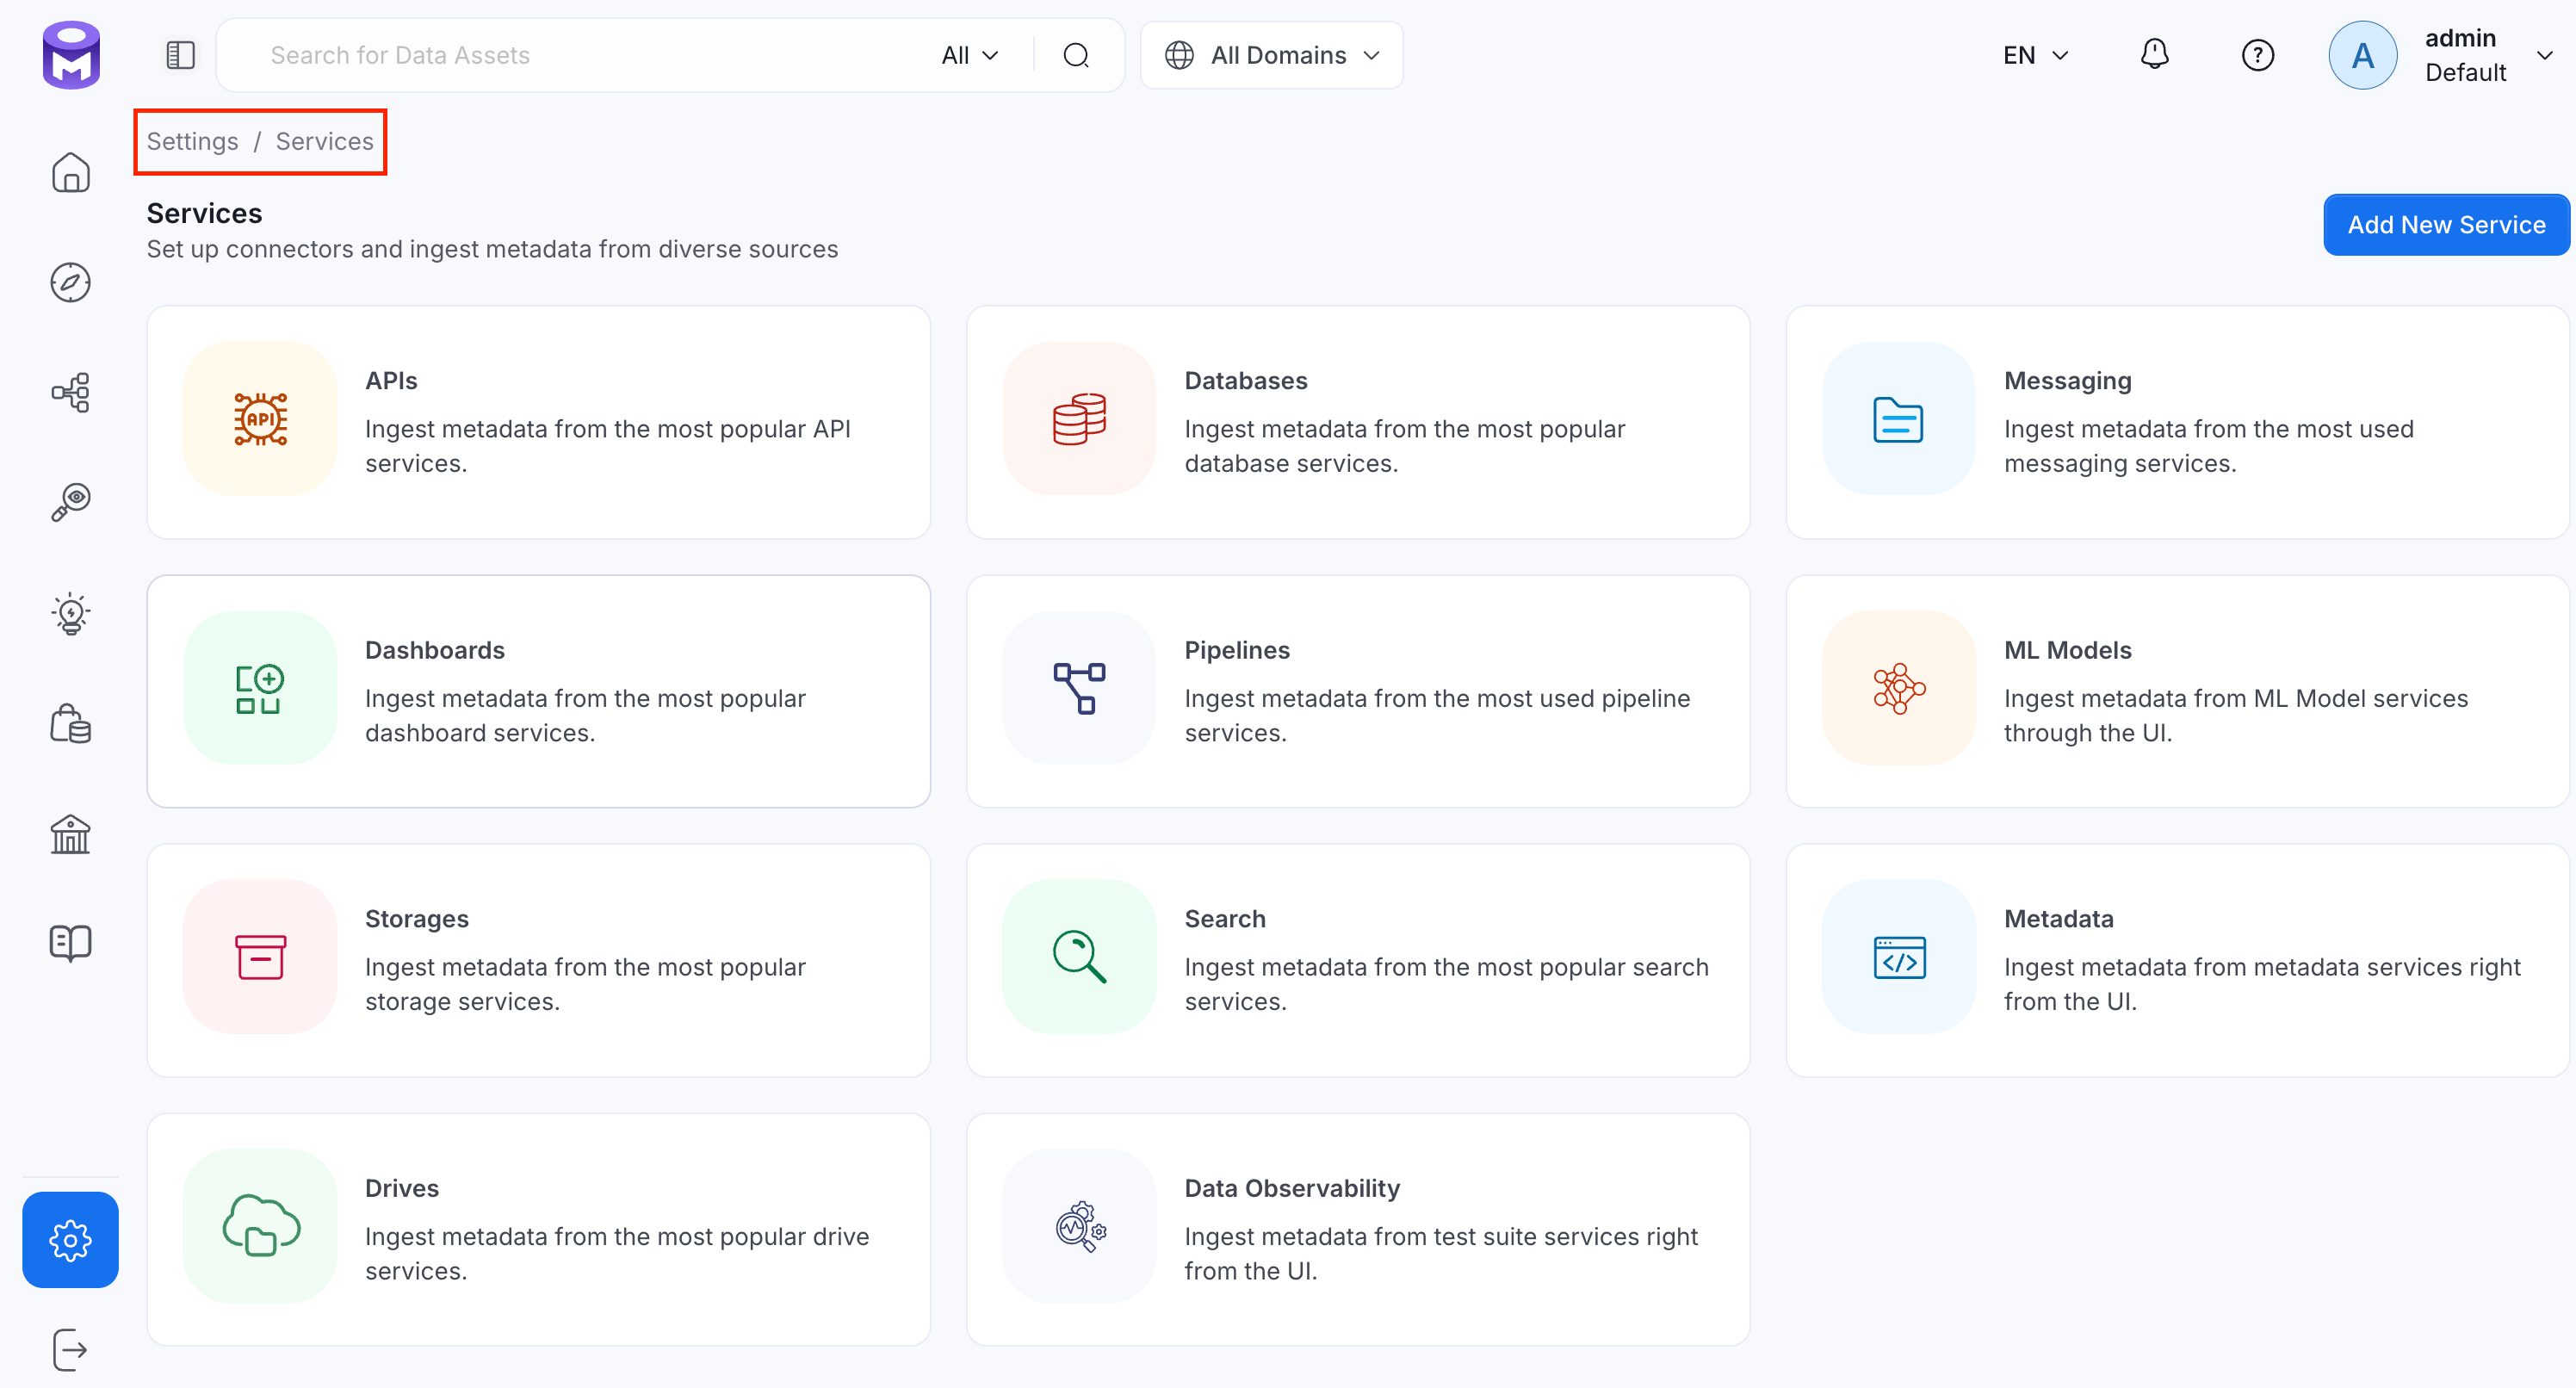
1. Navigate to **Settings** > **Services** and select the service type.

   <img src="https://mintcdn.com/openmetadata-format-2-0-connector-overview-pages/aexFmzYHE_P6Lrks/public/images/connector2.0/metadata-ingestion/access-service-type.png?fit=max&auto=format&n=aexFmzYHE_P6Lrks&q=85&s=3c2d6613c061c17412ec5c800c0f3833" alt="Navigate to Settings and Services" width="2992" height="1612" data-path="public/images/connector2.0/metadata-ingestion/access-service-type.png" />

2. Click the service you have added.

3. Select the **Agents** tab and click **Add Agent** > **Metadata**.

   <img src="https://mintcdn.com/openmetadata-format-2-0-connector-overview-pages/aexFmzYHE_P6Lrks/public/images/connector2.0/metadata-ingestion/add-metadata-agent.png?fit=max&auto=format&n=aexFmzYHE_P6Lrks&q=85&s=9a59a29bca844f3035d14a7211574c57" alt="Add Metadata Agent" width="2398" height="1144" data-path="public/images/connector2.0/metadata-ingestion/add-metadata-agent.png" />

   For some services, the dropdown is not available and clicking **Add Agent** takes you directly to the agent configuration page.

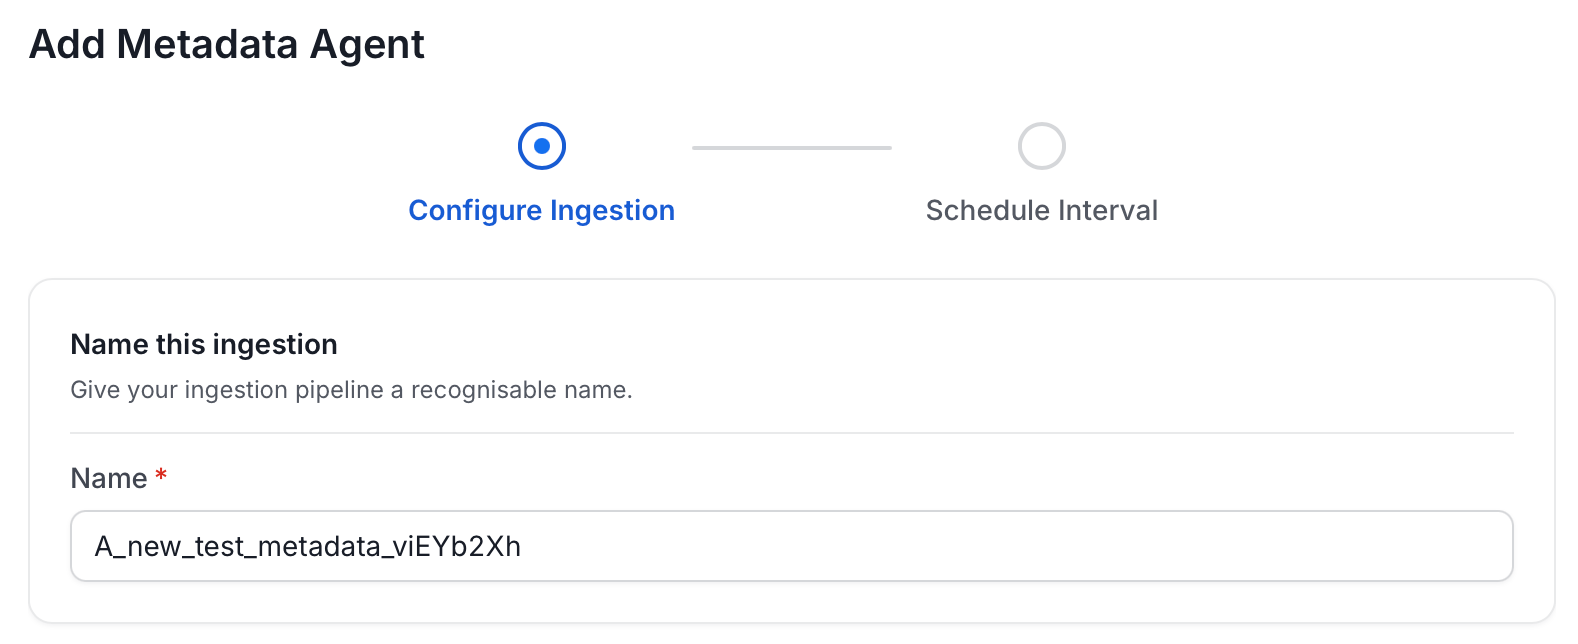
4. On the **Configure Ingestion** page, do the following and click **Next**.

   * **Name this Ingestion**: Enter a unique recognizable name for this ingestion pipeline.
     <img src="https://mintcdn.com/openmetadata-format-2-0-connector-overview-pages/aexFmzYHE_P6Lrks/public/images/connector2.0/metadata-ingestion/metadata-agent-name.png?fit=max&auto=format&n=aexFmzYHE_P6Lrks&q=85&s=fa31ef8cb17d501983dd958c19e0c414" alt="Name this Ingestion" width="1578" height="644" data-path="public/images/connector2.0/metadata-ingestion/metadata-agent-name.png" />

   * **Filter Patterns**: Apply include or exclude rules to scope which containers this agent ingests. These follow the same filter options described in **Step 5: Configure Ingestion Options**.

   * **Scope & Behaviour**: Control how the agent handles metadata during ingestion. Toggle each option on or off based on your needs:

     | Toggle                  | Default | Description                                                                                                                                                                      |
     | ----------------------- | ------- | -------------------------------------------------------------------------------------------------------------------------------------------------------------------------------- |
     | Mark Deleted Containers | On      | Soft-delete containers in OpenMetadata when they are removed from the source.                                                                                                    |
     | Include Tags            | Off     | Ingest tags from the source.                                                                                                                                                     |
     | Override Metadata       | Off     | When on, source values overwrite existing descriptions, tags, owners, and display names in OpenMetadata. When off, OpenMetadata only updates fields that have no existing value. |
     | Enable Debug Log        | Off     | Sets the ingestion log level to DEBUG. Useful for troubleshooting.                                                                                                               |

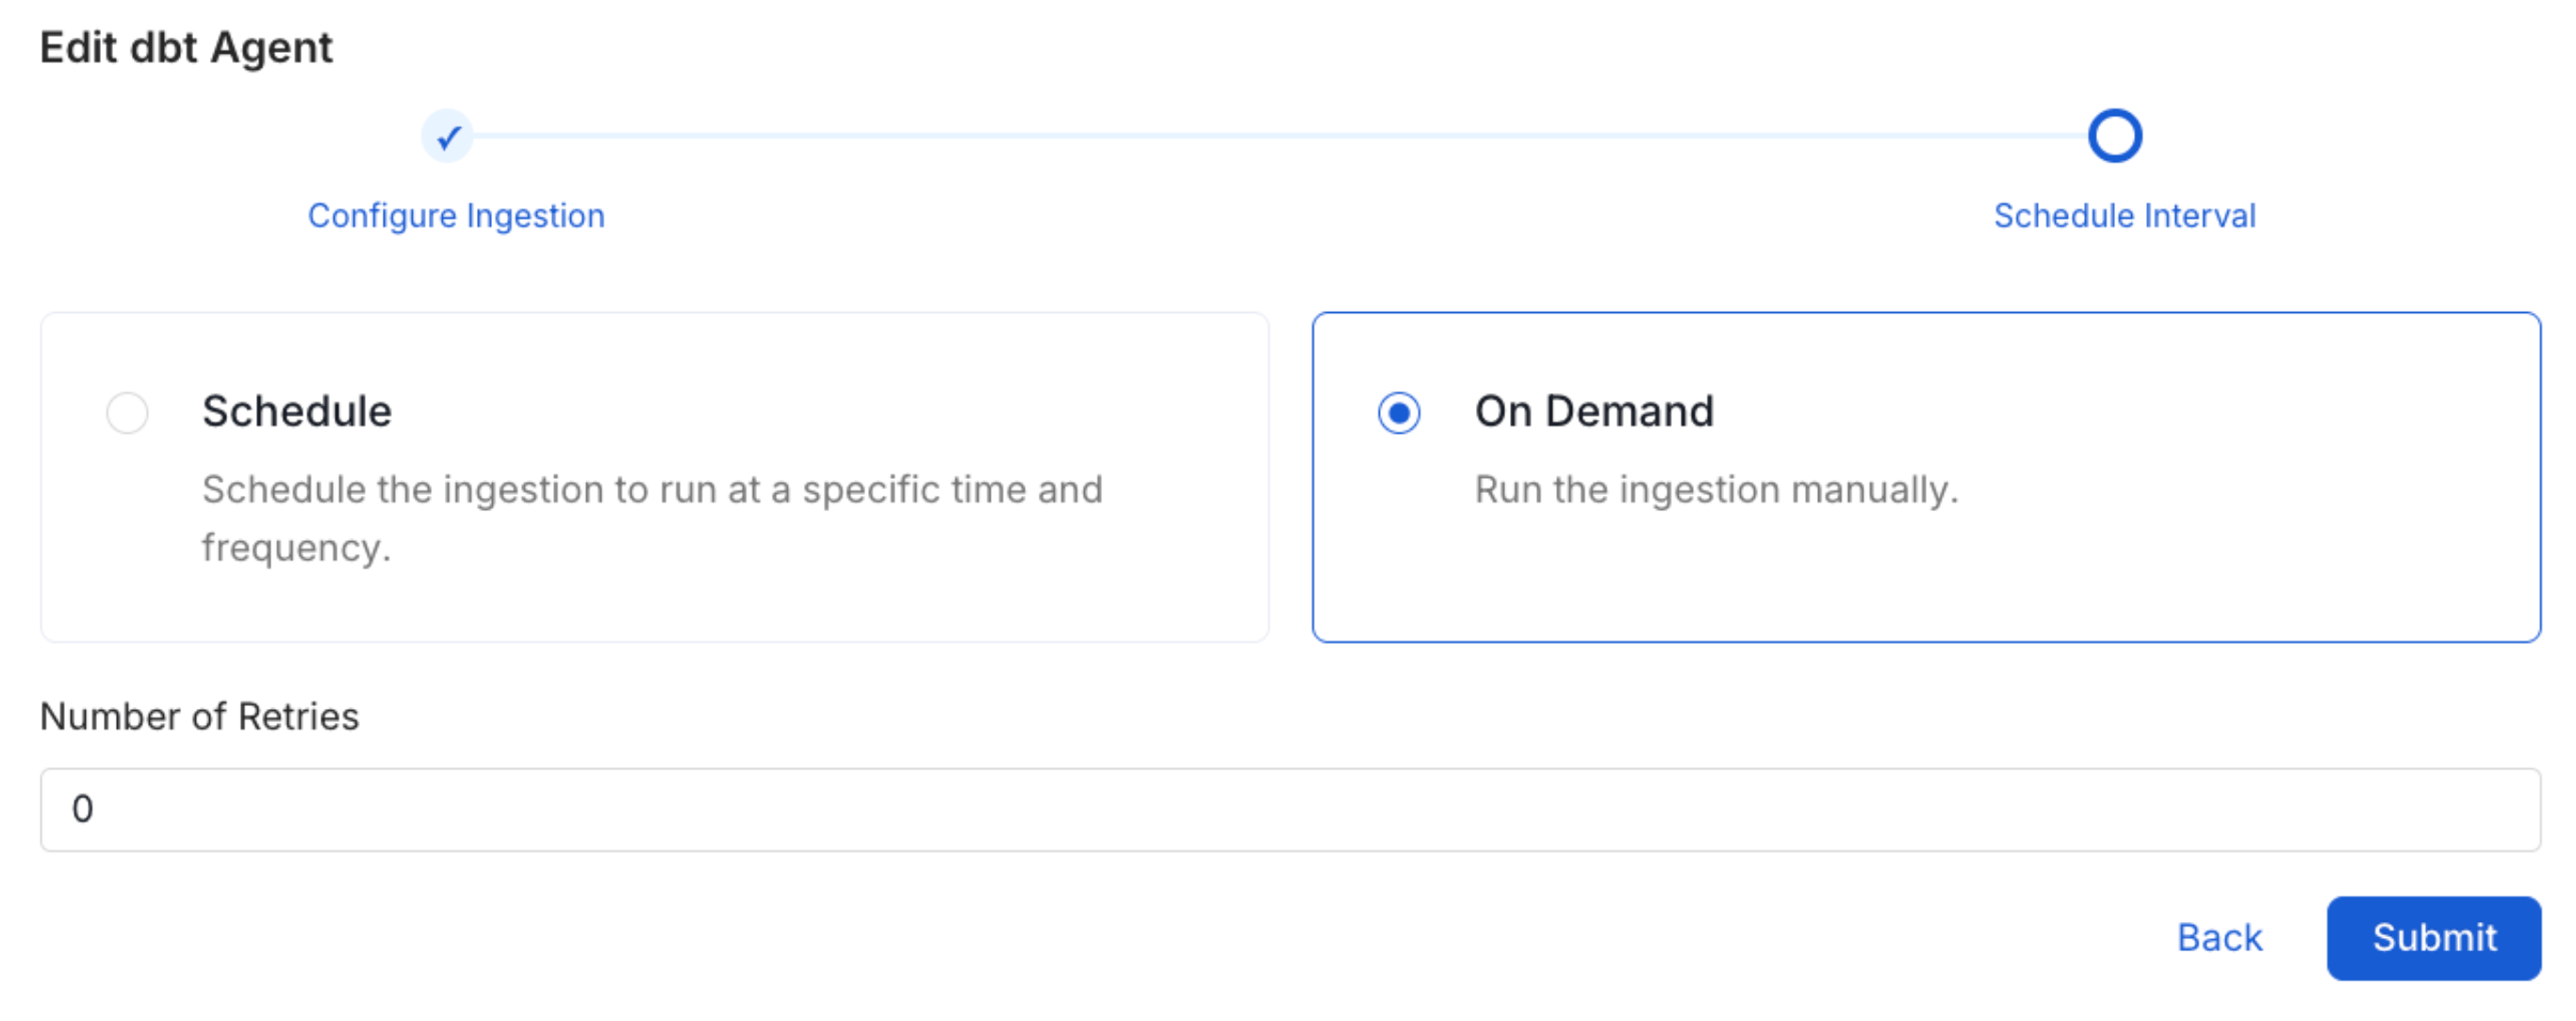
5. On the **Schedule Interval** page, set when the agent runs:

   * **Schedule**: Choose a preset interval (Hourly, Daily, Weekly, Monthly) or enter a custom cron expression.
   * **On-Demand**: No automatic schedule; trigger the agent manually when needed.
   <img src="https://mintcdn.com/openmetadata-format-2-0-connector-overview-pages/wI1VkO40X1vdRc0T/public/images/connectors/schedule.png?fit=max&auto=format&n=wI1VkO40X1vdRc0T&q=85&s=14df1dfeef735efd1ad9fb45da8a7352" alt="Schedule Interval" width="2733" height="1083" data-path="public/images/connectors/schedule.png" />

6. Click **Add** to deploy the agent.

## Related

<Columns cols={2}>
  <Card title="Usage Workflow" href="/v2.0.x-SNAPSHOT/connectors/ingestion/workflows/usage">
    Learn more about how to configure the Usage Workflow to ingest Query information from the UI.
  </Card>

  <Card title="Lineage Workflow" href="/v2.0.x-SNAPSHOT/connectors/ingestion/workflows/lineage">
    Learn more about how to configure the Lineage from the UI.
  </Card>

  <Card title="Profiler Workflow" href="/v2.0.x-SNAPSHOT/how-to-guides/data-quality-observability/profiler/profiler-workflow">
    Learn more about how to configure the Data Profiler from the UI.
  </Card>

  <Card title="Data Quality Workflow" href="/v2.0.x-SNAPSHOT/how-to-guides/data-quality-observability/quality/configure">
    Learn more about how to configure the Data Quality tests from the UI.
  </Card>

  <Card title="dbt Integration" href="/v2.0.x-SNAPSHOT/connectors/database/dbt">
    Learn more about how to ingest dbt models' definitions and their lineage.
  </Card>
</Columns>