{icon &&
 }
}
{name}
{stage}Feature List
{totalAvailableFeatures.map(feature =>
✓ {feature}
)}
{unavailableFeatures.map(feature =>
✕ {feature}
)}
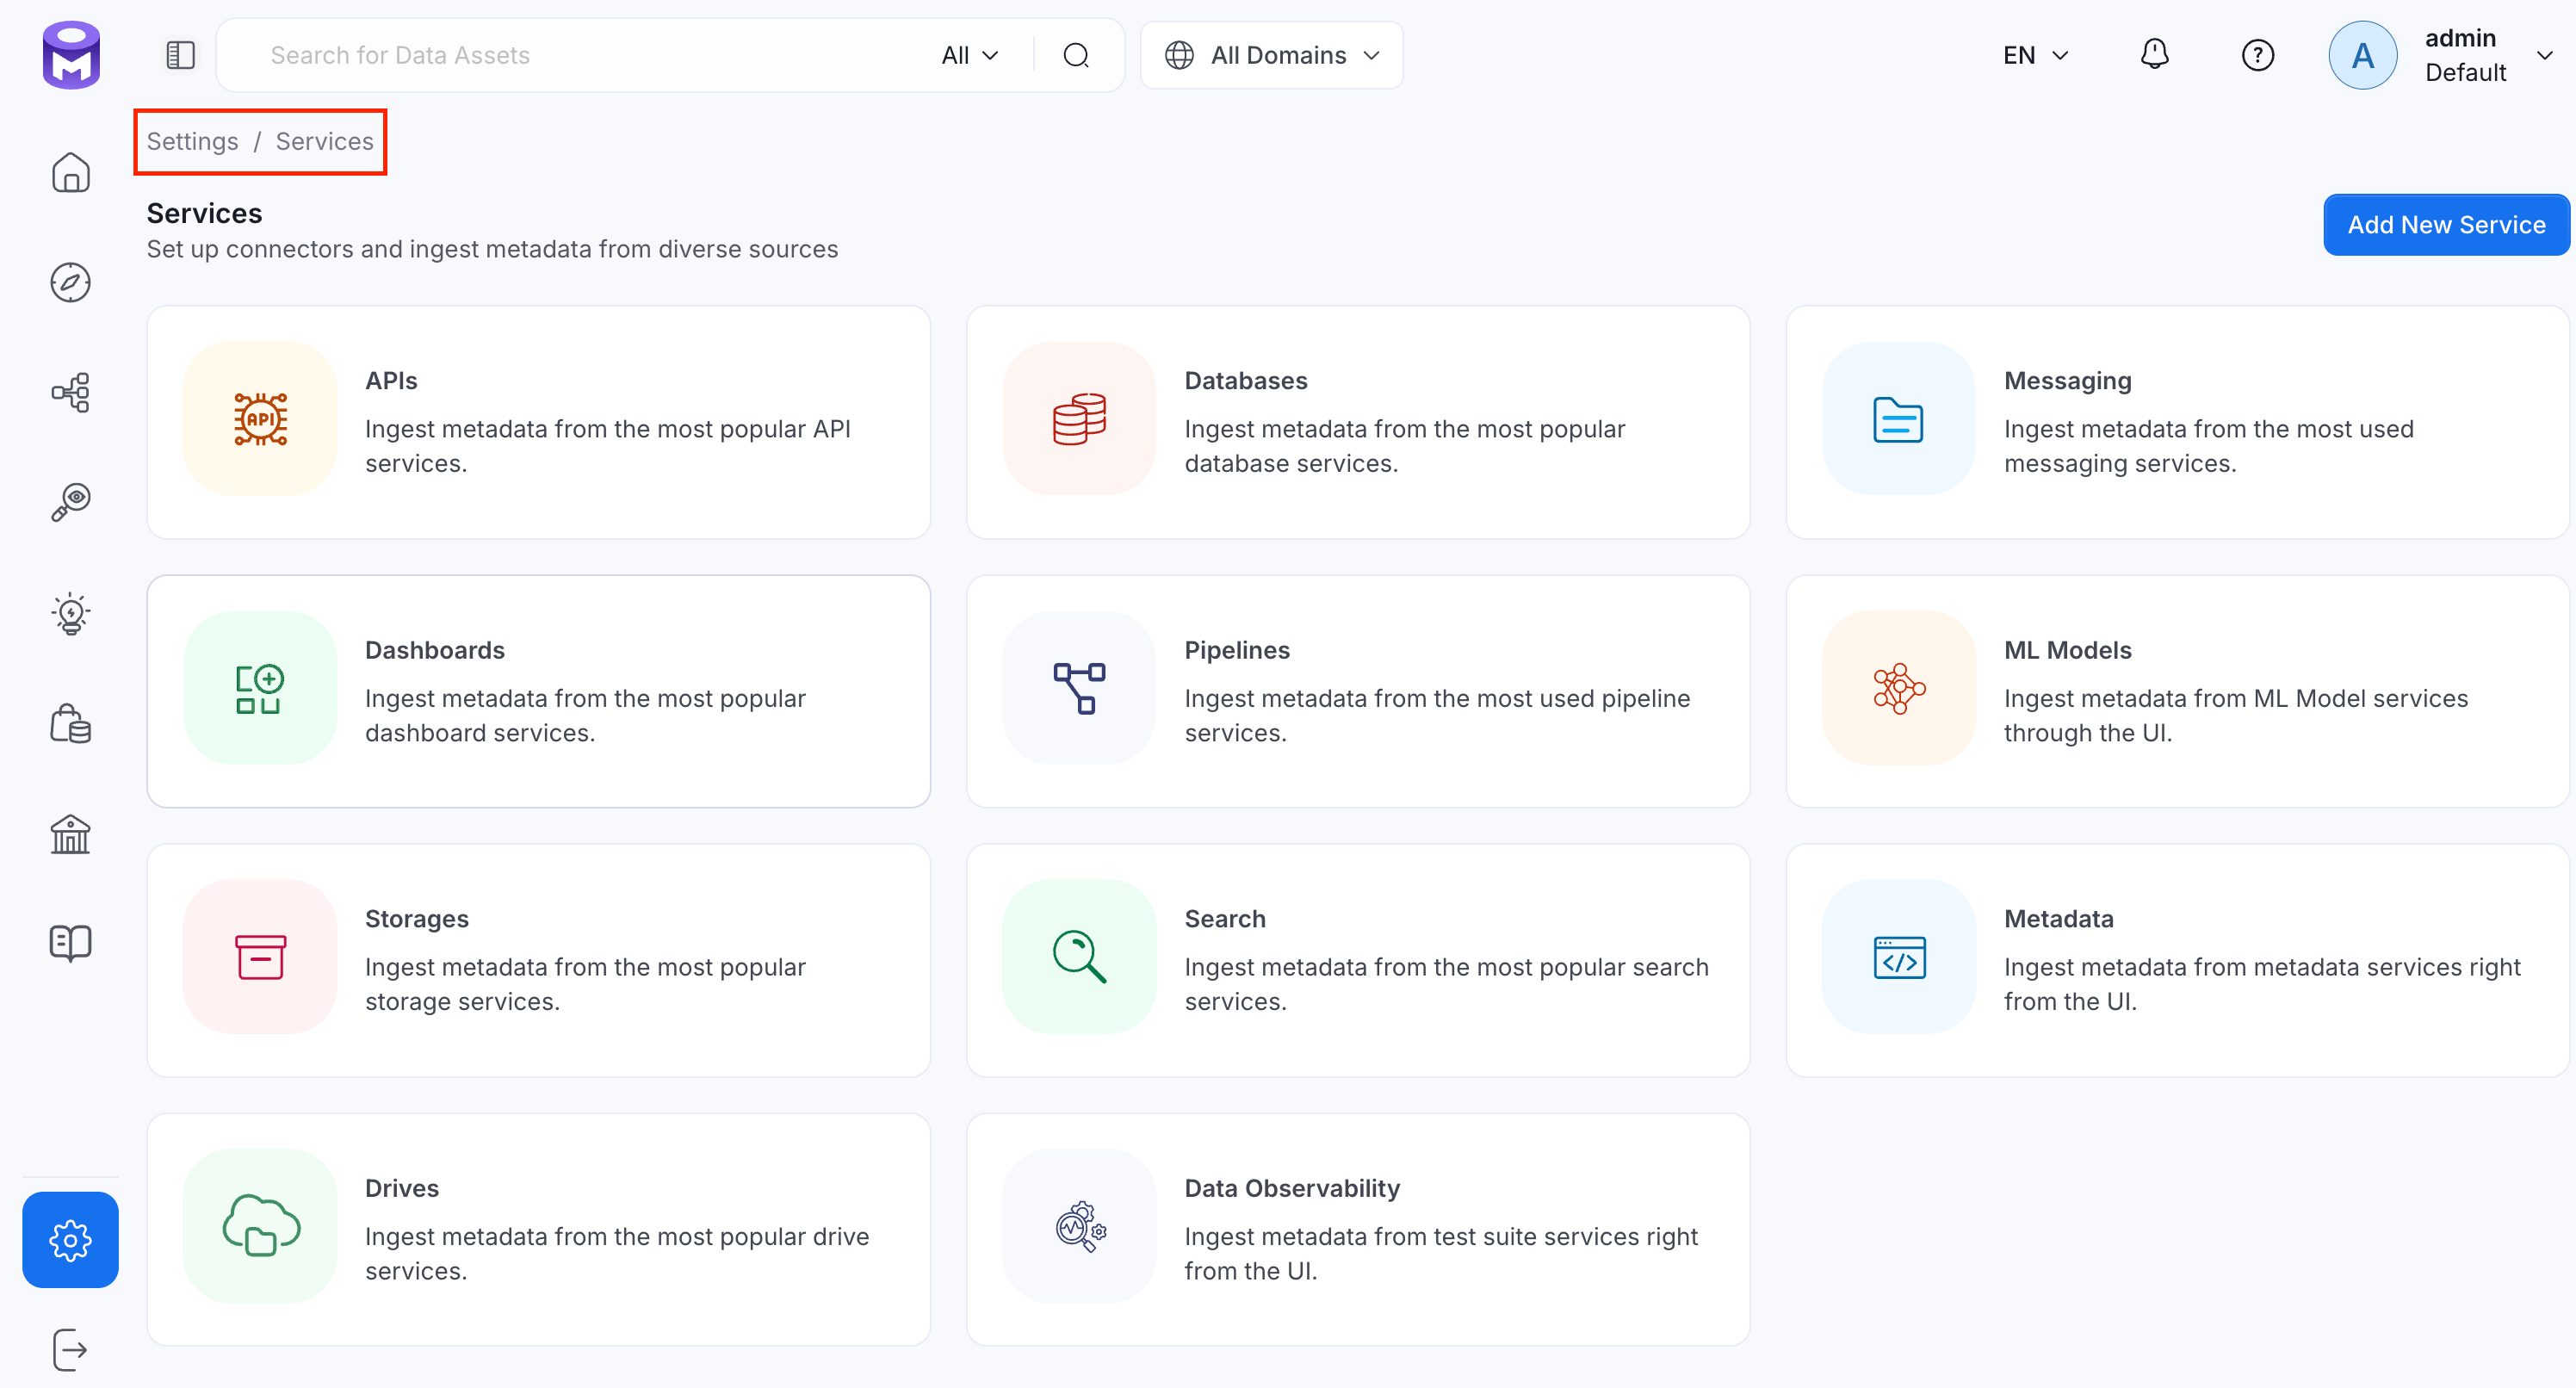
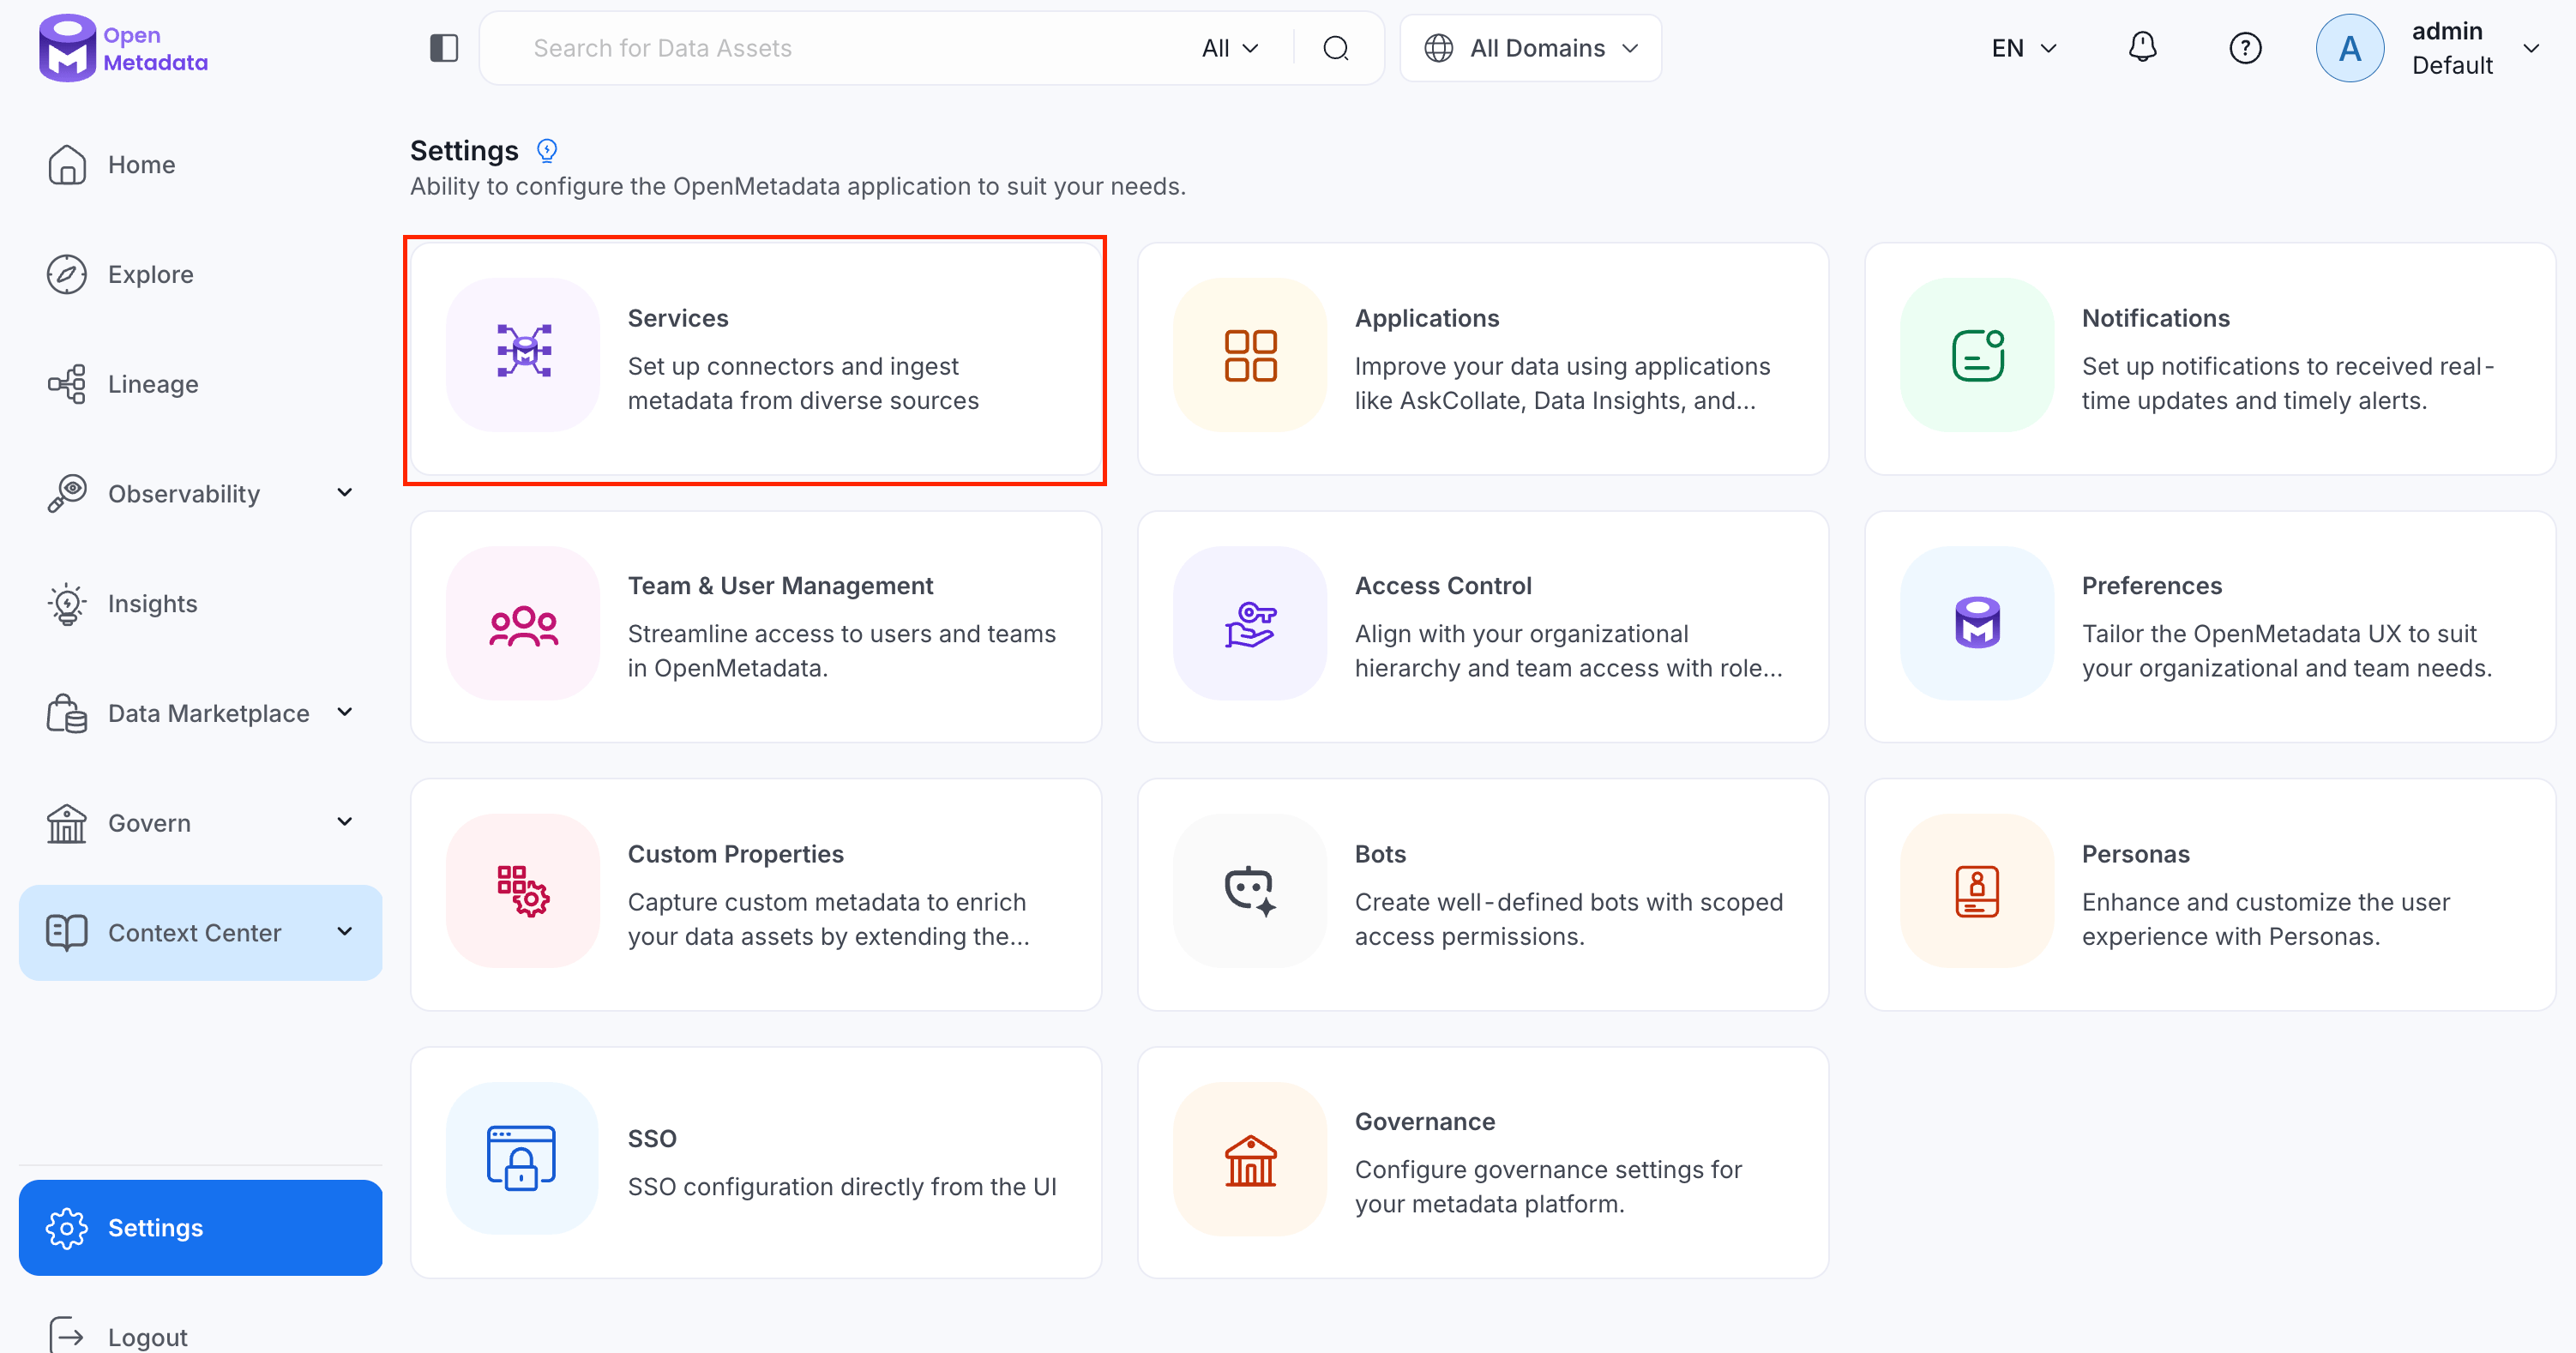 2. Click **Add New Service**.
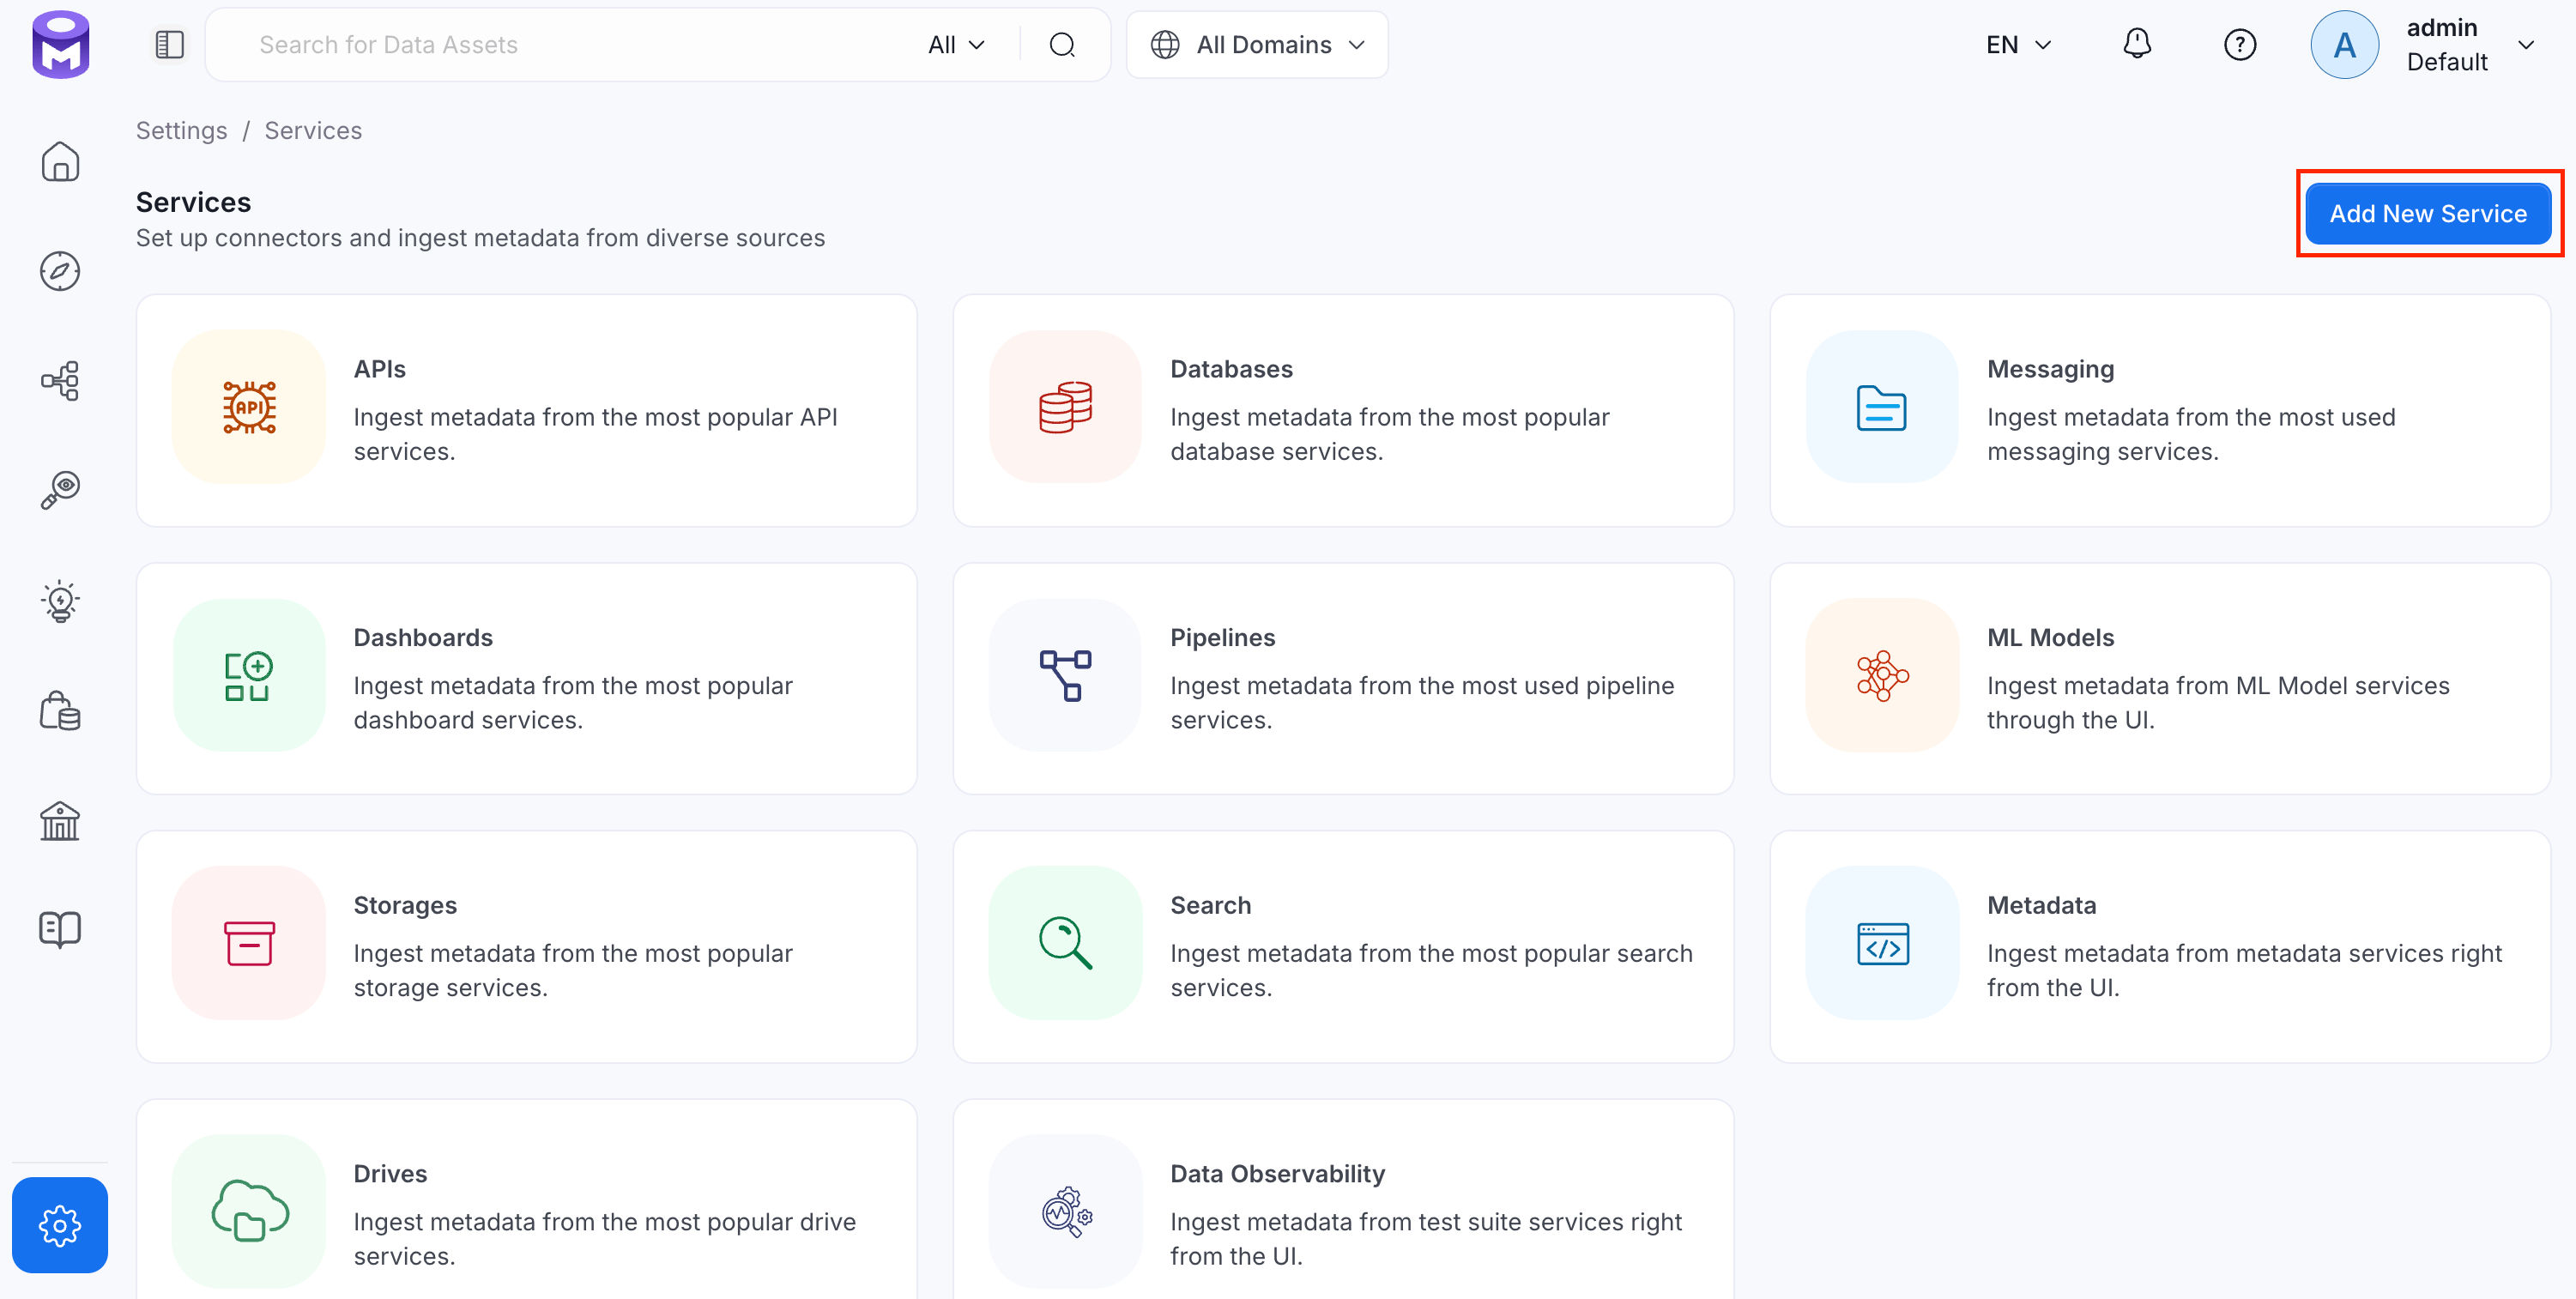 ### Step 2: Select a Service and Connector
From the service type dropdown, select **Search Services**, then click the **ElasticSearch** connector tile.
### Step 2: Select a Service and Connector
From the service type dropdown, select **Search Services**, then click the **ElasticSearch** connector tile.
 ### Step 3: Add Service Name and Description
* Enter a unique, descriptive **Service Name**. OpenMetadata identifies services by their service name. Enter a name that distinguishes this deployment from other ElasticSearch services you are ingesting metadata from.
* Optional: Enter a **Description** for the service.
### Step 3: Add Service Name and Description
* Enter a unique, descriptive **Service Name**. OpenMetadata identifies services by their service name. Enter a name that distinguishes this deployment from other ElasticSearch services you are ingesting metadata from.
* Optional: Enter a **Description** for the service.

 **Connection**
* **Host and Port**: This parameter specifies the host and port of the Elasticsearch instance. This should be specified as a URI string in the format `http://hostname:port` or `https://hostname:port`. For example, you might set it to `https://localhost:9200`.
* **Connection Timeout in Seconds**: Connection timeout configuration for communicating with Elasticsearch APIs.
**Authentication**
* **Basic Authentication**:
* Username: Username to connect to Elasticsearch required when Basic Authentication is enabled on Elasticsearch.
* Password: Password of the user account to connect with Elasticsearch.
* **API Key Authentication**:
* API Key: API Key to connect to Elasticsearch required when API Key Authentication is enabled on Elasticsearch.
* API Key Id: Enter API Key ID in case of API Key Authentication if there is any API Key ID associated with the API Key, otherwise this field can be left blank.
**Advanced Config** *(SSL options; most connections don't need these)*
* **SSL Certificates By Path**:
* CA Certificate Path: This field specifies the path of the CA certificate required for authentication.
* Client Certificate Path: This field specifies the path of the client certificate required for authentication.
* Private Key Path: This field specifies the path of the client key/private key required for authentication.
* **SSL Certificates By Value**:
* CA Certificate Value: This field specifies the value of the CA certificate required for authentication.
* Client Certificate Value: This field specifies the value of the client certificate required for authentication.
* Private Key Value: This field specifies the value of the client key/private key required for authentication.
* Staging Directory Path: This field specifies the path to a temporary staging directory where the certificates are stored during the ingestion process. The directory is cleared once the ingestion job completes.
When using the "By Value" approach, make sure you pass the key in the correct format. If your certificate looks like this:
```
-----BEGIN CERTIFICATE-----
MII..
MBQ...
CgU..
8Lt..
...
h+4=
-----END CERTIFICATE-----
```
Replace new lines with `\n` so the final value looks like this:
```
-----BEGIN CERTIFICATE-----\nMII..\nMBQ...\nCgU..\n8Lt..\n...\nh+4=\n-----END CERTIFICATE-----\n
```
#### Test Connection
Once the credentials have been added, click on **Test Connection** and **Save** the changes.
**Connection**
* **Host and Port**: This parameter specifies the host and port of the Elasticsearch instance. This should be specified as a URI string in the format `http://hostname:port` or `https://hostname:port`. For example, you might set it to `https://localhost:9200`.
* **Connection Timeout in Seconds**: Connection timeout configuration for communicating with Elasticsearch APIs.
**Authentication**
* **Basic Authentication**:
* Username: Username to connect to Elasticsearch required when Basic Authentication is enabled on Elasticsearch.
* Password: Password of the user account to connect with Elasticsearch.
* **API Key Authentication**:
* API Key: API Key to connect to Elasticsearch required when API Key Authentication is enabled on Elasticsearch.
* API Key Id: Enter API Key ID in case of API Key Authentication if there is any API Key ID associated with the API Key, otherwise this field can be left blank.
**Advanced Config** *(SSL options; most connections don't need these)*
* **SSL Certificates By Path**:
* CA Certificate Path: This field specifies the path of the CA certificate required for authentication.
* Client Certificate Path: This field specifies the path of the client certificate required for authentication.
* Private Key Path: This field specifies the path of the client key/private key required for authentication.
* **SSL Certificates By Value**:
* CA Certificate Value: This field specifies the value of the CA certificate required for authentication.
* Client Certificate Value: This field specifies the value of the client certificate required for authentication.
* Private Key Value: This field specifies the value of the client key/private key required for authentication.
* Staging Directory Path: This field specifies the path to a temporary staging directory where the certificates are stored during the ingestion process. The directory is cleared once the ingestion job completes.
When using the "By Value" approach, make sure you pass the key in the correct format. If your certificate looks like this:
```
-----BEGIN CERTIFICATE-----
MII..
MBQ...
CgU..
8Lt..
...
h+4=
-----END CERTIFICATE-----
```
Replace new lines with `\n` so the final value looks like this:
```
-----BEGIN CERTIFICATE-----\nMII..\nMBQ...\nCgU..\n8Lt..\n...\nh+4=\n-----END CERTIFICATE-----\n
```
#### Test Connection
Once the credentials have been added, click on **Test Connection** and **Save** the changes.
 ### Step 5: Configure Ingestion Options
In the **What to Ingest** step, use filter patterns to control which assets OpenMetadata ingests from your search service. Filter patterns use regular expressions applied to index names.
#### How Filter Patterns Work
* **Include**: Add one or more comma-separated regular expressions. OpenMetadata ingests only assets whose names match at least one expression. Leave blank to include all assets.
* **Exclude**: Add one or more comma-separated regular expressions. OpenMetadata skips any asset whose name matches an expression. Leave blank to exclude nothing.
Rules match asset names using one of five expressions:
* **contains**: matches any name containing the value. For example, `sales` matches `my_sales_data` and `sales_2024`.
* **starts with**: matches names beginning with the value. For example, `prod_` matches `prod_db` and `prod_schema`.
* **ends with**: matches names ending with the value. For example, `_raw` matches `events_raw` and `logs_raw`.
* **is exactly**: matches the exact name only. For example, `analytics` matches only `analytics`.
* **matches regex**: matches names using a regular expression. For example, `^prod_.*_v\d+$` matches `prod_events_v1`.
When both Include and Exclude are set, Exclude takes priority.
### Step 5: Configure Ingestion Options
In the **What to Ingest** step, use filter patterns to control which assets OpenMetadata ingests from your search service. Filter patterns use regular expressions applied to index names.
#### How Filter Patterns Work
* **Include**: Add one or more comma-separated regular expressions. OpenMetadata ingests only assets whose names match at least one expression. Leave blank to include all assets.
* **Exclude**: Add one or more comma-separated regular expressions. OpenMetadata skips any asset whose name matches an expression. Leave blank to exclude nothing.
Rules match asset names using one of five expressions:
* **contains**: matches any name containing the value. For example, `sales` matches `my_sales_data` and `sales_2024`.
* **starts with**: matches names beginning with the value. For example, `prod_` matches `prod_db` and `prod_schema`.
* **ends with**: matches names ending with the value. For example, `_raw` matches `events_raw` and `logs_raw`.
* **is exactly**: matches the exact name only. For example, `analytics` matches only `analytics`.
* **matches regex**: matches names using a regular expression. For example, `^prod_.*_v\d+$` matches `prod_events_v1`.
When both Include and Exclude are set, Exclude takes priority.
 2. Click the service you have added.
3. Select the **Agents** tab and click **Add Agent** > **Metadata**.
2. Click the service you have added.
3. Select the **Agents** tab and click **Add Agent** > **Metadata**.
 For some services, the dropdown is not available and clicking **Add Agent** takes you directly to the agent configuration page.
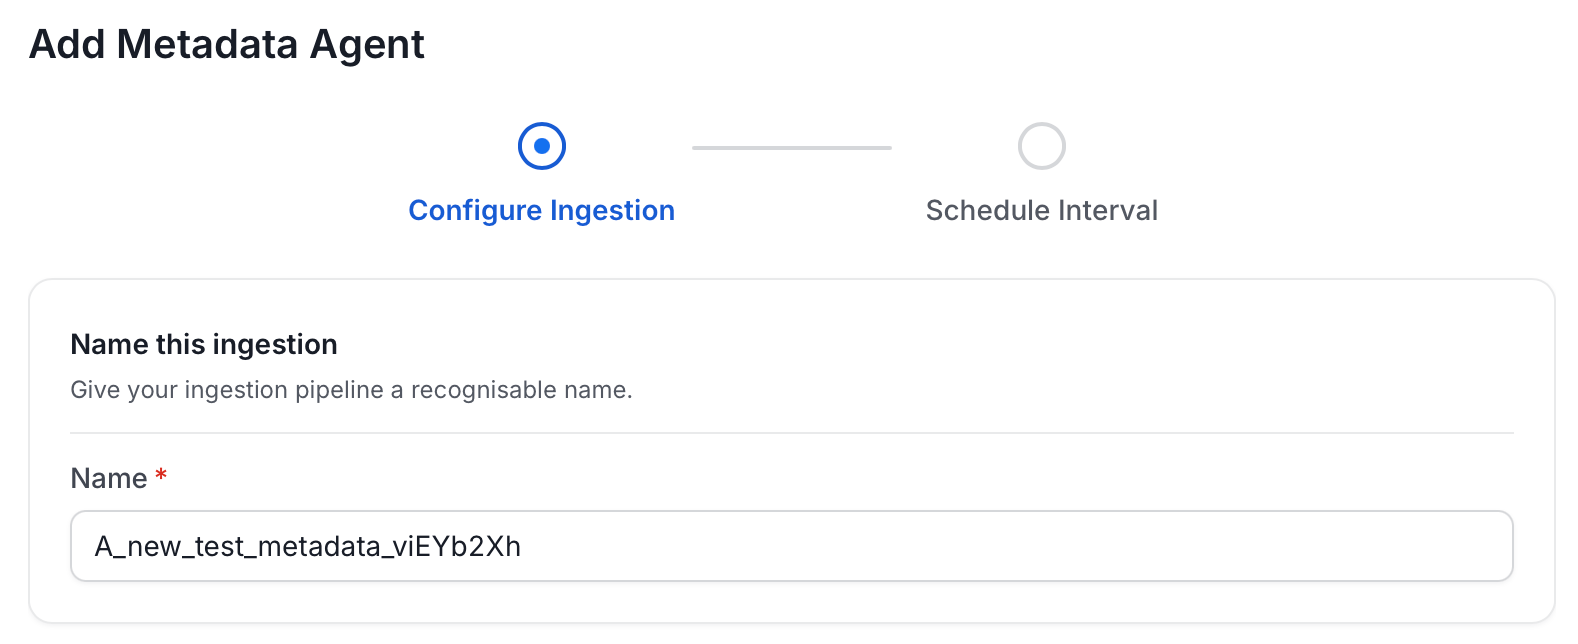
4. On the **Configure Ingestion** page, do the following and click **Next**.
* **Name this Ingestion**: Enter a unique recognizable name for this ingestion pipeline.
For some services, the dropdown is not available and clicking **Add Agent** takes you directly to the agent configuration page.
4. On the **Configure Ingestion** page, do the following and click **Next**.
* **Name this Ingestion**: Enter a unique recognizable name for this ingestion pipeline.
 * **Agent Setup**: Configure the core parameters for this agent. The following fields are available:
| Field | Default | Description |
| --------------------------- | ------- | ------------------------------------------------------------------------------------------------------------------------------------ |
| Sample Size | 10 | Number of records to fetch as sample data per search index. |
| Mark Deleted Search Indexes | On | Soft-delete search indexes in OpenMetadata when they are removed from the source. Associated entities like lineage are also deleted. |
| Include Sample Data | On | Fetch sample records from search indexes during ingestion. |
| Include Index Template | Off | Ingest index template metadata alongside search index mappings. |
* **Agent Setup**: Configure the core parameters for this agent. The following fields are available:
| Field | Default | Description |
| --------------------------- | ------- | ------------------------------------------------------------------------------------------------------------------------------------ |
| Sample Size | 10 | Number of records to fetch as sample data per search index. |
| Mark Deleted Search Indexes | On | Soft-delete search indexes in OpenMetadata when they are removed from the source. Associated entities like lineage are also deleted. |
| Include Sample Data | On | Fetch sample records from search indexes during ingestion. |
| Include Index Template | Off | Ingest index template metadata alongside search index mappings. |
 * **Filter Patterns**: Apply include or exclude rules to scope which search indexes this agent ingests. These follow the same filter options described in **Step 5: Configure Ingestion Options**.
 * **Scope & Behaviour**: Control what metadata to include and how to handle deletions. Toggle each option on or off based on your needs:
| Toggle | Default | Description |
| ----------------- | ------- | -------------------------------------------------------------------------------------------------------------------------------------------------------------------------------- |
| Enable Debug Log | Off | Sets the ingestion log level to DEBUG. Useful for troubleshooting. |
| Override Metadata | Off | When on, source values overwrite existing descriptions, tags, owners, and display names in OpenMetadata. When off, OpenMetadata only updates fields that have no existing value. |
* **Scope & Behaviour**: Control what metadata to include and how to handle deletions. Toggle each option on or off based on your needs:
| Toggle | Default | Description |
| ----------------- | ------- | -------------------------------------------------------------------------------------------------------------------------------------------------------------------------------- |
| Enable Debug Log | Off | Sets the ingestion log level to DEBUG. Useful for troubleshooting. |
| Override Metadata | Off | When on, source values overwrite existing descriptions, tags, owners, and display names in OpenMetadata. When off, OpenMetadata only updates fields that have no existing value. |
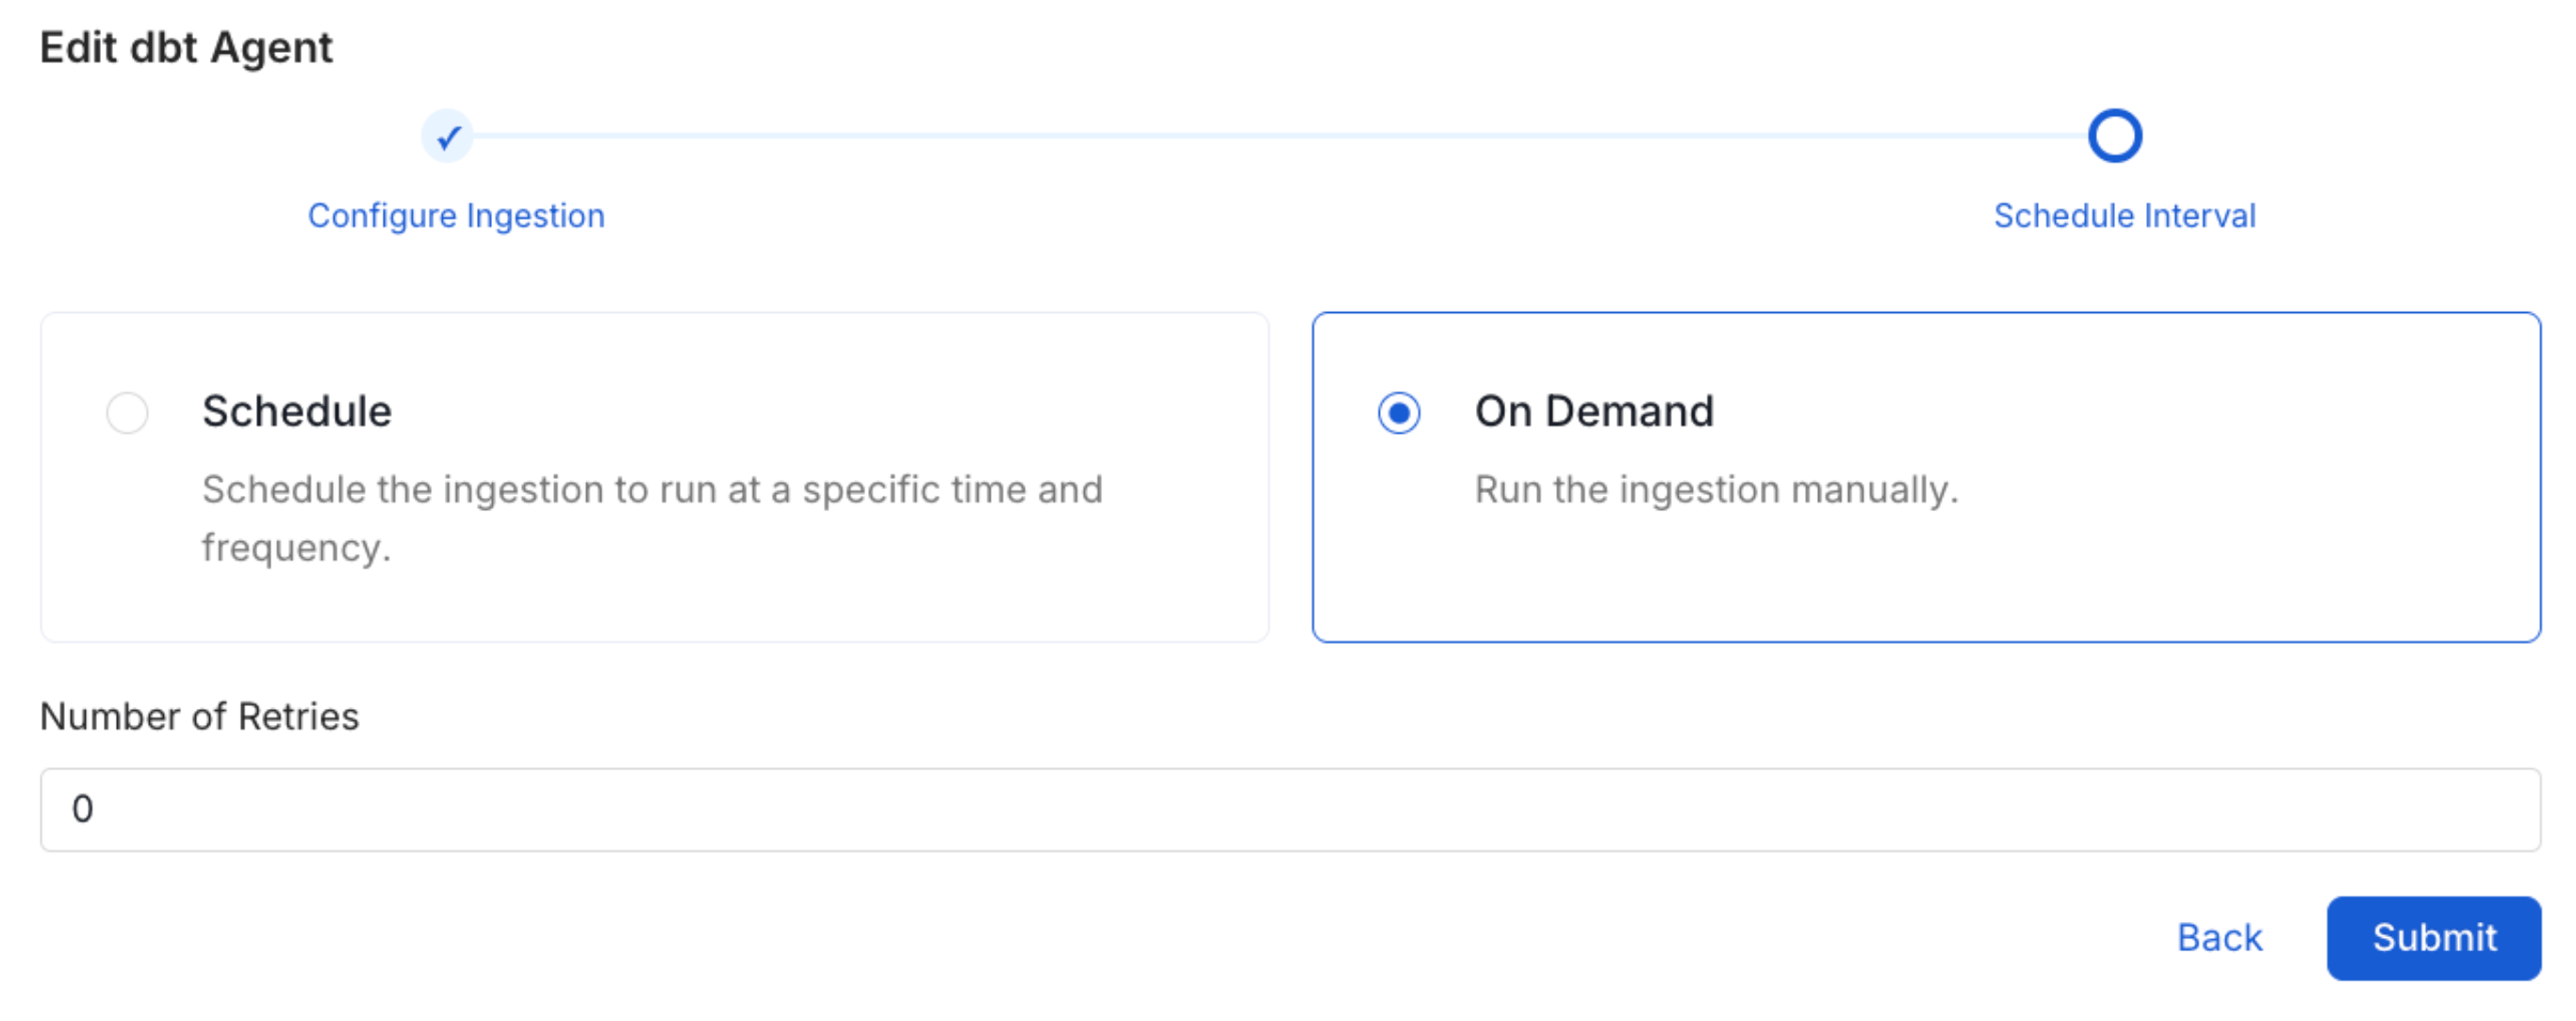
 5. On the **Schedule Interval** page, set when the agent runs:
* **Schedule**: Choose a preset interval (Hourly, Daily, Weekly, Monthly) or enter a custom cron expression.
* **On-Demand**: No automatic schedule; trigger the agent manually when needed.
5. On the **Schedule Interval** page, set when the agent runs:
* **Schedule**: Choose a preset interval (Hourly, Daily, Weekly, Monthly) or enter a custom cron expression.
* **On-Demand**: No automatic schedule; trigger the agent manually when needed.
 6. Click **Add** to deploy the agent.
## Related
6. Click **Add** to deploy the agent.
## Related