{icon &&
 }
}
{name}
{stage}Feature List
{totalAvailableFeatures.map(feature =>
✓ {feature}
)}
{unavailableFeatures.map(feature =>
✕ {feature}
)}
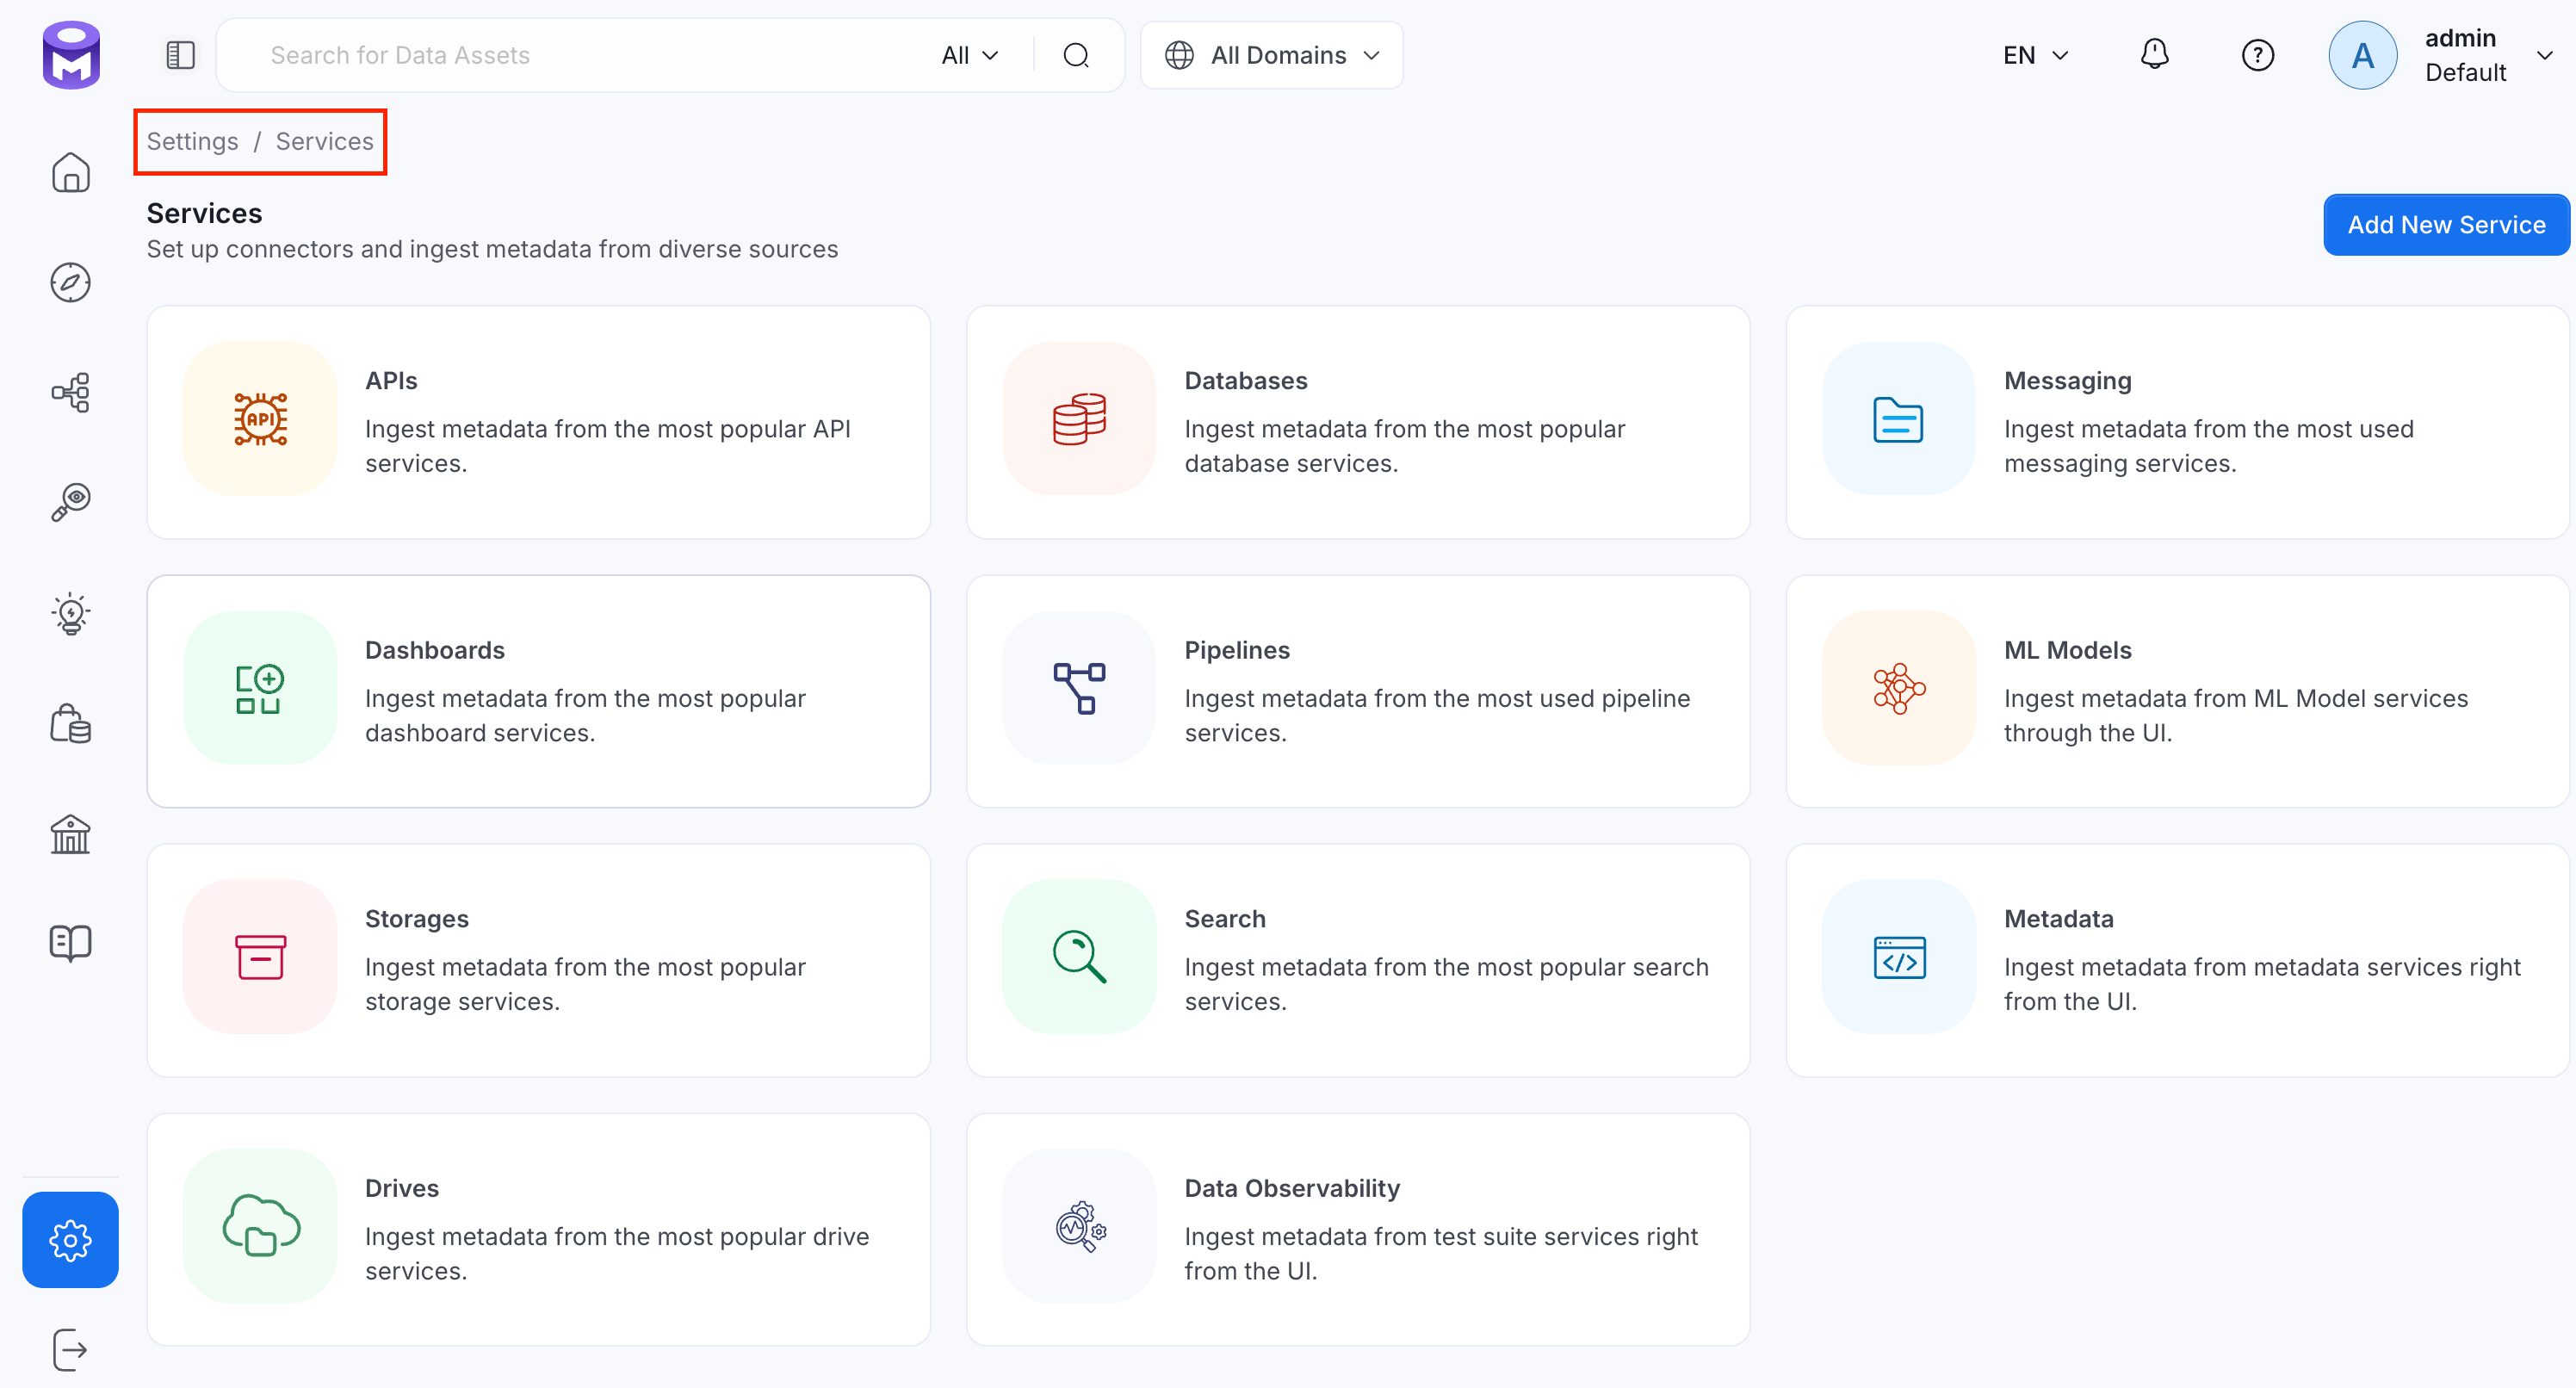
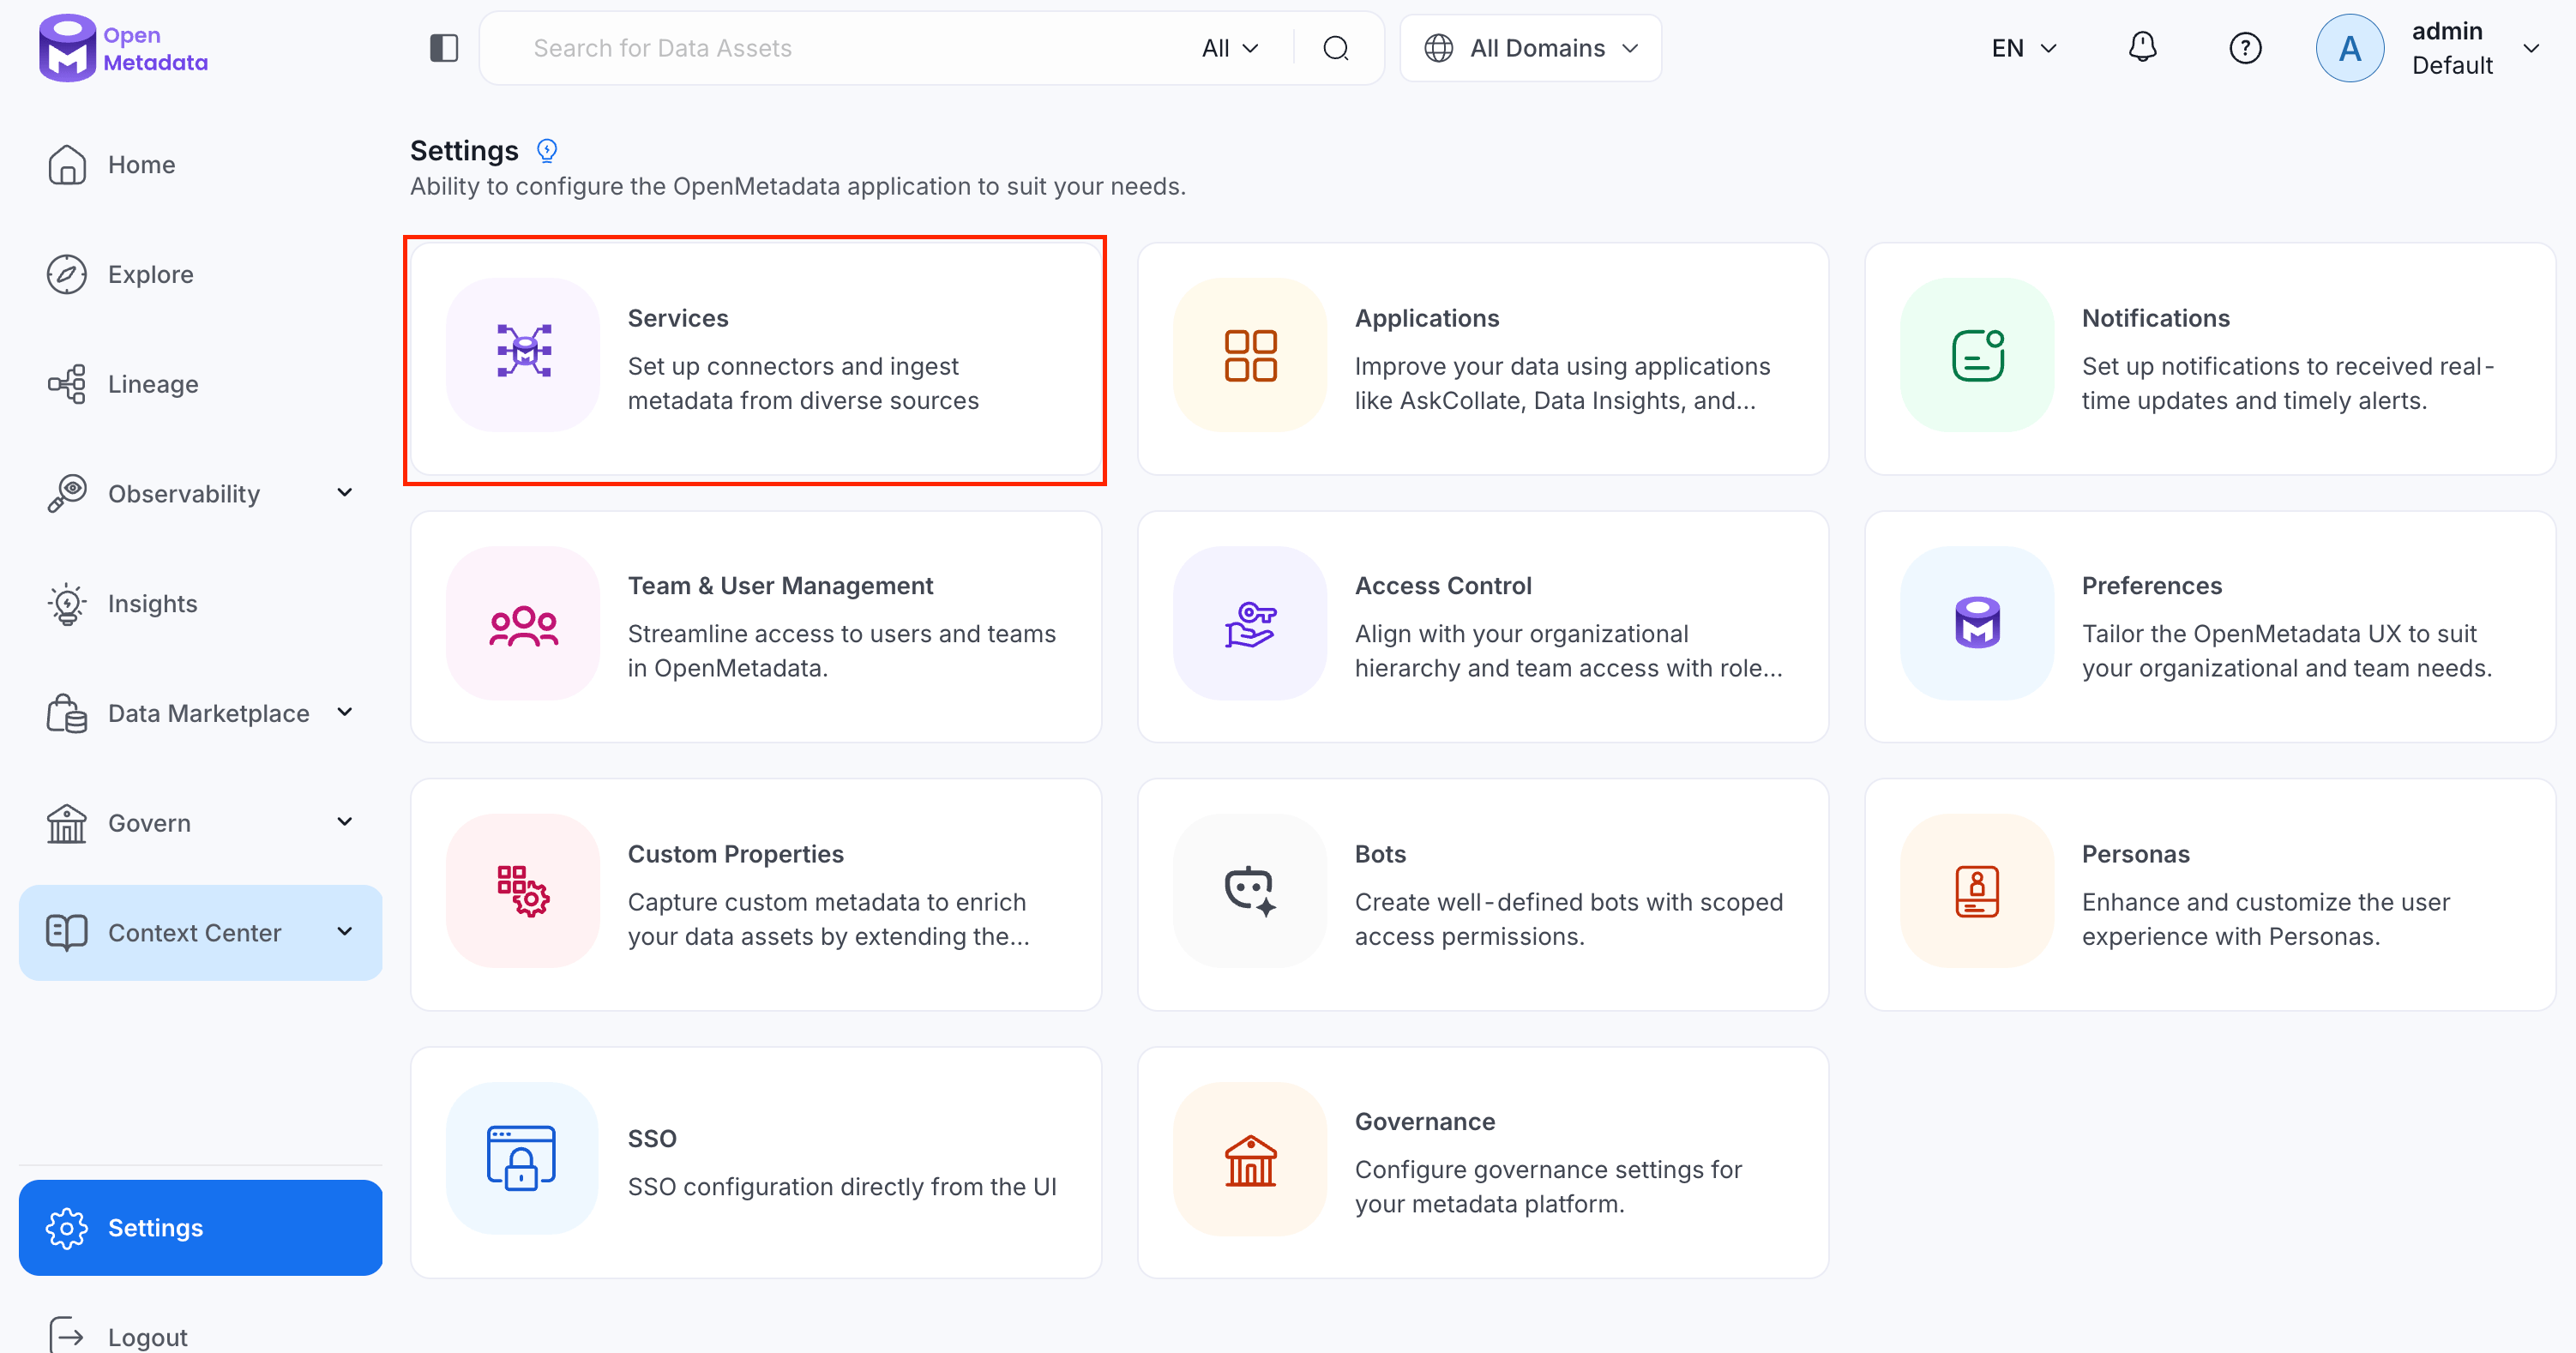 2. Click **Add New Service**.
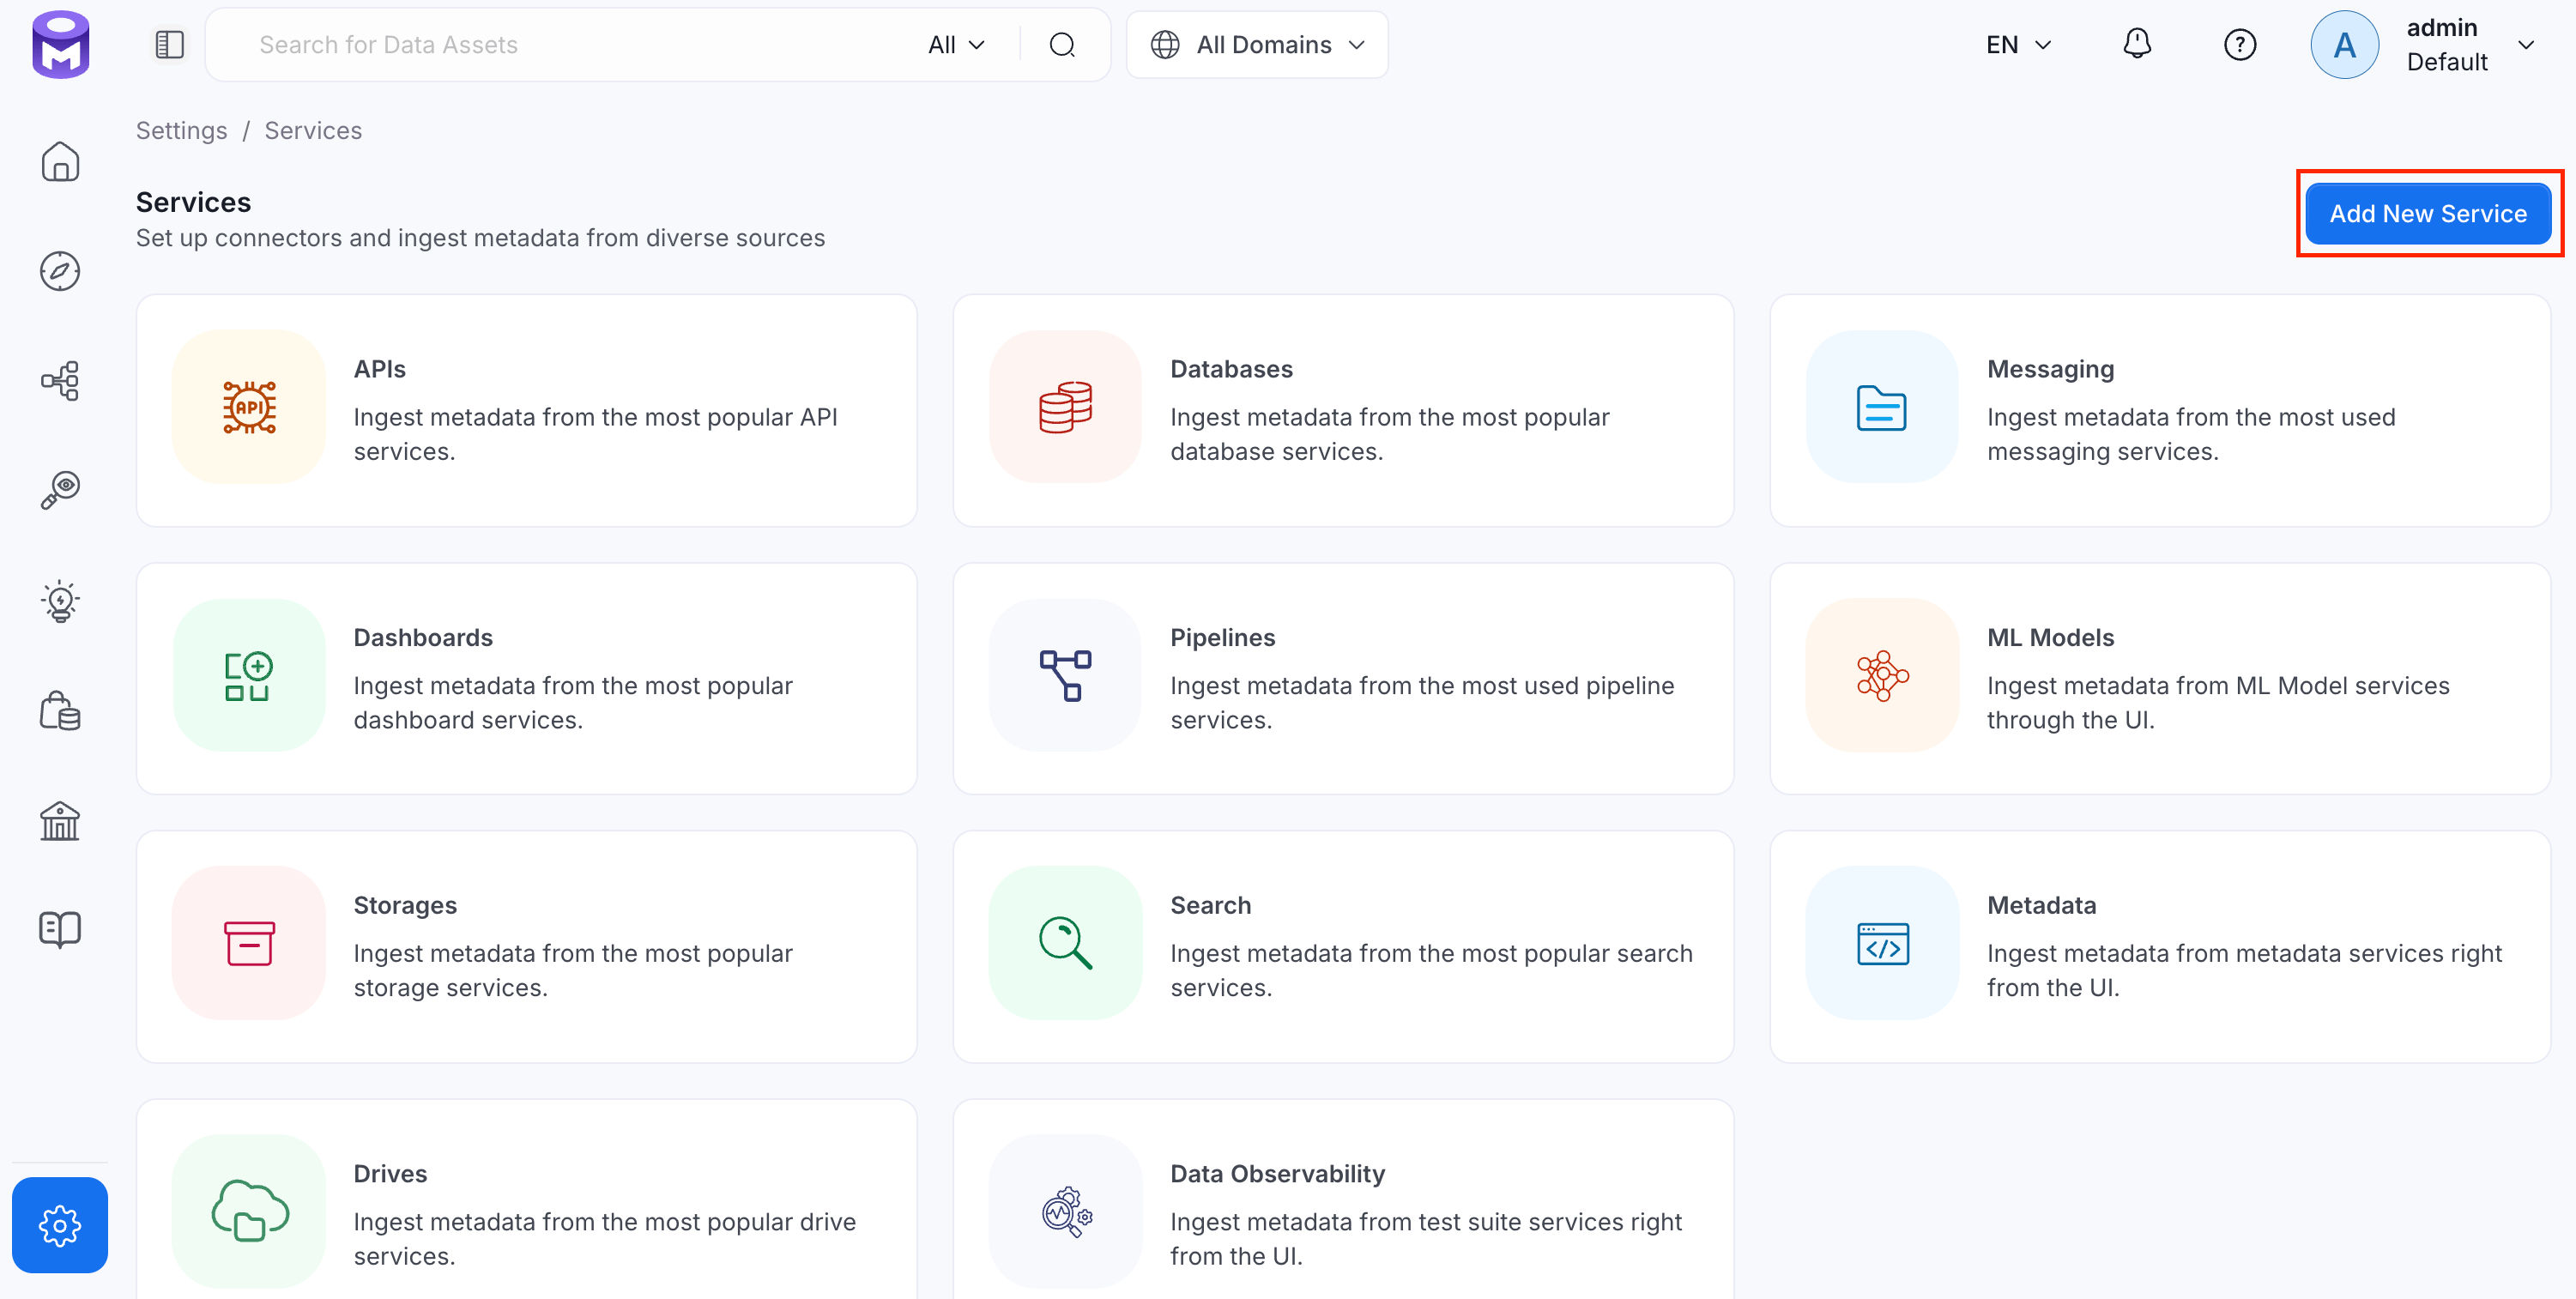 ### Step 2: Select a Service and Connector
From the service type dropdown, select **Messaging Services**, then click the **Kafka** connector tile.
### Step 2: Select a Service and Connector
From the service type dropdown, select **Messaging Services**, then click the **Kafka** connector tile.
 ### Step 3: Add Service Name and Description
* Enter a unique, descriptive **Service Name**. OpenMetadata identifies services by their service name. Enter a name that distinguishes this deployment from other Kafka services you are ingesting metadata from.
* Optional: Enter a **Description** for the service.
### Step 3: Add Service Name and Description
* Enter a unique, descriptive **Service Name**. OpenMetadata identifies services by their service name. Enter a name that distinguishes this deployment from other Kafka services you are ingesting metadata from.
* Optional: Enter a **Description** for the service.

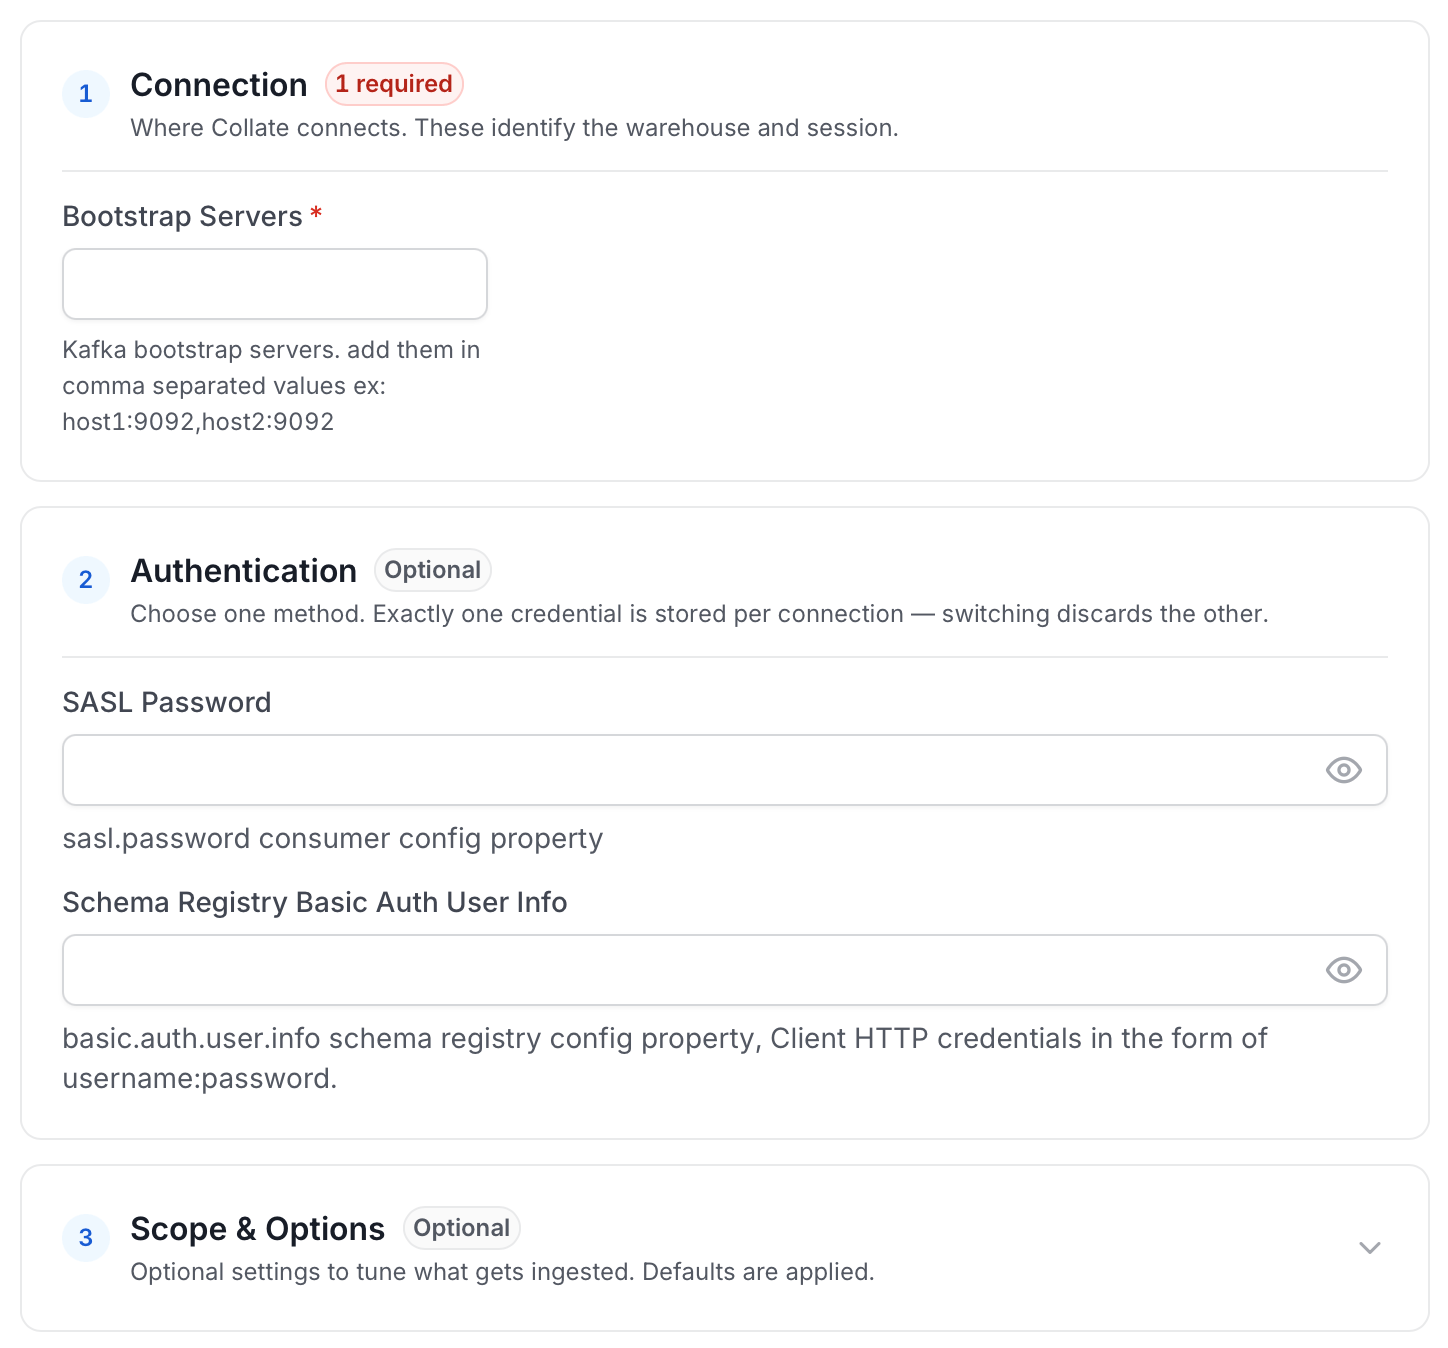 * **Bootstrap Servers**: List of brokers as comma separated values of broker `host` or `host:port`. Example: `host1:9092,host2:9092`
* **Schema Registry URL**: URL of the Schema Registry used to ingest the schemas of the topics.
* **SASL Username**: SASL username for use with the PLAIN and SASL-SCRAM mechanisms.
* **SASL Password**: SASL password for use with the PLAIN and SASL-SCRAM mechanisms.
* **SASL Mechanism**: SASL mechanism to use for authentication.
* **Basic Auth User Info**: Schema Registry Client HTTP credentials in the form of `username:password`. By default, user info is extracted from the URL if present.
* **Consumer Config**: The accepted additional values for the consumer configuration can be found in the following [link](https://github.com/edenhill/librdkafka/blob/master/CONFIGURATION.md).
If you are using Confluent Kafka and SSL encryption is enabled, you need to add `security.protocol` as key and `SASL_SSL` as value under Consumer Config
* **Schema Registry Config**: The accepted additional values for the Schema Registry configuration can be found in the following [link](https://docs.confluent.io/platform/current/clients/confluent-kafka-python/html/index.html#schemaregistryclient).
* **Bootstrap Servers**: List of brokers as comma separated values of broker `host` or `host:port`. Example: `host1:9092,host2:9092`
* **Schema Registry URL**: URL of the Schema Registry used to ingest the schemas of the topics.
* **SASL Username**: SASL username for use with the PLAIN and SASL-SCRAM mechanisms.
* **SASL Password**: SASL password for use with the PLAIN and SASL-SCRAM mechanisms.
* **SASL Mechanism**: SASL mechanism to use for authentication.
* **Basic Auth User Info**: Schema Registry Client HTTP credentials in the form of `username:password`. By default, user info is extracted from the URL if present.
* **Consumer Config**: The accepted additional values for the consumer configuration can be found in the following [link](https://github.com/edenhill/librdkafka/blob/master/CONFIGURATION.md).
If you are using Confluent Kafka and SSL encryption is enabled, you need to add `security.protocol` as key and `SASL_SSL` as value under Consumer Config
* **Schema Registry Config**: The accepted additional values for the Schema Registry configuration can be found in the following [link](https://docs.confluent.io/platform/current/clients/confluent-kafka-python/html/index.html#schemaregistryclient).
 ### Step 5: Configure Ingestion Options
In the **What to Ingest** step, use filter patterns to control which assets OpenMetadata ingests from your messaging service. Filter patterns use regular expressions applied to topic names.
#### How Filter Patterns Work
* **Include**: Add one or more comma-separated regular expressions. OpenMetadata ingests only assets whose names match at least one expression. Leave blank to include all assets.
* **Exclude**: Add one or more comma-separated regular expressions. OpenMetadata skips any asset whose name matches an expression. Leave blank to exclude nothing.
Rules match asset names using one of five expressions:
* **contains**: matches any name containing the value. For example, `sales` matches `my_sales_data` and `sales_2024`.
* **starts with**: matches names beginning with the value. For example, `prod_` matches `prod_db` and `prod_schema`.
* **ends with**: matches names ending with the value. For example, `_raw` matches `events_raw` and `logs_raw`.
* **is exactly**: matches the exact name only. For example, `analytics` matches only `analytics`.
* **matches regex**: matches names using a regular expression. For example, `^prod_.*_v\d+$` matches `prod_events_v1`.
When both Include and Exclude are set, Exclude takes priority.
### Step 5: Configure Ingestion Options
In the **What to Ingest** step, use filter patterns to control which assets OpenMetadata ingests from your messaging service. Filter patterns use regular expressions applied to topic names.
#### How Filter Patterns Work
* **Include**: Add one or more comma-separated regular expressions. OpenMetadata ingests only assets whose names match at least one expression. Leave blank to include all assets.
* **Exclude**: Add one or more comma-separated regular expressions. OpenMetadata skips any asset whose name matches an expression. Leave blank to exclude nothing.
Rules match asset names using one of five expressions:
* **contains**: matches any name containing the value. For example, `sales` matches `my_sales_data` and `sales_2024`.
* **starts with**: matches names beginning with the value. For example, `prod_` matches `prod_db` and `prod_schema`.
* **ends with**: matches names ending with the value. For example, `_raw` matches `events_raw` and `logs_raw`.
* **is exactly**: matches the exact name only. For example, `analytics` matches only `analytics`.
* **matches regex**: matches names using a regular expression. For example, `^prod_.*_v\d+$` matches `prod_events_v1`.
When both Include and Exclude are set, Exclude takes priority.
 2. Click the service you have added.
3. Select the **Agents** tab and click **Add Agent** > **Metadata**.
2. Click the service you have added.
3. Select the **Agents** tab and click **Add Agent** > **Metadata**.
 For some services, the dropdown is not available and clicking **Add Agent** takes you directly to the agent configuration page.
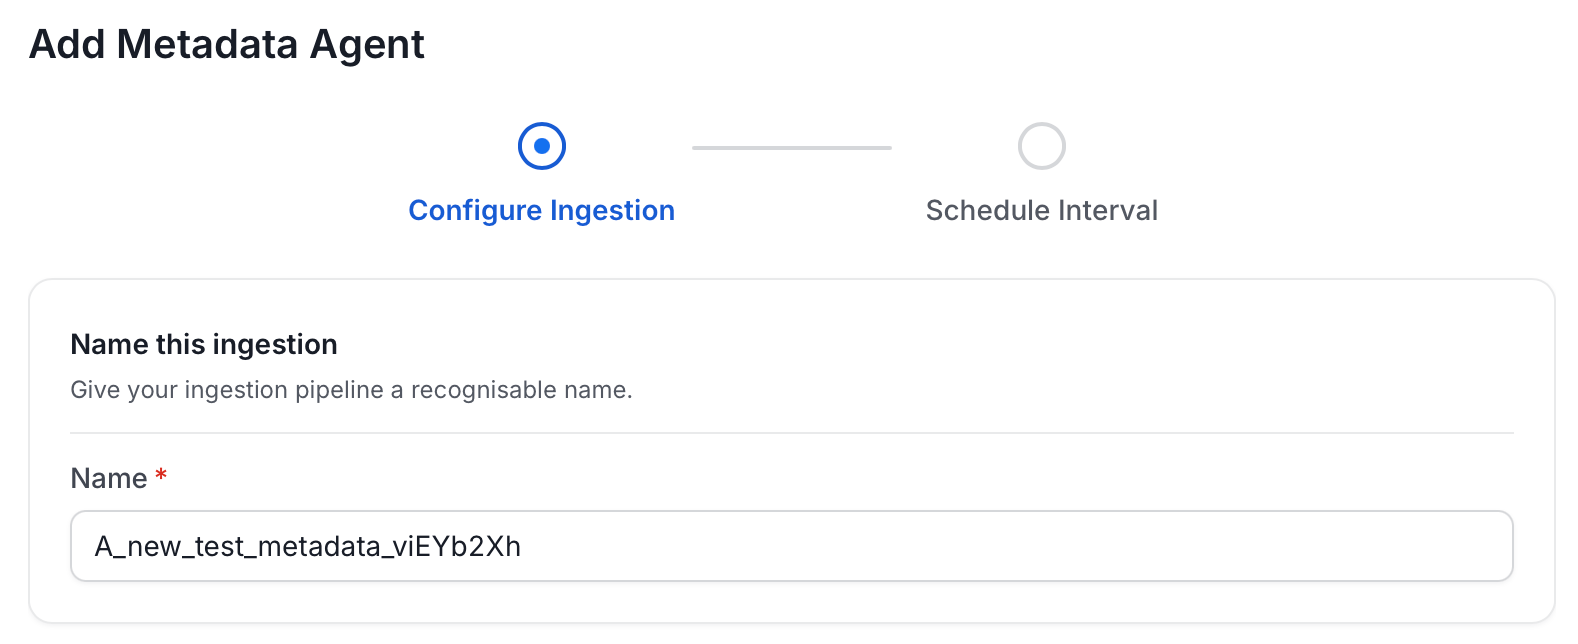
4. On the **Configure Ingestion** page, do the following and click **Next**.
* **Name this Ingestion**: Enter a unique recognizable name for this ingestion pipeline.
For some services, the dropdown is not available and clicking **Add Agent** takes you directly to the agent configuration page.
4. On the **Configure Ingestion** page, do the following and click **Next**.
* **Name this Ingestion**: Enter a unique recognizable name for this ingestion pipeline.
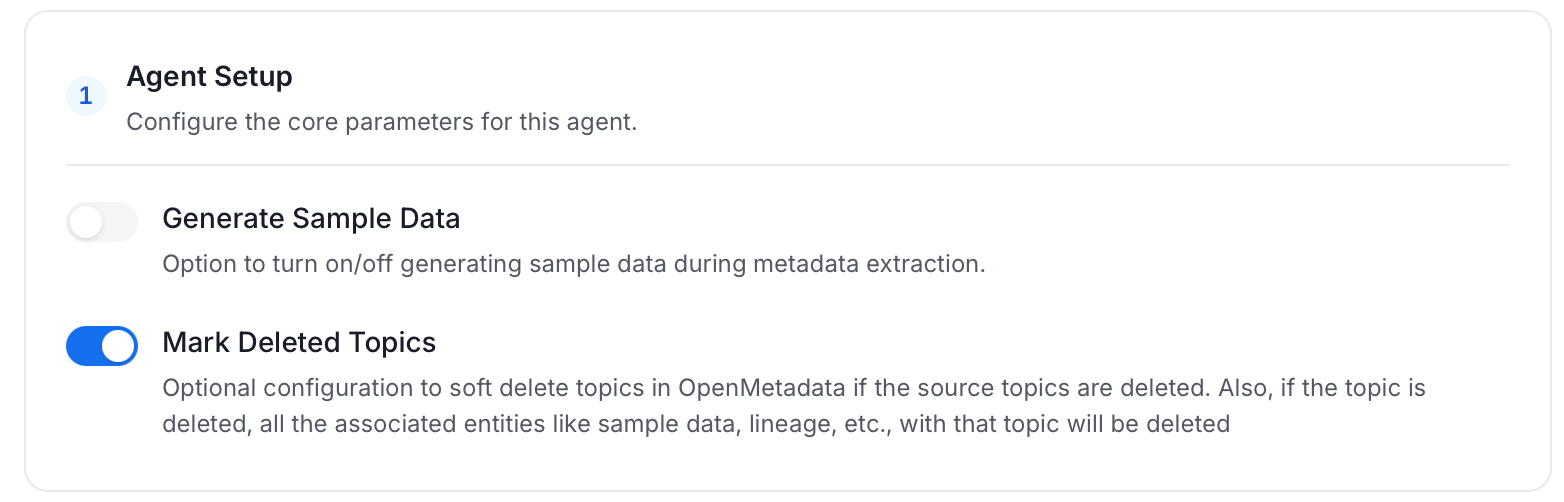
 * **Agent Setup**: Configure the core parameters for this agent. The following fields are available:
| Field | Default | Description |
| -------------------- | ------- | -------------------------------------------------------------------------------------------------------------------------------------------- |
| Generate Sample Data | Off | Option to turn on/off generating sample data during metadata extraction. |
| Mark Deleted Topics | On | Soft-delete topics in OpenMetadata when they are removed from the source. Associated entities like sample data and lineage are also deleted. |
* **Agent Setup**: Configure the core parameters for this agent. The following fields are available:
| Field | Default | Description |
| -------------------- | ------- | -------------------------------------------------------------------------------------------------------------------------------------------- |
| Generate Sample Data | Off | Option to turn on/off generating sample data during metadata extraction. |
| Mark Deleted Topics | On | Soft-delete topics in OpenMetadata when they are removed from the source. Associated entities like sample data and lineage are also deleted. |
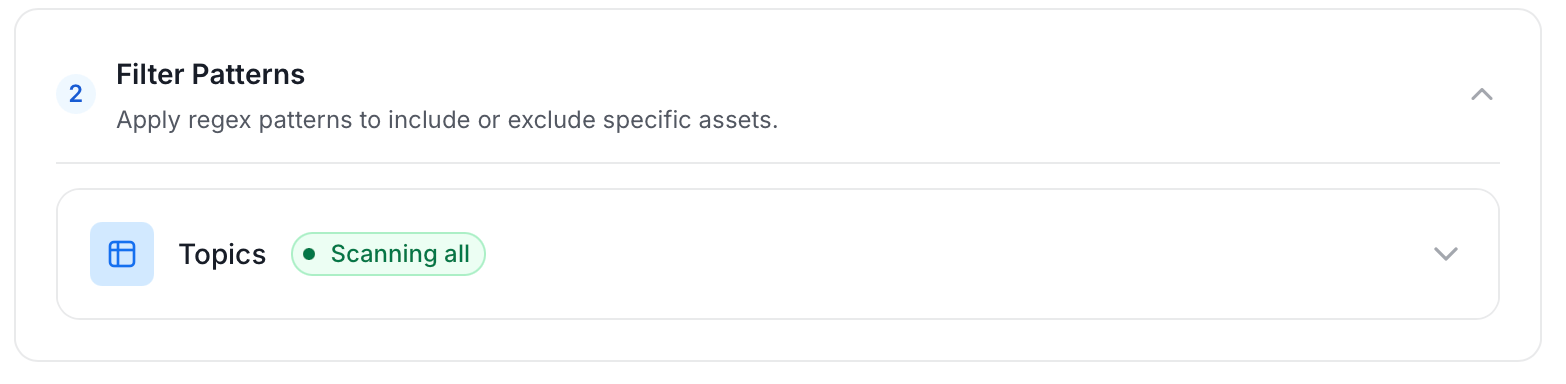
 * **Filter Patterns**: Apply include or exclude rules to scope which topics this agent ingests. These follow the same filter options described in **Step 5: Configure Ingestion Options**.
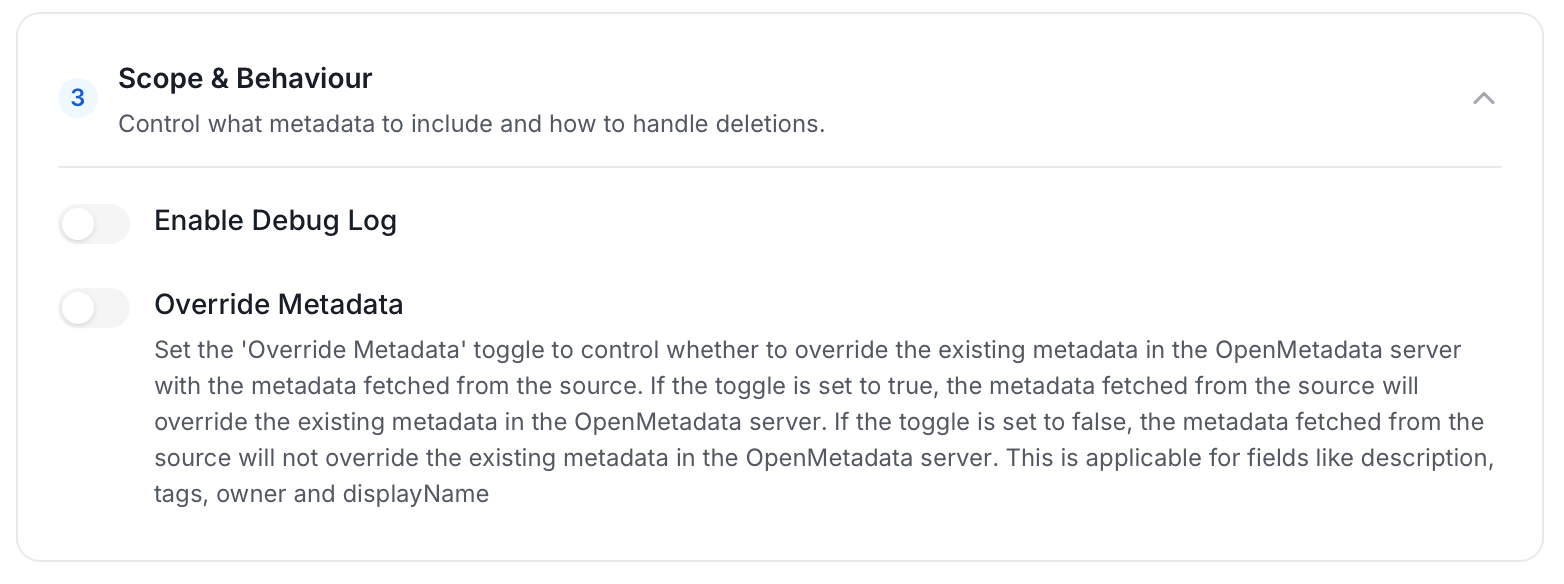
 * **Scope & Behaviour**: Control what metadata to include and how to handle deletions. Toggle each option on or off based on your needs:
| Toggle | Default | Description |
| ----------------- | ------- | -------------------------------------------------------------------------------------------------------------------------------------------------------------------------------- |
| Enable Debug Log | Off | Sets the ingestion log level to DEBUG. Useful for troubleshooting. |
| Override Metadata | Off | When on, source values overwrite existing descriptions, tags, owners, and display names in OpenMetadata. When off, OpenMetadata only updates fields that have no existing value. |
* **Scope & Behaviour**: Control what metadata to include and how to handle deletions. Toggle each option on or off based on your needs:
| Toggle | Default | Description |
| ----------------- | ------- | -------------------------------------------------------------------------------------------------------------------------------------------------------------------------------- |
| Enable Debug Log | Off | Sets the ingestion log level to DEBUG. Useful for troubleshooting. |
| Override Metadata | Off | When on, source values overwrite existing descriptions, tags, owners, and display names in OpenMetadata. When off, OpenMetadata only updates fields that have no existing value. |
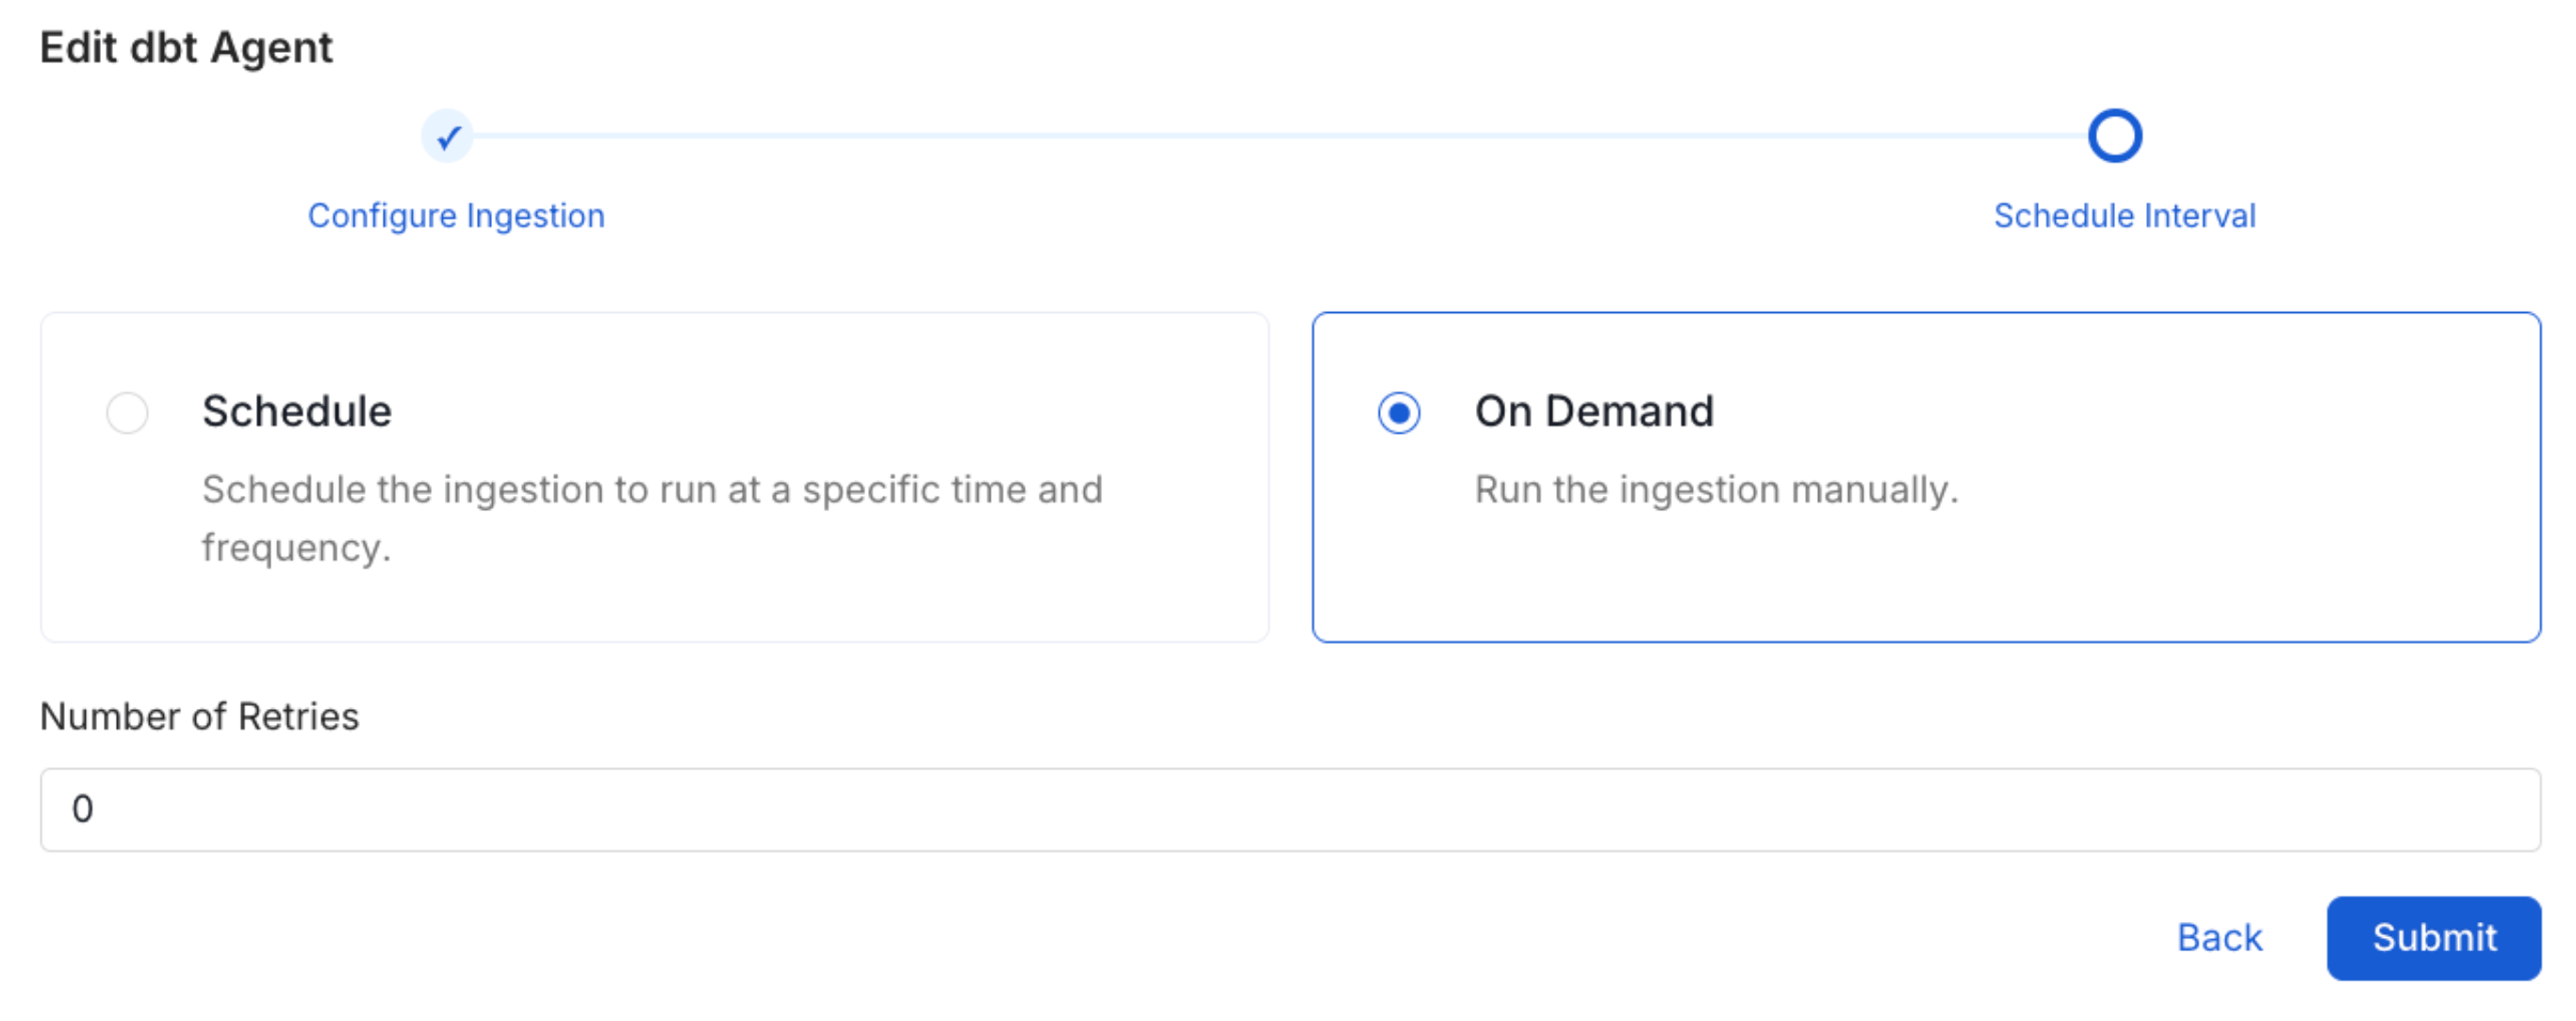
 5. On the **Schedule Interval** page, set when the agent runs:
* **Schedule**: Choose a preset interval (Hourly, Daily, Weekly, Monthly) or enter a custom cron expression.
* **On-Demand**: No automatic schedule; trigger the agent manually when needed.
5. On the **Schedule Interval** page, set when the agent runs:
* **Schedule**: Choose a preset interval (Hourly, Daily, Weekly, Monthly) or enter a custom cron expression.
* **On-Demand**: No automatic schedule; trigger the agent manually when needed.
 6. Click **Add** to deploy the agent.
## Securing Kafka Connection with SSL in OpenMetadata
To establish secure connections between OpenMetadata and Kafka, navigate to the `Advanced Config` section. Here, you can provide the CA certificate used for SSL validation by specifying the `caCertificate`. Alternatively, if both client and server require mutual authentication, you'll need to use all three parameters: `ssl key`, `ssl cert`, and `caCertificate`. In this case, `ssl_cert` is used for the client's SSL certificate, `ssl_key` for the private key associated with the SSL certificate, and `caCertificate` for the CA certificate to validate the server's certificate.
6. Click **Add** to deploy the agent.
## Securing Kafka Connection with SSL in OpenMetadata
To establish secure connections between OpenMetadata and Kafka, navigate to the `Advanced Config` section. Here, you can provide the CA certificate used for SSL validation by specifying the `caCertificate`. Alternatively, if both client and server require mutual authentication, you'll need to use all three parameters: `ssl key`, `ssl cert`, and `caCertificate`. In this case, `ssl_cert` is used for the client's SSL certificate, `ssl_key` for the private key associated with the SSL certificate, and `caCertificate` for the CA certificate to validate the server's certificate.
 ## Related